Introduction

This guide will show you how to replace the SATA drive on your HP 15-af123cl. if your computer isn’t booting, at all, or if you computer shows you have corrupted memory in your drive it is time to replace your sata drive.

make sure you are using ESD tools, and a ESD-band you do not want to be damaging any of your components static electricity.

make sure to back-up all the data on your drive as you are replacing it, if you do not, you will lose anything not backup to a cloud or other form of storage

make sure to turn off the computer completely and disconnect the charging cable or any other external power source.

  1. kaUoZUUrBiIbiQ4N
    kaUoZUUrBiIbiQ4N
    RiJqFsiyOlTSws5c
    • Push the slider with a lock symbol to the right to unlock the battery.

  2. b3bA3EFnII1W2GPW
    • Push the slider with a battery symbol to the left to push the battery out slightly.

    • Pull the battery out fully now that it is released.

  3. yXr2DFOLLCuhXXEn
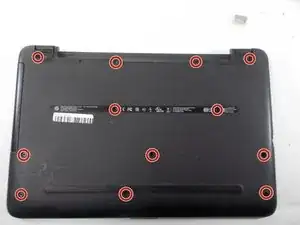
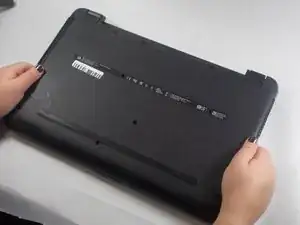
    • Remove the twelve screws from the bottom of the laptop using a Phillips #00 screwdriver.

  4. bIPwyQrq3ua6aoCo
    bIPwyQrq3ua6aoCo
    uCmbHwEhPPxNxy4Z
    KU4hKWVVD1CFDQtI
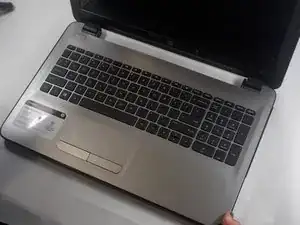
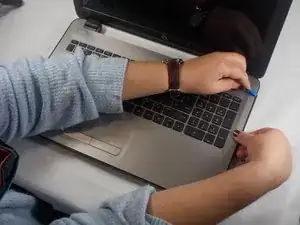
    • Turn the laptop over and open the lid.

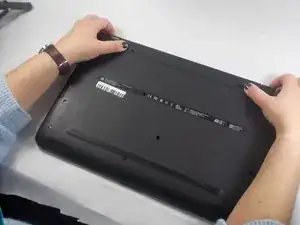
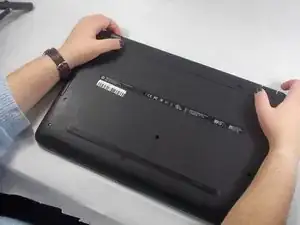
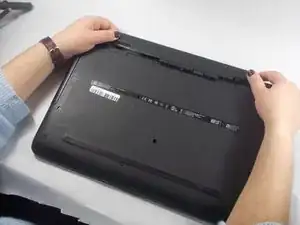
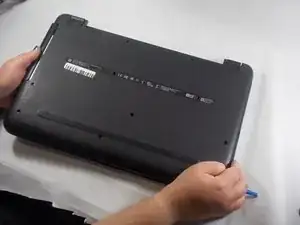
    • Use an opening tool to pry the bottom cover from the body of the laptop.

  5. WNaJsAlJRL4vNcsu
    WNaJsAlJRL4vNcsu
    5j4sxmjf2BWXS6oO
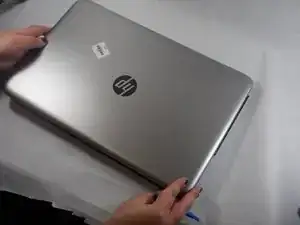
    • Close and turn over the laptop again.

    • Pull the back cover up to remove it from the laptop.

  6. oOUPIGTZKV1Kt4CR
    oOUPIGTZKV1Kt4CR
    ZDSoUHMoXxEsRmqU
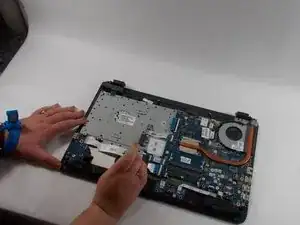
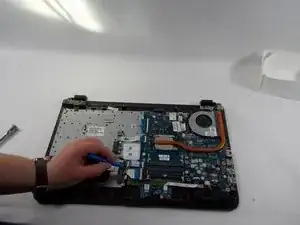
    • Unclip the cable connected to the drive using an opening tool.

  7. WoKdNB6vUnHovgN2
    WoKdNB6vUnHovgN2
    PcUj2HSZ1L1PqrtW
    KqPPesk6o1r1DsCW
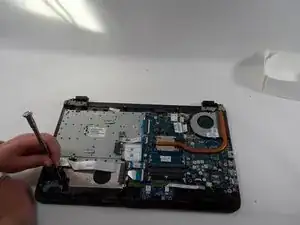
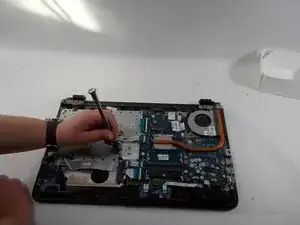
    • Remove the screws from the brackets around the hard drive using a Phillips #00 screwdriver.

  8. MKE2H4TSmLJ3NI55
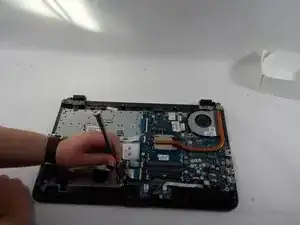
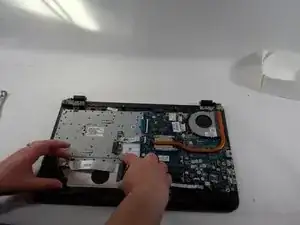
    • Remove the brackets from around the hard drive.

    • Remove the hard drive from the laptop.

Conclusion

To reassemble your device, follow these instructions in reverse order.
Victoria Santos

Member since: 25/10/21

698 Reputation

0 comments