Introduction
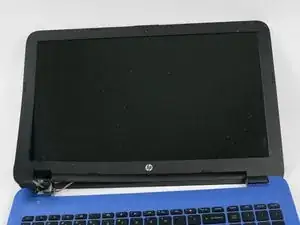
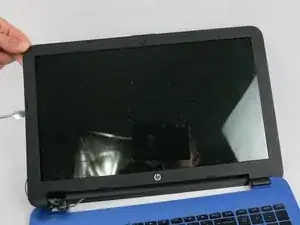
The screen of the HP laptop, or basically any device nowadays, is very fragile. One bad drop or a misplaced footstep could leave you with a cracked or completely broken display. Although one of the harder components to replace, this guide makes it easy for even the least tech-savvy user to replace their screen,
Tools
-
-
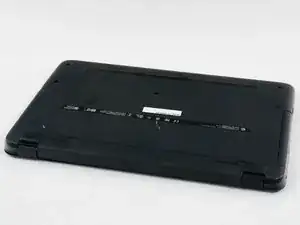
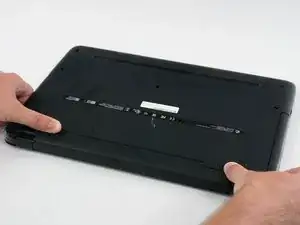
Push the two spring-loaded tabs inward.
-
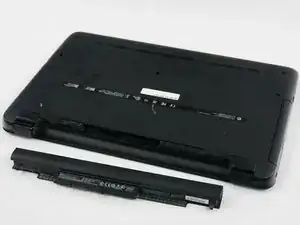
Once unlatched, pull the battery out of its compartment.
-
-
-
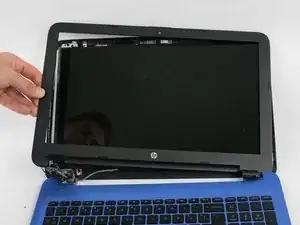
Using a pry tool, unclip the entire outer plastic cover from the front of the screen.
-
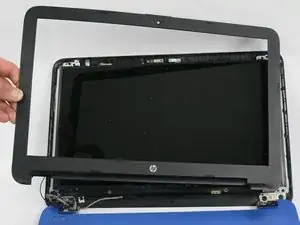
Gently remove the front plastic cover.
-
-
-
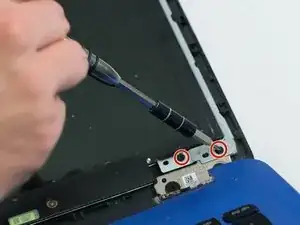
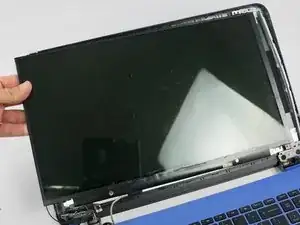
Carefully lift the display out of the laptop shell and flip it on its front.
-
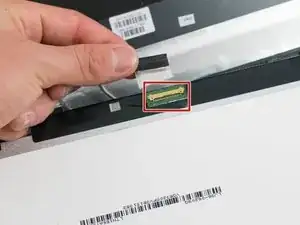
Disconnect the single cable from the back of the display.
-
Conclusion
To reassemble your device, follow these instructions in reverse order.
