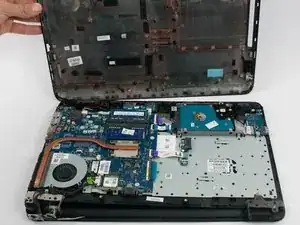
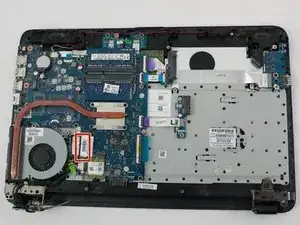
Introduction
This HP laptop is equipped with a high-definition front facing webcam and allows you to video chat with others or take high-quality photos. Although one of the few things that is likely to fail on your laptop, its nice to know that our guide will make it easy for you to replace your camera in under 20 minutes.
Tools
-
-
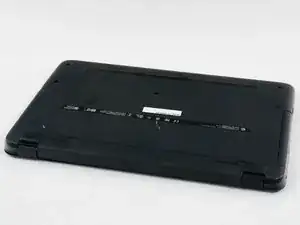
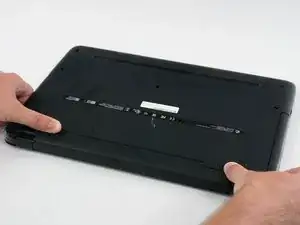
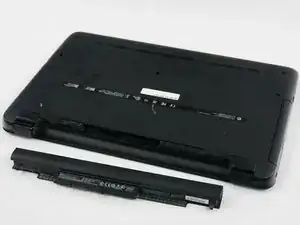
Push the two spring-loaded tabs inward.
-
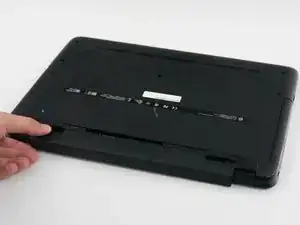
Once unlatched, pull the battery out of its compartment.
-
-
-
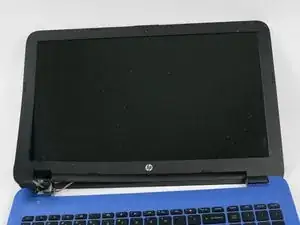
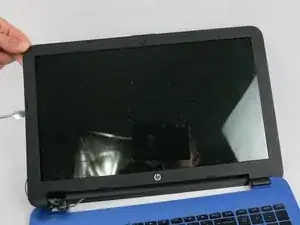
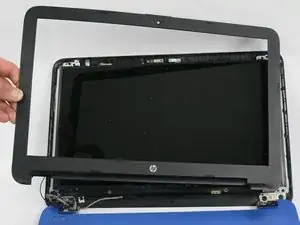
Using a pry tool, unclip the entire outer plastic cover from the front of the screen.
-
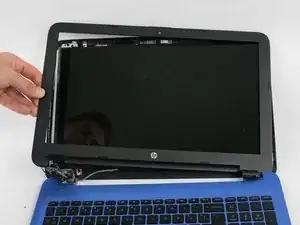
Gently remove the front plastic cover.
-
-
-
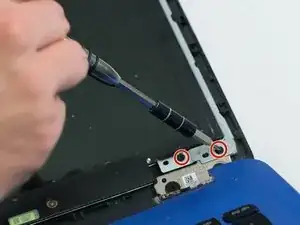
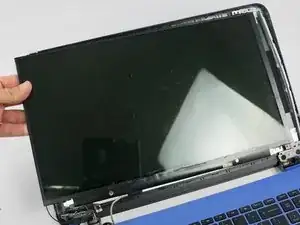
Carefully lift the display out of the laptop shell and flip it on its front.
-
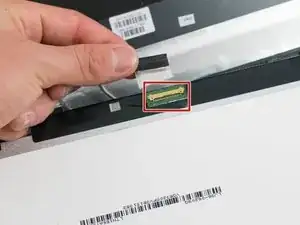
Disconnect the single cable from the back of the display.
-
-
-
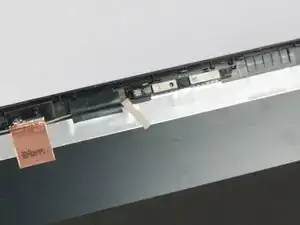
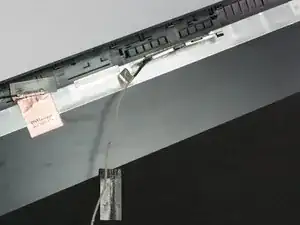
The front camera is held in by light adhesive. Pry gently on the back of the camera in order to remove it.
-
Remove the cable from under the metal foil.
-
-
-
Flip the laptop back over.
-
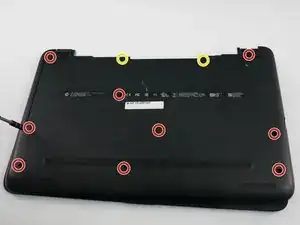
Using the Phillips P0 screwdriver, remove the 9 M2.5mm x 6.5mm screws from the bottom of the laptop.
-
Remove the additional 2 M2.0mm × 1.5mm Phillips screws located in the battery compartment.
-
To reassemble your device, follow these instructions in reverse order.
