Introduction
Tools
-
-
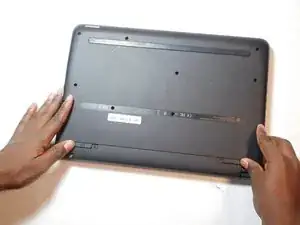
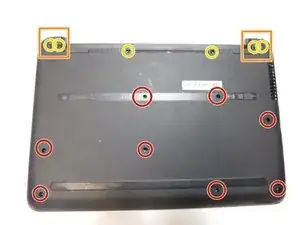
Remove the eight 6 mm screws from the back panel using a Phillips #1 screwdriver.
-
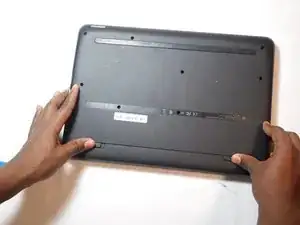
Remove the rubber pads from the upper corners of the laptop to reveal two screws on each side.
-
Remove six 4 mm screws using a Phillips #1 screwdriver.
-
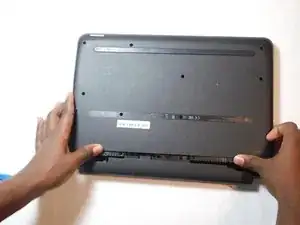
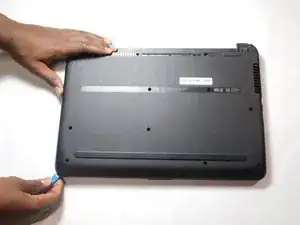
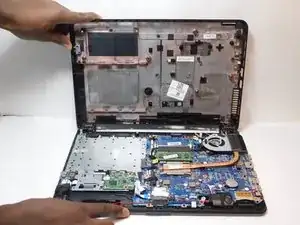
Pry the back panel off using an opening tool, working your way around the edges.
-
-
-
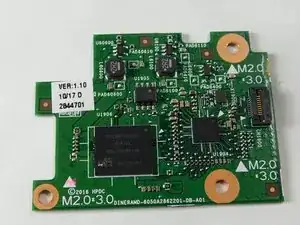
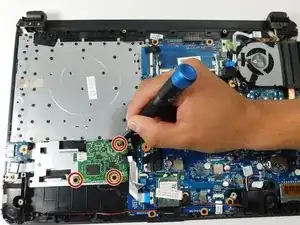
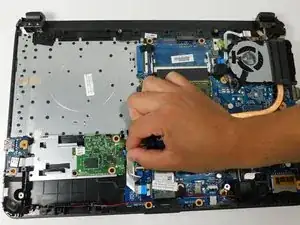
Remove the three 4 mm screws holding the daughterboard down using a Phillips #00 screwdriver.
-
Remove the ribbon cable by gently pressing on the blue tab and pulling on the plastic reinforcement at the end of the cable.
-
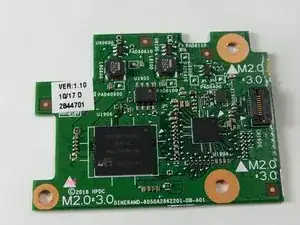
Remove the daughterboard.
-
Conclusion
To reassemble your device, follow these instructions in reverse order.
