Introduction

This repair guide was authored by the iFixit staff and hasn’t been endorsed by Google. Learn more about our repair guides here.

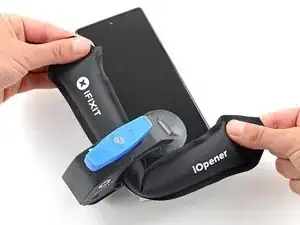
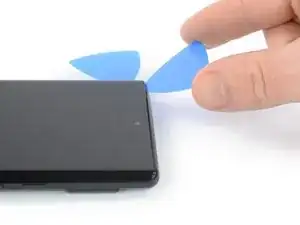
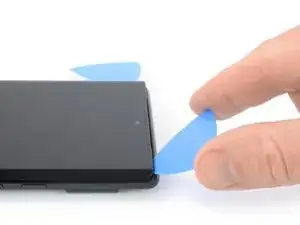
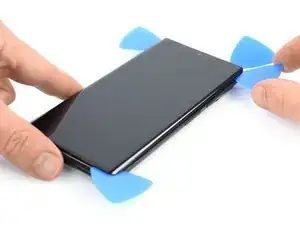
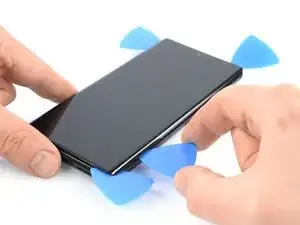
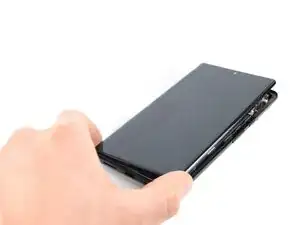
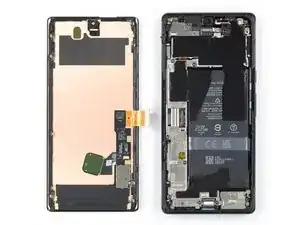
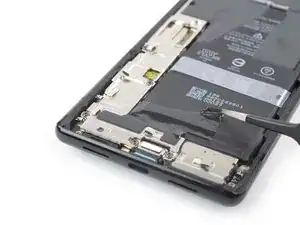
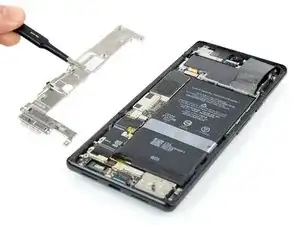
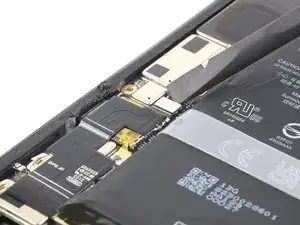
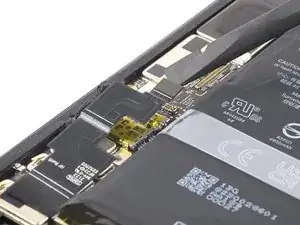
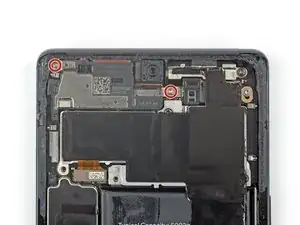
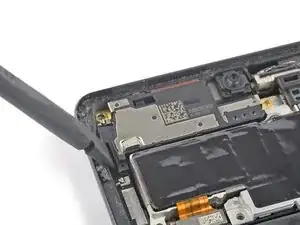
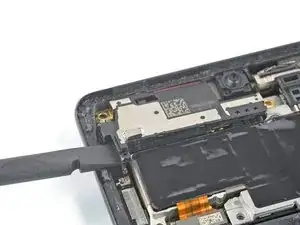
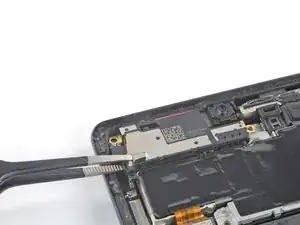
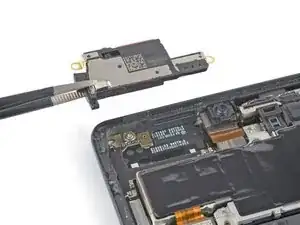
Use this guide to remove or replace the earpiece speaker in your Google Pixel 6 Pro.

For your safety, discharge the battery below 25% before disassembling your phone. This reduces the risk of a dangerous thermal event if the battery is accidentally damaged during the repair. If your battery is swollen, take appropriate precautions.

Caution: The Pixel 6 Pro contains class 1 lasers. Disassembly could result in exposure to invisible infrared laser emissions.

Retaining water resistance after the repair will depend on how well you reapply the adhesive, but your device will lose its IP (Ingress Protection) rating.

You’ll need replacement adhesive to reattach components when reassembling the device.

  1. xGqbgqkw2hRaUsBS
    xGqbgqkw2hRaUsBS
    Ao5wAxq1e3NqOvXb
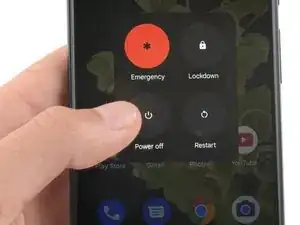
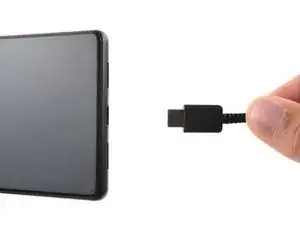
    • Allow your battery to drain below 25% before starting this repair. A charged battery may catch fire if damaged.

    • Fully power off your phone and unplug any cables.

  2. pYtLJZEF5B2LvWeB
    pYtLJZEF5B2LvWeB
    ItQqxYGiYbWkJIa4
    xF2lQOYnyyUbHaO2
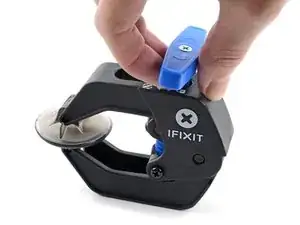
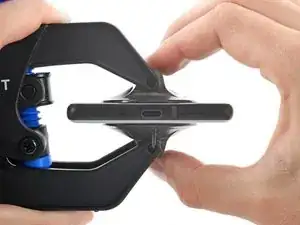
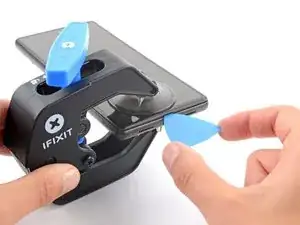
    • The next three steps demonstrate the Anti-Clamp, a tool we designed to make the opening procedure easier. If you aren't using the Anti-Clamp, skip down three steps for an alternate method.

    • For complete instructions on how to use the Anti-Clamp, check out this guide.

    • If your screen is cracked, cover it with a layer of clear packing tape to help the suction cup adhere.

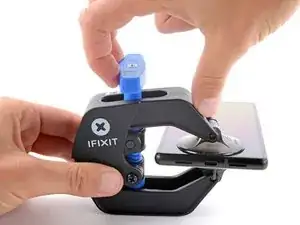
    • Pull the blue handle backwards to unlock the Anti-Clamp's arms.

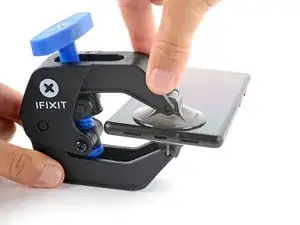
    • Slide the arms over either the left or right edge of your phone.

    • Position the suction cups near the bottom edge of the phone—one on the front, and one on the back.

    • Squeeze the cups together to apply suction.

    • If you find that the surface of your phone is too slippery for the Anti-Clamp to hold onto, you can use tape to create a grippier surface.

  3. 2oNcHoB45uGaxEFB
    2oNcHoB45uGaxEFB
    Uk6q5idSq5oJrUgA
    I4KLIVS3OOLFsZCT
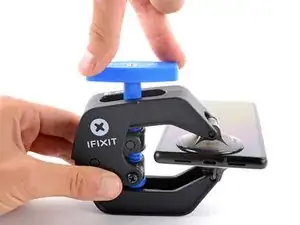
    • Pull the blue handle forward to lock the arms.

    • Turn the handle clockwise 360 degrees or until the cups start to stretch.

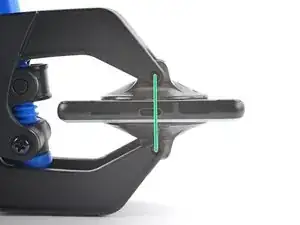
    • Make sure the suction cups remain aligned with each other. If they begin to slip out of alignment, loosen the suction cups slightly and realign the arms.

  4. ky3IJRvEhk2KGagK
    ky3IJRvEhk2KGagK
    UiBlY6aXuTlMcmtn
    d12VohF6CPjwXSB1
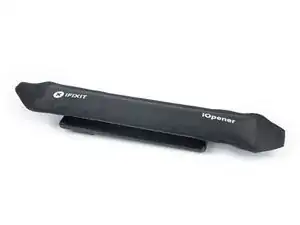
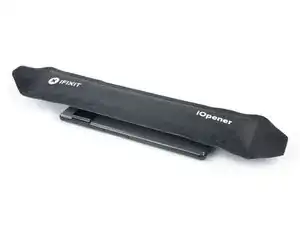
    • Heat an iOpener and thread it through the arms of the Anti-Clamp.

    • You can also use a hair dryer or heat gun—but extreme heat can damage the display and/or internal battery, so proceed with care.

    • Fold the iOpener so it lays on the bottom edge of the phone.

    • Wait one minute to give the adhesive a chance to release and present an opening gap.

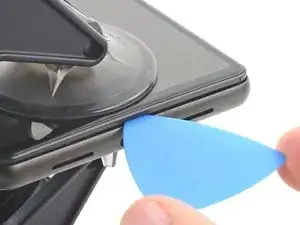
    • Insert an opening pick under the screen frame when the Anti-Clamp creates a large enough gap.

    • If the Anti-Clamp doesn't create a sufficient gap, apply more heat to the area and rotate the handle clockwise half a turn.

    • Don't crank more than a half a turn at a time, and wait one minute between turns. Let the Anti-Clamp and time do the work for you.

    • Skip the next two steps.

  5. AJglnb3TZlAVMd2O
    • Apply a heated iOpener to the screen to loosen the adhesive underneath. Apply the iOpener for at least 3 minutes.

    • A hair dryer, heat gun, or hot plate may also be used, but be careful not to overheat the device.

    Do you think that removing the SIM card, also will be a wise step? I'm pretty sure that heating the SIM card is not a good idea.

    Emil Teofanov -

    The SIM is probably no more sensitive than the rest of the phone.

    ScottMcNay -

    What does "be sure to have replacement adhesives for both the rear glass and the screen." I only had one it didn't mention another one?

    alberte -

    I didn't have the replacement adhesive for rear glass nor the 2 sided tape they talk about when putting it back together. It's Sunday, so I don't expect an answer. I decided to go ahead and work up until that point

    StlrFan -

  6. 5qT1kECvRkyOwMdj
    5qT1kECvRkyOwMdj
    yNlUPqlWLhUnqwEa
    622Y1IVXYBVVFD2s
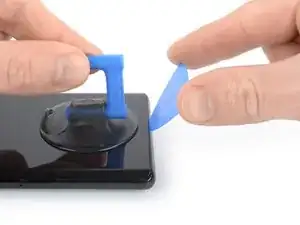
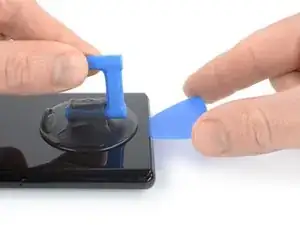
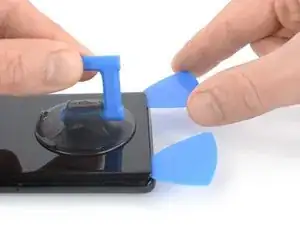
    • Once the screen is warm to the touch, apply a suction handle to the bottom edge of the screen.

    • If your screen is badly cracked, covering it with a layer of clear packing tape may allow the suction handle to adhere. Alternatively, very strong tape may be used instead of the suction handle. If all else fails, you can superglue the suction handle to the screen.

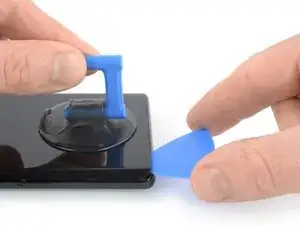
    • Lift the screen including its safety frame with the suction handle to create a small gap between the screen and the phone assembly.

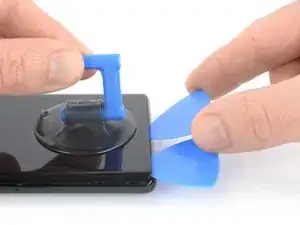
    • Insert an opening pick into the gap between the screen frame and the phone assembly.

    • Make sure to insert your opening pick in the right position to avoid separating the screen from its safety frame instead of the phone assembly.

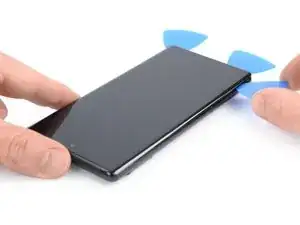
    • Slide the opening pick to the bottom left corner of the screen to slice its adhesive.

    • Leave the opening pick in place to prevent the adhesive from resealing.

  7. 3iBpMQeeYQZd1N6W
    3iBpMQeeYQZd1N6W
    EF4cafwMyVbQyFeA
    • Insert a second opening pick at the bottom edge and slide it to the bottom right corner of the screen to slice the adhesive.

    • Leave the opening pick in place to prevent the adhesive from resealing.

  8. H2V6FPgYSgyNiaXT
    H2V6FPgYSgyNiaXT
    3kcnIWolap1s53OI
    15PB5ccyfLlKWefn
    • The screen of the Google Pixel 6 Pro is not only held in place by adhesive but also small plastic pins. In case your opening pick gets blocked during the screen removal procedure it means you inserted your pick too deep underneath the screen. Only insert the tip of the opening pick (~3-4 mm) when slicing the display adhesive.

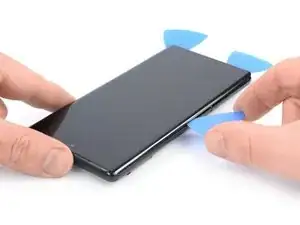
    • Insert a third opening pick underneath the bottom left corner of the screen.

    • Slide the opening pick along the left edge of the screen to slice the adhesive.

    • Leave the opening pick in the top left corner to prevent the adhesive from resealing.

  9. qWybciuriiWRatwM
    qWybciuriiWRatwM
    jIYEmbfvICMX6LXF
    • If the adhesive becomes hard to cut, it has most likely cooled down. Use your iOpener or heat gun for 1-2 minutes to reheat it.

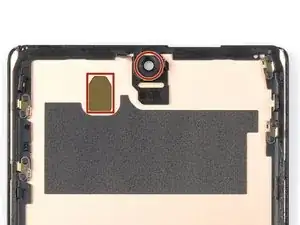
    • When you slice near the front facing camera, insert only the tip of the opening pick (~2-3 mm) to avoid damaging or smearing the camera.

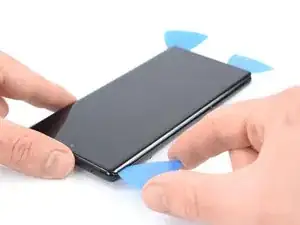
    • Insert a fourth opening pick at the top left corner of the screen.

    • Slide the opening pick along the top edge of the phone to slice the adhesive.

    • Leave the opening pick in the top right corner to prevent the adhesive from resealing.

  10. 3u2GucwUJXcX36ik
    3u2GucwUJXcX36ik
    WSpdGRMJq215fHVl
    • Insert a fifth opening pick and slide it along the right edge of the phone to slice the remaining adhesive.

    • Do not try to remove the display all the way yet, the screen is still connected to the phone assembly.

  11. kRiqlurRKwtCBmRE
    kRiqlurRKwtCBmRE
    PtmBApHIHu6ANKT3
    fJXI1KaKDwVhdnnH
    • Avoid straining the display cable during the following procedure.

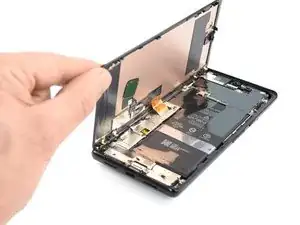
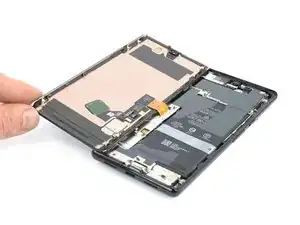
    • Carefully fold the screen to the left side of the phone assembly like you would open the front cover of a book.

    I don't know if it's an earlier or later design, but I am combining 2 phones (1 crushed glass but operational into the casing of one that quit functioning but has good glass) and on both, the ribbon cable for the LCD is a tiny bit too short to fold out flat like this. If you are working on one like mine, extreme care must be taken while holding the LCD up while simultaneously trying to plug the cable back into that very small recessed socket. Almost like you need 3 hands or robot fingers...

    Stephen P. Thurman -

    I also felt that the cable was too short to fully open like a book, however it is possible that the hinge side of my screen was still pressed in to the adhesive and I did not properly open the screen or I was being overly cautious. Be careful on first approach either way.

    Nick Harris -

  12. aDmeySbuHVHuNPqR
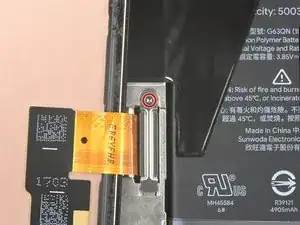
    • While the Pixel 6 Pro uses Torx Plus screws, standard Torx bits work. Make sure to apply constant, downward force to prevent stripping.

    • Use a Torx T3 screwdriver to remove the 2.0 mm-long 3IP Torx Plus screw securing the display cable metal bracket.

    • Throughout this repair, keep track of each screw and make sure it goes back exactly where it came from.

    I don't know if it's an earlier or later design, but I am combining 2 phones (1 crushed glass but operational into the casing of one that quit functioning but has good glass), and on both, the metal holder plate shown here is simply spring connected and that 2mm screw is instead slightly off to the side as part of the aluminum bracket's screws.

    Stephen P. Thurman -

  13. TXCDyVZdVyVArY4w
    TXCDyVZdVyVArY4w
    Wfb1v1Wns3GQc6eP
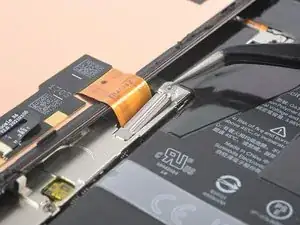
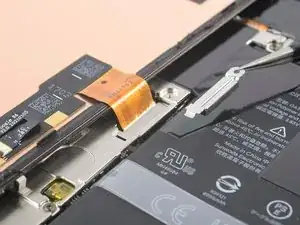
    • Use a pair of tweezers to remove the metal bracket sitting on top of the display cable connector.

    • Make sure to keep this component to reinstall it during reassembly.

  14. XAfcloCj3jgvnZXD
    XAfcloCj3jgvnZXD
    KmYqCLHysrBxjLya
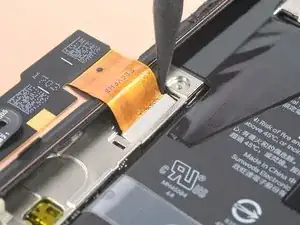
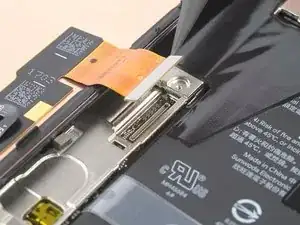
    • Use a spudger to disconnect the display flex cable by prying the connector straight up from its socket.

    Reconnecting the display port cable was the longest part of my first repair. It helped when I carefully folded the ribbon connector at each end to get the most length out of it and bent it into the proper shape to hover just right over the small port. I lightly bent the cable back at the base and at the connector end.

    This connector feels delicate, so it definitely made me take my time and be cautious. The snap is unmistakable, but be careful afterward as you're on a short leash again. I folded the new screen closed like a book and snapped it into place easily.

    Nick Harris -

  15. EuFbD1VbsDijAW6O
    EuFbD1VbsDijAW6O
    G5DD2VBjEP55pQSD
    • Remove the screen.

    • During reassembly:

    • If you replaced the screen, check the screen's front-facing camera hole and sensor cutout for any protective liners. Remove these liners before you close the phone up.

    • Remember to reinstall the display cable bracket.

    • This is a good point to test your phone before sealing it up. Temporarily connect your screen, power on your phone, and make sure it works as expected. Before continuing with reassembly, power off your phone and disconnect the screen.

    • Follow this guide if you're using custom-cut adhesives for your device.

    • Follow this guide in case you're using a pre-cut adhesive card.

    • If you're installing a new screen, follow this guide to calibrate the fingerprint sensor.

    Before reassembly, clean around the edge of where the screen was, to remove any debris that may have been captured.

    ScottMcNay -

    After reassembly, the fingerprint sensor appears to be a common issue with new screens:

    * Go to https://pixelrepair.withgoogle.com/udfps on a computer.

    * If using Windows, click the help link to install the USB software. After installing, restart the computer and return to https://pixelrepair.withgoogle.com/udfps.

    * Follow the steps given to install the fingerprint calibration software.

    * Restart the phone.

    ScottMcNay -

    "Be sure to remove all adhesive liners from your replacement screen. Check the selfie camera recess and make sure you've removed the liner there."

    A photo with blue highlight square would've been helpful here...also it's very easy to miss this instruction as you'd be on the adhesive page...

    alberte -

    I did take the selfie camera liner this is a bad problem

    Austin Curtis -

    This is very true. I only realized after turning on my phone the next day that the film blocking the front camera is still there. I had to re-open the screen to remove that black film, which was not obvious at all. I only opened the upper half to remove the film, hopefully the adhesive is not compromised too much...

    Esmerando Escoto -

    All went well except for the adhesive. It was simply too small so when Iaid it down it was fine on one side as well as the top and bottom, but the other side required me to pull it over. As it is quite sticky, it bunched up. I cut out part of it and used my own double-sided tape to secure part of it. Otherwise, it was great. Thanks to those who made special note of the cover on the selfie camera window, and the procedure to set up the new fingerprint scanner.

    Arnold Bosman -

    They do not highlight the part that needs to be removed from the new screen, this should be added as the part looks and feels like it is a part of the new screen and removing it could break the new screen. So make sure you remove the selfie screen camera cover even if it looks and feels like there is not one there, it's there.

    Nick Harris -

    I ordered Google Pixel 6 pro- fix kit in IFIXIT. I followed the steps mentioned in the repair guide. During repair the finger print symbol is blinking in the screen. I thought it would get set when i do re calibration as mentioned in repair guide but it did not worked. It displays " Can´t use finger print sensor Visit a repair provider or g.co/pixel/fingerprintunlock". Does anyone have same problem??

    Surendra Reddy Velagala -

    You have to go to that link and you can re calibrate the new finger print scanner by logging into your account and approving it.

    dot Ducky -

    New Finger Print Reader

    Boot into fast boot and connect your pixel to your pc
    On your PC go to pixelrepair.withgoogle.com/udfps
    Follow the Prompts

    dot Ducky -

    Replacement process went smoothly. I reattached the screen after seating the connector. No sign its working. Just black blank screen. However text and notification sounds still coming through. Even receiving calls. etc on que. I know the phone works, just not the screen.

    I figure maybe I didnt seat the connector all the way so I break the adhesive liner (figuring I'll buy another and apply again) and this time I clip in the connector for sure. Still nothing on the screen.


    What can I do? Is the screen defective? 

    If phone is working should I see the display after the connector is seated but the phone still open? Or does the screen need to be seated all the way in the case to turn on? The screen does not display anything in either state by the way...

    As an aside, your instructions are so detailed until the point where the screen needs to connect and seat. It would helpful to get more pointers for this final step...

    Chobby -

    It's so frustrating that paper instructions are not included considering I'm about to pull the screen off my phone. It's also very frustrating that I have to load and read multiple sub instructions in the middle of the main instructions, just include all instructions in one booklet and include the booklet in the kit.

    Jeremiah Miller -

  16. WpZWj6icjSxAbAjl
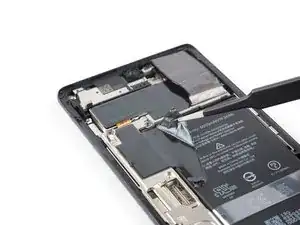
    • Apply a heated iOpener or a heat gun to the rear glass to loosen the adhesive underneath the graphite films on top of the battery. Apply the iOpener for at least two minutes.

    • Don't apply heat directly onto the battery. It is susceptible to heat damage and could cause a thermal event.

    This seems contradictory: the step basically says to heat the graphite film through the battery (from below) instead of heating the graphite film itself, and then says "don't heat the battery directly". Sounds like a thermometer test is needed.

    ScottMcNay -

  17. XQ34V2HxmFcIFxps
    XQ34V2HxmFcIFxps
    ebSoHCMCQpNprpXO
    46TVRtJXCUKoENW2
    • Take care not to puncture or bend the battery with your tool—a punctured or bent battery may leak dangerous chemicals or cause a thermal event.

    • Use a pair of blunt nose tweezers or a clean fingernail to carefully peel the black graphite film off the bottom edge of the battery and the motherboard shield.

    • Remove the graphite film.

    The film delaminates easily, so be careful.

    If you are using an iFixit replacement battery, it comes with replacement graphite film for the bottom and left.

    ScottMcNay -

    so do you need this film?? if it is damaged, can you use some sort of tape, or does it have to be this graphite film?

    Michael Carton -

  18. xoRTPRBHxXAOgwAr
    xoRTPRBHxXAOgwAr
    IyPruuVBkutxAO2Y
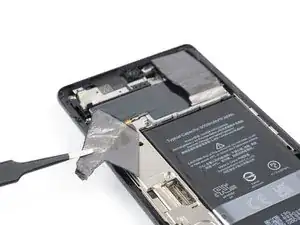
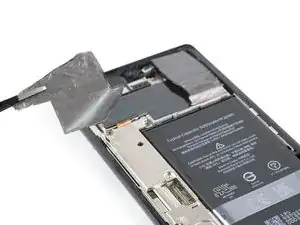
    • If you want to replace your battery it's enough to peel the bottom part of the graphite film off the battery. If you want to replace your rear camera you need to remove it completely. In case you only want to replace the earpiece speaker or the front facing camera, you can leave it in its place.

    • Use a pair of blunt nose tweezers or a clean fingernail to carefully peel the black graphite film off the top right corner of the battery.

    • Fold the graphite film in direction of the selfie camera to get free access to the battery.

    バッテリーとカメラユニットの間に隙間があります。そこからピンセットを差し込んでグラファイトフィルムを剥がすのが最も安全ですね。

    AKINORI HARADA -

  19. mlyeiL45HPTc2SA3
    mlyeiL45HPTc2SA3
    2SSQPBUhM2hEkwGG
    H3p3xOcypbyOk3vG
    • If the graphite film becomes hard to peel off, it has most likely cooled down. Reapply your iOpener or heat gun to the rear glass for 1-2 minutes to reheat it.

    • Use a pair of blunt nose tweezers or a clean fingernail to carefully peel the black graphite film off the left edge of the battery and the motherboard shield.

  20. T2BAXKWhYhCCiW6u
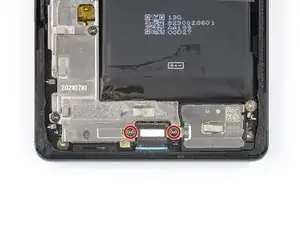
    • Use a Torx T3 screwdriver to remove the two 5.1 mm-long 3IP Torx Plus screws securing the charging port metal bracket.

    Use the Torx T3...

    (slight reminder that it's the same bit as used already)

    ScottMcNay -

  21. yiXJM4vL2JoJGTew
    yiXJM4vL2JoJGTew
    FiVm5ePKqGtJtPQD
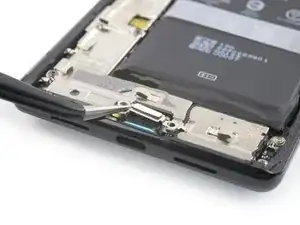
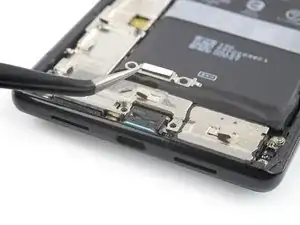
    • Use a pair of tweezers to remove the charging port bracket.

    • Make sure to keep this component to reinstall it during reassembly.

  22. gChpoe3YKVNaxbs4
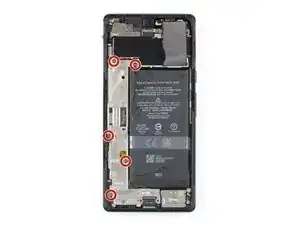
    • Use a Torx T3 screwdriver to remove the five 5.1 mm-long 3IP Torx Plus screws securing the motherboard cover.

    Use the Torx T3...

    (slight reminder that it's the same bit as used already)

    ScottMcNay -

  23. ZLNTsMhLERmFkeOR
    ZLNTsMhLERmFkeOR
    cWsuyCJhAR2XxWeW
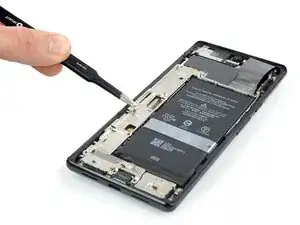
    • Use a pair of tweezers or your fingers to carefully remove the motherboard cover.

  24. TteCBEMfTPiR4AdC
    TteCBEMfTPiR4AdC
    2JqOlv3Keowg2Hm2
    • Use a spudger to disconnect the battery cable by prying the connector straight up from its socket.

    On some models, there is another cable, which crosses the battery (which accounts for the odd diagonal shape of the upper-left graphite film), which also needs to be removed.

    ScottMcNay -

  25. FCTYWGNm1eZqXJP6
    • Use a Torx T3 screwdriver to remove the two 3.3 mm-long 3IP Torx Plus screws securing the earpiece speaker.

  26. NsWStu1kHSIB1aWE
    NsWStu1kHSIB1aWE
    5pTr5FmyToLUAdGc
    • Insert a spudger underneath the bottom left edge of the earpiece speaker.

    • Use the spudger to pry up the earpiece speaker by tilting it downwards.

  27. YI1mTTCQ5abSyMwV
    YI1mTTCQ5abSyMwV
    BImVAKPXSVITQTHB
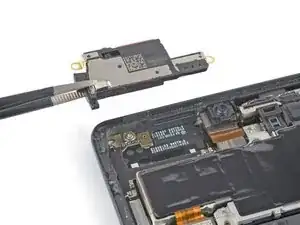
    • Use a pair of tweezers or your fingers to carefully remove the earpiece speaker.

    • Compare your new replacement part to the original part—you may need to transfer remaining components or remove adhesive backings from the new part before installing.

Conclusion

If possible, turn on your device and test your repair before installing new adhesive and resealing.

To reassemble your device, follow these instructions in reverse order. During reassembly apply new adhesive where necessary after cleaning the relevant areas with isopropyl alcohol (>90%).

To run a diagnostics test with the built-in Pixel Diagnostic tool, click here.

Take your e-waste to an R2 or e-Stewards certified recycler.

Repair didn’t go as planned? Try some basic troubleshooting, or ask our Answers community for help.

Dominik Schnabelrauch

Member since: 23/11/16

201162 Reputation

One comment

I want to service the Google Pixel 6 Pro speaker
Romance Mario -