Introduction
Before starting, please:
- make sure nothing is attached (such as AC adapter, USB, VGA, audio jack).
- remove any inserted SD card.
Parts
-
-
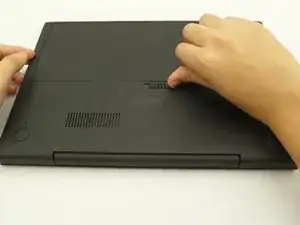
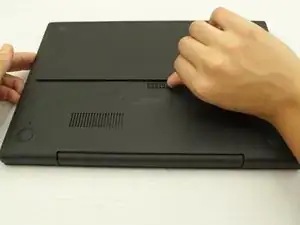
Slide the switch on the bottom of the laptop until the battery pops out.
-
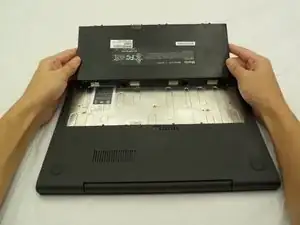
Once the battery pops out, you can remove it.
-
-
-
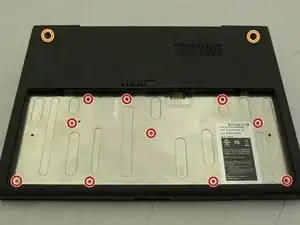
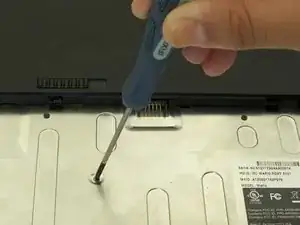
Remove ten 3 mm screws in the battery compartment using a Phillips #00 screwdriver.
-
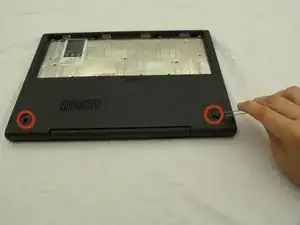
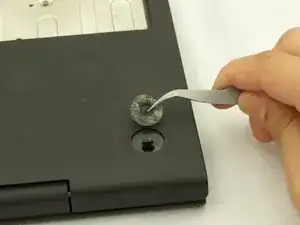
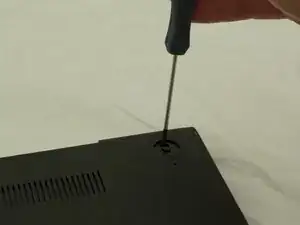
Remove two 4.5 mm screws under the rubber feet using a Phillips #00 screwdriver.
-
-
-
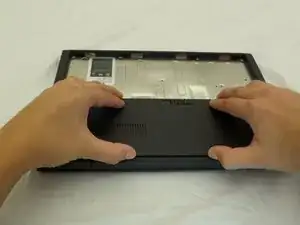
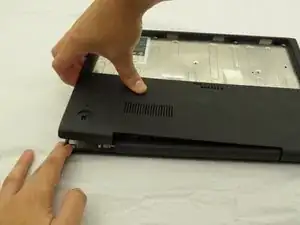
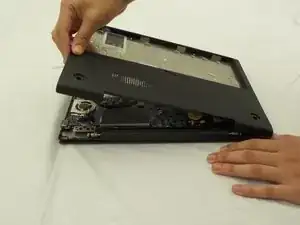
Starting where the body of the laptop and the laptop screen meet, pry apart the lower case from the rest of the laptop.
-
Conclusion
To reassemble your device, follow these instructions in reverse order.
