Introduction

If your camera will not power on, one issue could be the power supply button. This guide will demonstrate how to fix this issue.

  1. LPaD2dNPuX1RcAuP
    LPaD2dNPuX1RcAuP
    tHHAskkpqaA2VjQ6
    YAAvxE1TGvMJs5OF
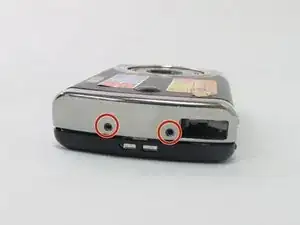
    • Begin by removing the 5 screws (located: 2 screws on either side and 1 screw on the bottom) using the PH000 head in the Precision Phillips Screwdriver.

    • These screws were missing in our example. These screws should have been small Phillips PH000 screws 1.5mm in length.

    • These screws are very small. To keep from losing any pieces, place all small metals on a magnetic project mat.

  2. qD1s4RZDYSOkeuwU
    qD1s4RZDYSOkeuwU
    xXMU3DDpGP3eo1vy
    • After the screws are removed, pull the front casing up and away from the camera.

    • If the casing is difficult to remove, use a plastic opening tool to gently pry up on the front as shown.

  3. rqDHefVW5vorurcM
    rqDHefVW5vorurcM
    ffOHmUxH1cZfCc6c
    bjbtiHsdPWFYvsDH
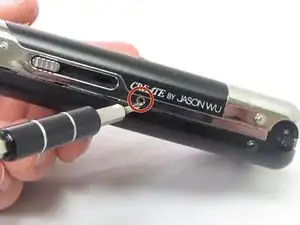
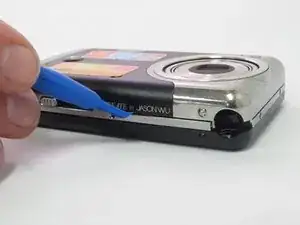
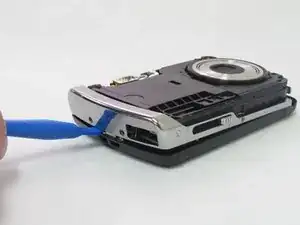
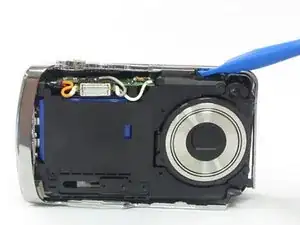
    • Using your hands or an opening tool, pry off the silver frame, taking special care at the top of the camera where the buttons are as it is a little harder to pry off.

    • If the back casing is loose from the camera body, it may be easier to perform step 4 first, then accomplish this step. Proceed as your unit allows.

  4. LLAyANGqvCoAToCc
    LLAyANGqvCoAToCc
    xG5swHhEwJchCEUQ
    hS5VltOdTZIOVUDk
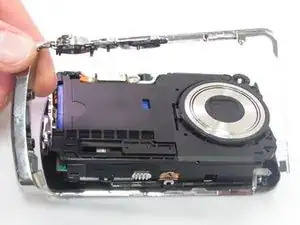
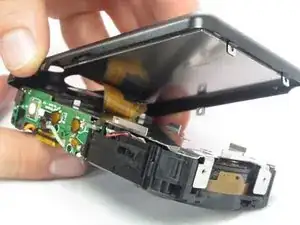
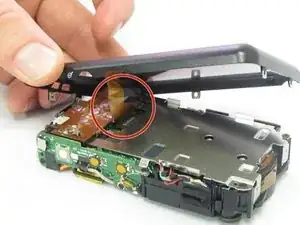
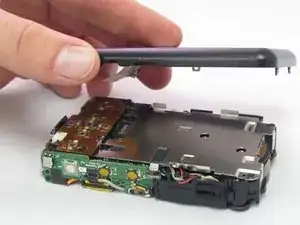
    • The last part of the casing to disconnect is the back that houses the LCD screen.

    • The screen is attached by a connection ribbon. Gently pull the casing and screen away from the camera body to disconnect the casing.

    • The LCD screen is held onto the back casing by a small amount of adhesive. This may come loose during this process. Do not worry if they become separated.

    • This plug and the connection ribbon are fragile, try not to tear the connection ribbon when disconnecting.

  5. D5AfiFmPE6DRfPBK
    D5AfiFmPE6DRfPBK
    XejAt1gJjTaKyyQy
    qtSOs3fOfWehxFeh
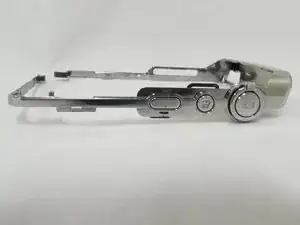
    • Locate the metal frame removed from around the camera in step 3.

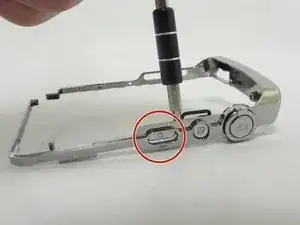
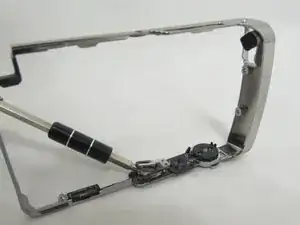
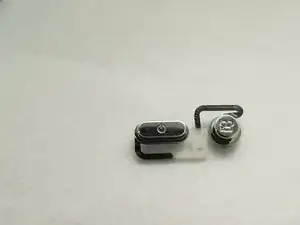
    • Lay the frame button side down or flat and gently pry the button out of place with the 3.0 flathead bit or a pair of tweezers.

    • This is very brittle plastic so use extreme caution and minimal force.

    • The button is secured to the frame by two small black rods pushed into the white colored portion of the button (see picture).

  6. 6AII3ElOi5rY5rS2
    • The button will pry off easily and shouldn't take much force

Conclusion

To reassemble your device, follow these instructions in reverse order.

Kylan Hennessy

Member since: 23/01/17

573 Reputation

0 comments