Introduction
Follow this replacement guide to replace a malfunctioning diskette drive.
Floppy disks are used to install software, access data, and run applications. They are integral to the maintenance and upkeep of your device. If your Gateway Solo 1200 is failing to read floppy disks, there could be an issue with your diskette drive. Use this guide to replace the diskette drive in Gateway Solo 1200.
Tools
-
-
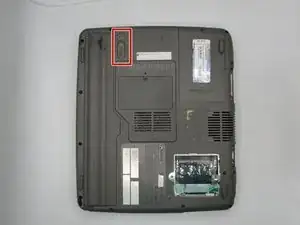
Locate the battery latch on the bottom of the laptop.
-
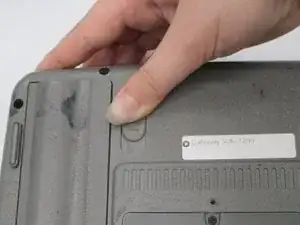
Release the latch by pressing it with your thumb and sliding it to the right.
-
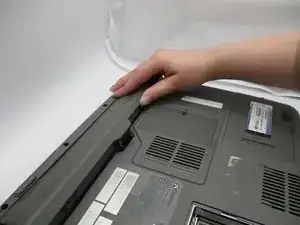
Slide the battery out of its compartment.
-
-
-
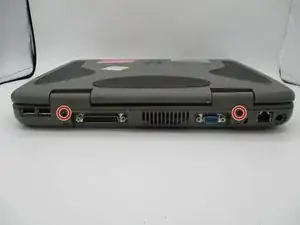
Turn the device so the back is facing you.
-
Unscrew the 2 mm screws with a Phillips #0 screwdriver.
-
-
-
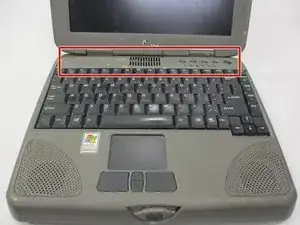
Open up the device so the keyboard is visible.
-
Locate the front panel with the power button above the keyboard.
-
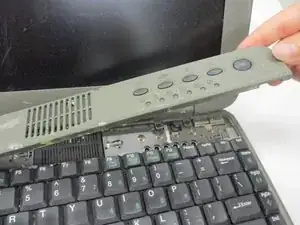
Remove the panel by gently pulling on it.
-
-
-
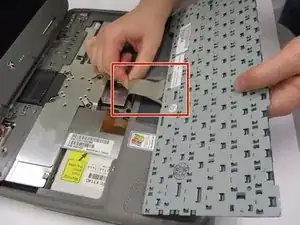
Gently lift the keyboard panel up.
-
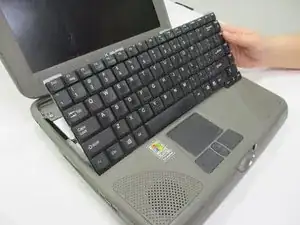
Flip the keyboard panel over to reveal the underside.
-
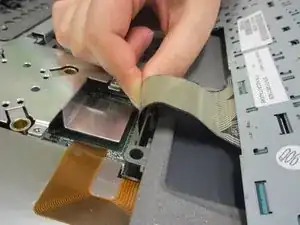
Gently tug on the ribbon cable at the bottom of the keyboard panel to release the keyboard.
-
-
-
Remove both monitor hinge covers at the base of the screen by unscrewing the 2 mm screws with a Phillips #0 screwdriver.
-
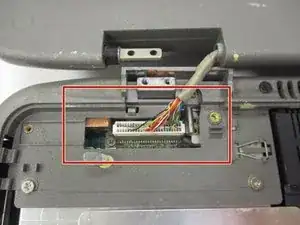
Locate the visual output cord on the exposed left hinge connecting the monitor to the laptop.
-
Gently tug on the visual output cord to remove the screen.
-
-
-
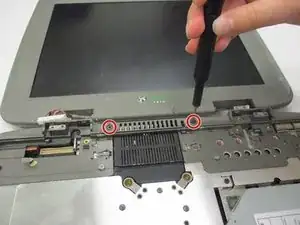
Once the screen is removed, locate the keyboard frame screws.
-
Unscrew the outer frame and gently pull it away from the device.
-
Gently tug on the trackpad connector underneath the keyboard frame to completely remove it.
-
-
-
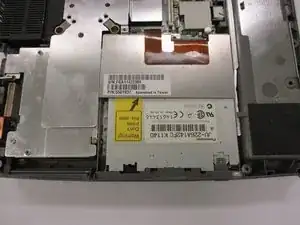
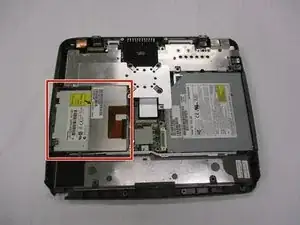
Rotate the device so the battery compartment is located at the bottom.
-
Locate the diskette drive directly above the battery compartment on the left side.
-
-
-
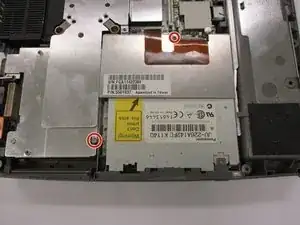
Turn the device so the battery compartment is now located on the right side.
-
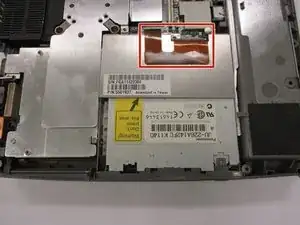
Locate and unscrew the two screws securing the diskette drive.
-
-
-
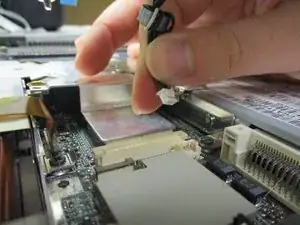
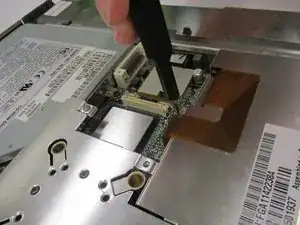
Locate the ribbon cable at the top of the diskette drive.
-
Gently pull ribbon cable to detach diskette drive from the motherboard.
-
-
-
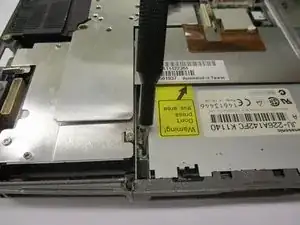
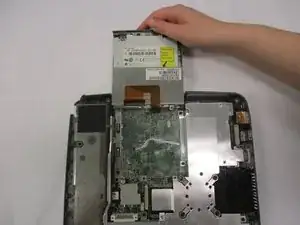
Once screws have been removed and ribbon cable detached, gently slide the diskette drive out of the laptop.
-


To reassemble your device, follow these instructions in reverse order.