Introduction
Follow this replacement guide to replace or upgrade your RAM stick.
Adding memory is one of the easiest ways to boost your Gateway Solo 1200’s performance. To find how much RAM your computer has, go to the device specifications in your PC’s settings. This will not only tell you how much RAM your computer has but also how much RAM it can support for possible upgrades.
Tools
-
-
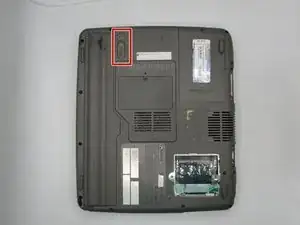
Locate the battery latch on the bottom of the laptop.
-
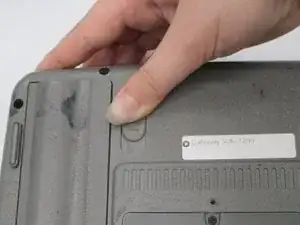
Release the latch by pressing it with your thumb and sliding it to the right.
-
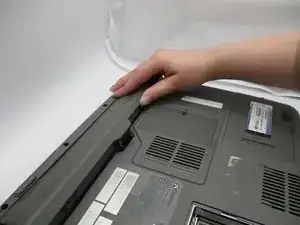
Slide the battery out of its compartment.
-
-
-
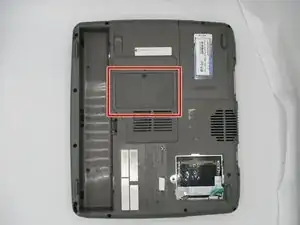
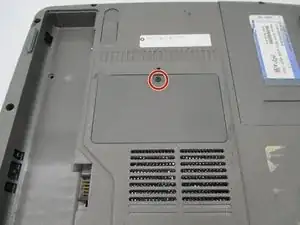
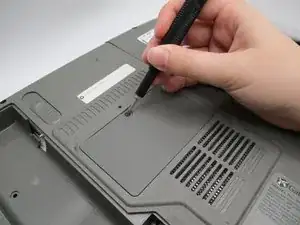
Open the RAM compartment by unscrewing the 2 mm screw with a Phillips #0 screwdriver.
-
Once unscrewed, lift off the compartment cover.
-
-
-
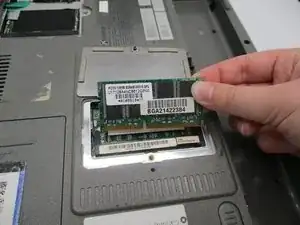
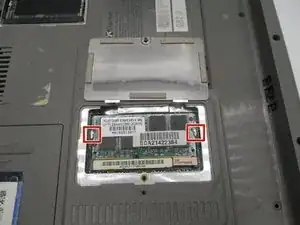
Press the silver retention levers on either side of the RAM away from the center of the RAM.
-
The RAM stick will pop up after the retention levers are released.
-

To reassemble your device, follow these instructions in reverse order.