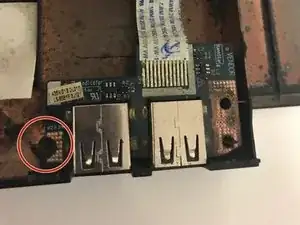
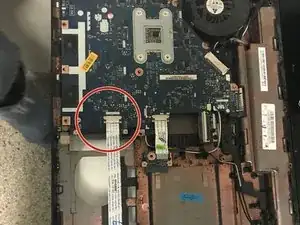
Introduction
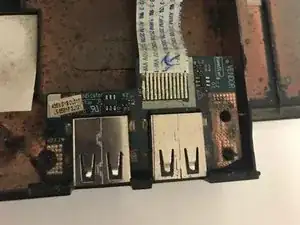
Use this guide if your laptop will not read a USB device or has connection issues during use. This is a difficult process and requires disassembly of the laptop. To replace the USB port you are required to disconnect cables from the motherboard, you will need to make sure not to damage the board.
Tools
-
-
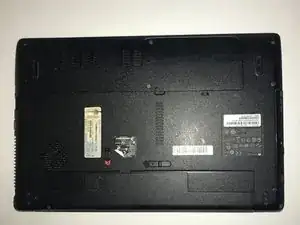
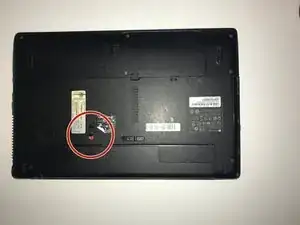
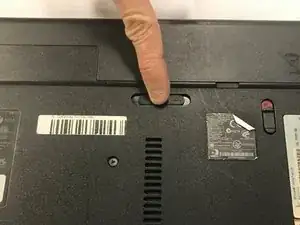
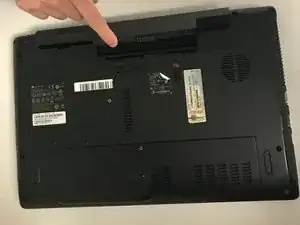
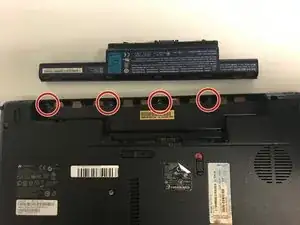
Push the battery slider to the other side. This will automatically eject the battery.
-
You can now remove the battery
-
-
-
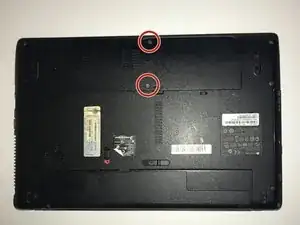
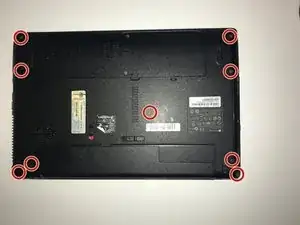
Remove the two 6.0mm Phillips #00 screws from the back cover.
-
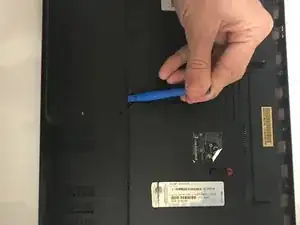
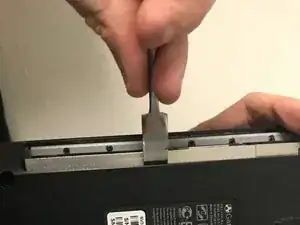
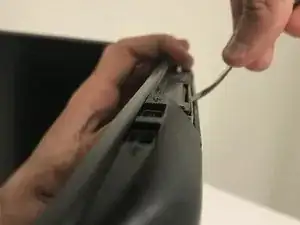
Remove the back cover by placing a plastic opening tool in the indention and prying upwards.
-
-
-
Flip the laptop over so that the cover faces you.
-
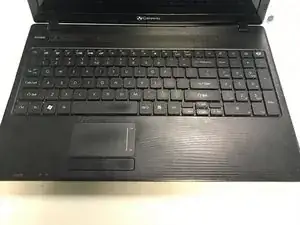
Open the laptop so you can see the keyboard.
-
-
-
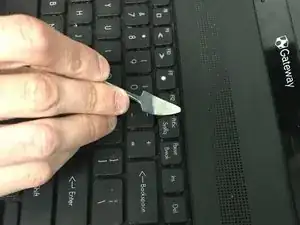
Slowly lift up the keyboard away from the laptop.
-
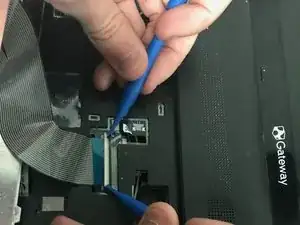
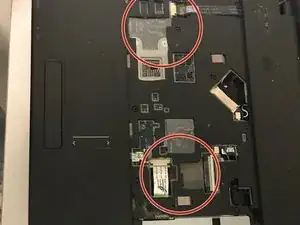
Push on the sides on the black ribbon cable using 2 plastic opening tools to release it.
-
-
-
Remove the disk drive cover on the right side of the laptop using the plastic opening tool.
-
Slide the disc drive out of its compartment, using the metal spudger.
-
-
-
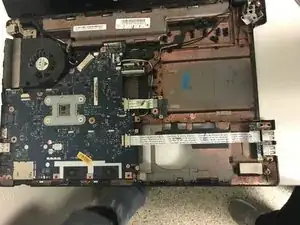
Push on the sides of the white ribbon cable that is attached to the motherboard using the 2 plastic opening tools to release it.
-
To reassemble your device, follow these instructions in reverse order.
