Introduction
Tools
-
-
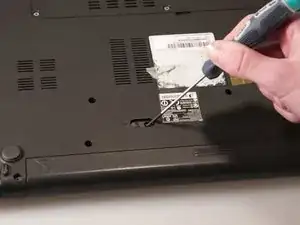
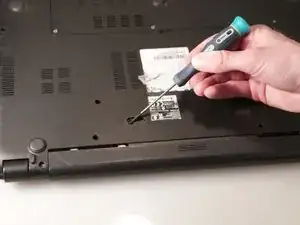
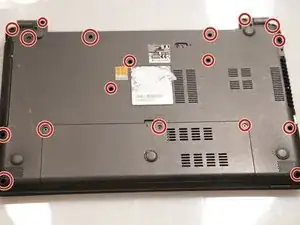
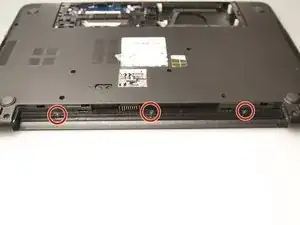
Remove 18 6.0 mm Phillips #00 screws from the bottom of the laptop.
-
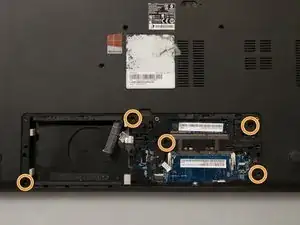
Remove 5 6.0 mm Phillip #00 screws from under cover.
-
-
-
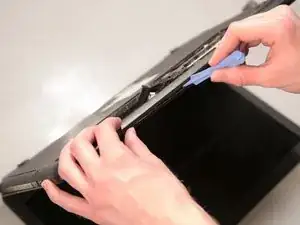
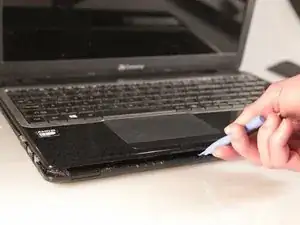
Separate the bottom panel from the touchpad assembly by inserting a plastic opening tool between them on all four sides.
-
-
-
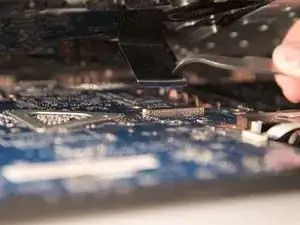
Pull black ribbon wire from port using tweezers in order to completely separate touchpad assembly from bottom assembly.
-
-
-
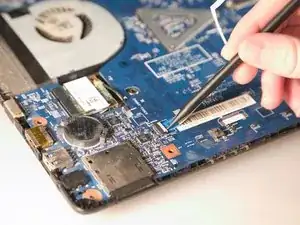
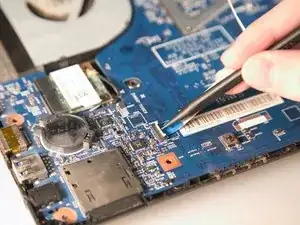
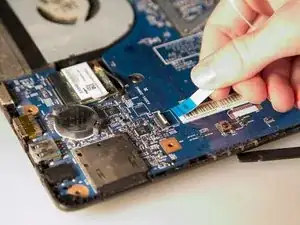
Disconnect the two ZIF ports that attach the touchpad assembly to the motherboard.
-
First flip open the flap covering the ribbon using a spudger or fingernail.
-
Second gently pull the ribbon away from the port.
-
-
-
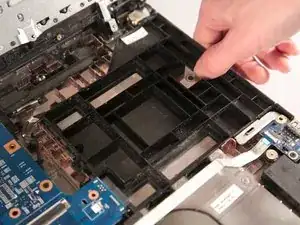
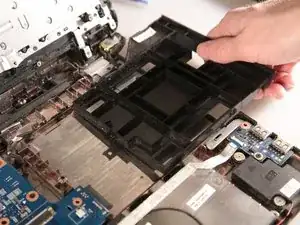
Grasp the plastic placeholder firmly and slide it out of the computer.
-
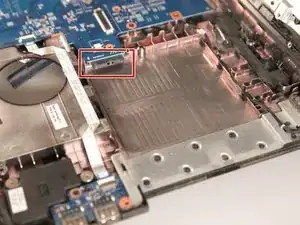
When inserting replacement optical drive, use the port at the back left of the open space.
-
To reassemble your device, follow these instructions in reverse order.
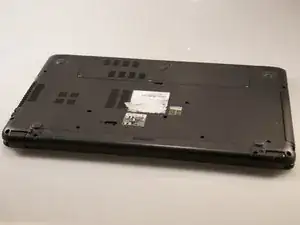
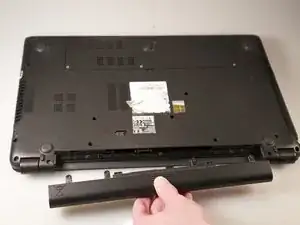
Flip the device over to expose the backside to access the battery.
Ashley Perkins -