Introduction

Upgrading your hard drive will allow you to store more movies, pictures and, applications on it. Also, if you add a solid-state hard drive, your boot time will decrease. Furthermore, hard drives tend to fail after long periods of time, so backing up your data and replacing your hard drive is one way to make sure your documents are safe.

  1. pxYbLkQxWNhLBmEf
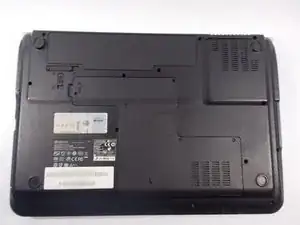
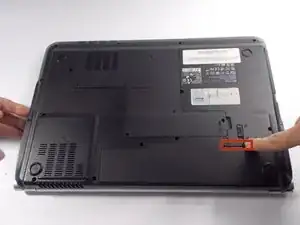
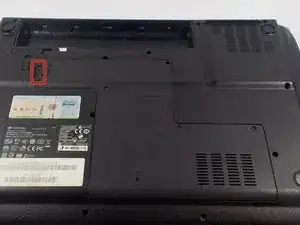
    • Turn the laptop over so that the underside is facing towards you.

  2. 4hVAPx6lhpCNIn1m
    4hVAPx6lhpCNIn1m
    3VSiKcPSoeXdsIIV
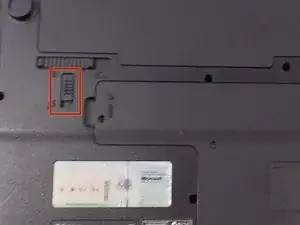
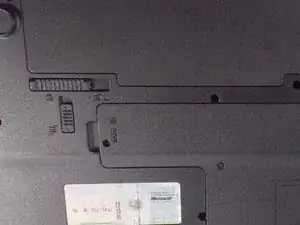
    • Slide the short slider one towards the unlocked lock symbol.

  3. R2eCtNHyLOyM6DNA
    R2eCtNHyLOyM6DNA
    lLlkWSpKl2Dkak6s
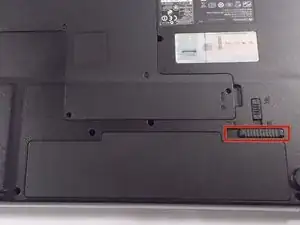
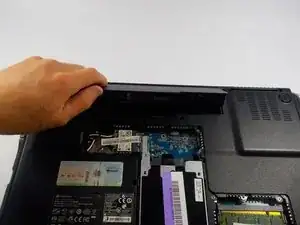
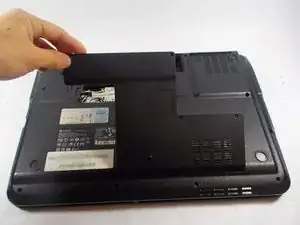
    • Slide the long slider towards the unlocked lock icon.

    • This slider is spring loaded and may require a little force.

    • If done correctly, a click will be heard and the battery will be slightly raised.

  4. PKKBmsnB6PfP4GMK
    PKKBmsnB6PfP4GMK
    kfNgG2cEgT6cLVL3
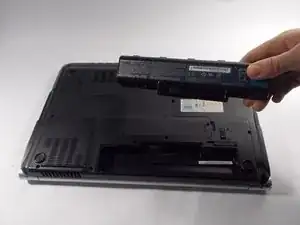
    • Grasp the battery's raised end and lift upwards.

  5. 3W62SOdpxYAEE2ut
    3W62SOdpxYAEE2ut
    1xnDxNtCEUPYGGCr
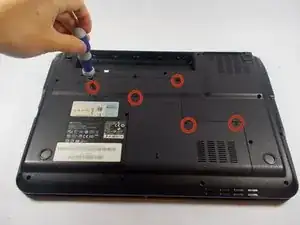
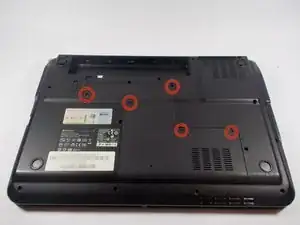
    • Use the Phillips head screwdriver to remove the five screws holding the back plate.

    • The screws are counter-clockwise threaded.

  6. hPojoTXTvBEcNSOW
    hPojoTXTvBEcNSOW
    xD5KFYQJkwGWK5na
    gItwbYo6O1ABNXhj
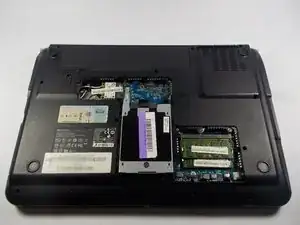
    • Place fingers under back plate via the indentation and lift upwards to remove.

  7. dCCwEHJUZOACsNCI
    dCCwEHJUZOACsNCI
    NqyQ3bn5OJVpCCLE
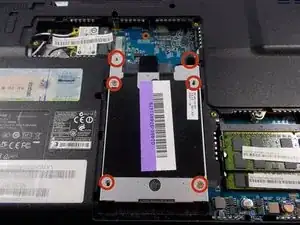
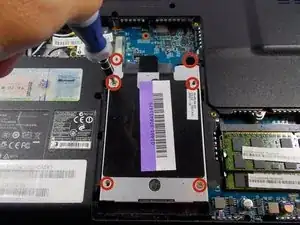
    • Unscrew the six screws holding the hard drive cover in place

  8. UNyo3IZEq5CvfTSt
    UNyo3IZEq5CvfTSt
    cFMRoEVmKfGHTBIE
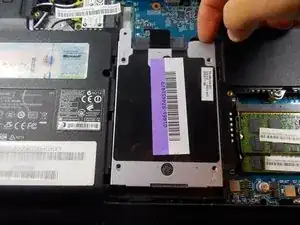
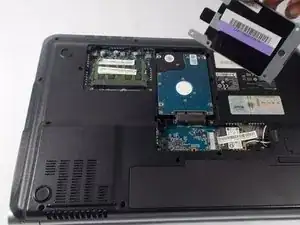
    • Grip onto the cover and slide it away from the connector to release the cover and hard drive.

  9. deIk4pm4TpBixgH5
    deIk4pm4TpBixgH5
    uSUVIIaEOXCXykcV
    GedTcQrkqKQiHmP2
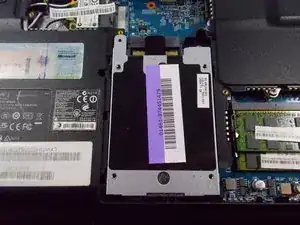
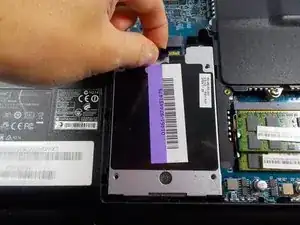
    • Grip onto the black plastic tab to lift the end enough to get your fingers under.

    • Once it is high enough, place another finger or fingers under the cover and lift straight off.

  10. KonVHLTrtoJxbDJN
    KonVHLTrtoJxbDJN
    1rTwrEPRQRx2FFvx
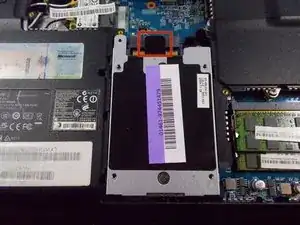
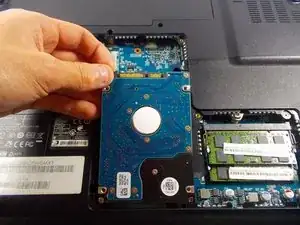
    • Use hand to grab hard drive and remove.

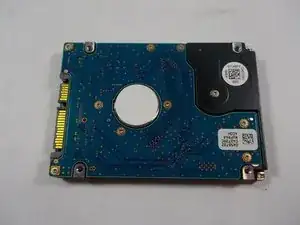
    • Do not touch the gold connectors.

Conclusion

To reassemble your device, follow these instructions in reverse order.
Chris mello

Member since: 22/10/14

331 Reputation

0 comments