Introduction
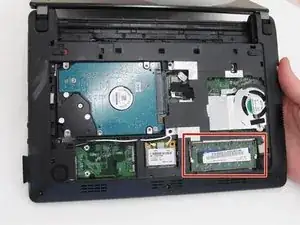
In this guide you will learn how to access the RAM. This process is quite simple once the back panel is removed and the RAM is accessible. You can replace, clean, or simply examine the RAM for imperfections.
Tools
-
-
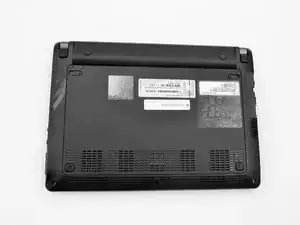
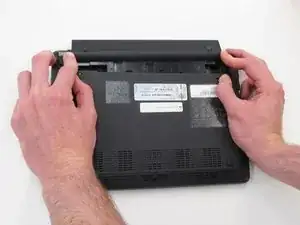
Place the laptop face down in front of you.
-
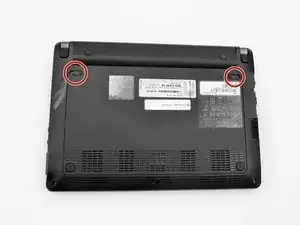
Locate the battery lock switches on the left and right top corners of the bottom of the device indicated by the red circles.
-
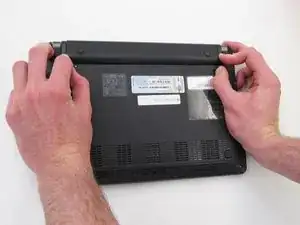
Pinch the switches and slide toward the edges of the computer to unlock.
-
-
-
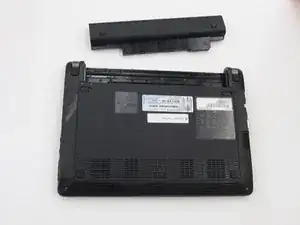
Once the switches have both been unlocked, push the battery upwards away from the rest of the laptop.
-
Remove the battery from the laptop.
-
-
-
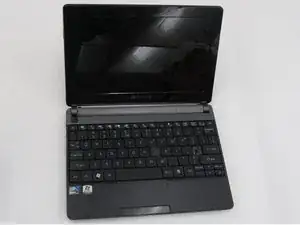
Open the laptop so that the screen and keyboard are facing you.
-
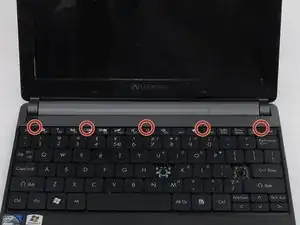
Identify the 5 tabs above the function keys in the crevice that attaches the keyboard to the main frame.
-
-
-
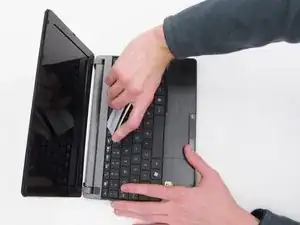
Use an opening pick to push each tab away from you.
-
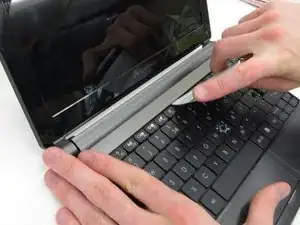
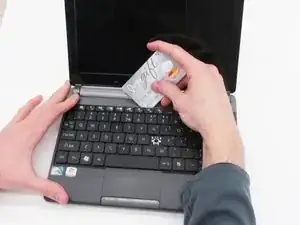
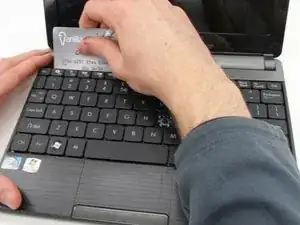
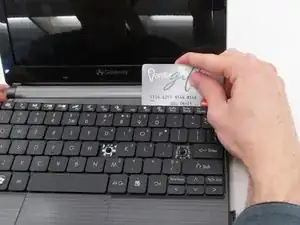
Use an opening tool to push the middle tab until you hear a click. Begin to push the tool downward into the computer and slide the card along the length of the keyboard, as you overcome the five tabs.
-
-
-
Begin to slide the plastic card under the top edge of the keyboard. You will hear popping sounds and the keyboard will eventually be released.
-
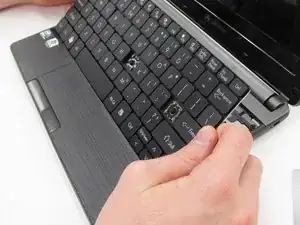
Carefully pry the keyboard from the main frame, starting at the top section.
-
-
-
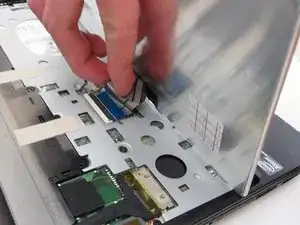
Unplug the thin blue connection piece beneath the keyboard. It may pop off on its own while you are prying off the keyboard.
-
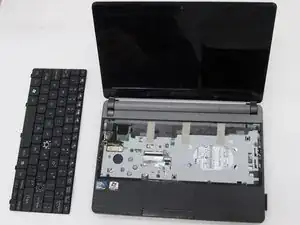
Once the thin blue plastic has been detached, remove the keyboard from the rest of the laptop.
-
-
-
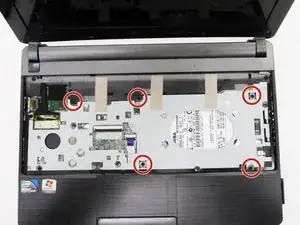
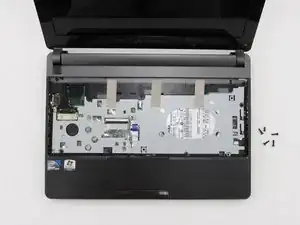
Locate and unscrew the five screws indicated by the red circles in the picture using a Phillip's #0 screwdriver. All of the screws are 8.0 mm, excluding the top right screw which is shorter. It should be 5.0mm.
-
Each screw should have the word "DOOR" engraved beside or above it.
-
-
-
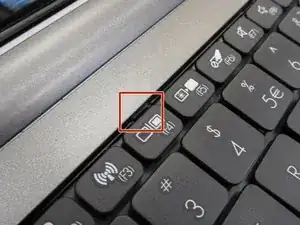
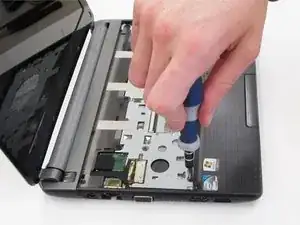
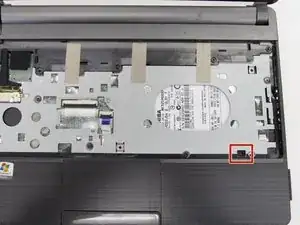
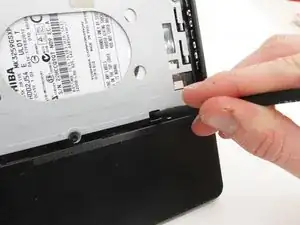
Hold the computer in your hands and use the tip of your screwdriver or a spudger to push through the bottom right hand hole left by the removed screw. This hole is shown in the picture within a red box.
-
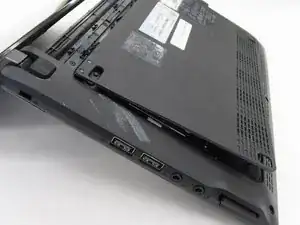
The tip of the screwdriver will push against the bottom casing of the laptop and pop it away from the rest of the frame.
-
-
-
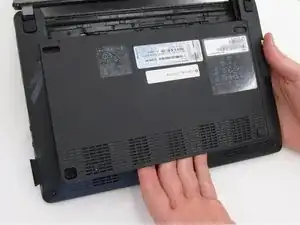
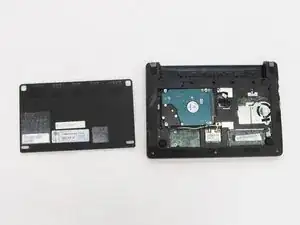
Close the laptop and place it in front of you face-down with the hinge connecting the screen and keyboard away from you on the table. Pry the rest of the bottom casing away from the computer, exposing the inside.
-
-
-
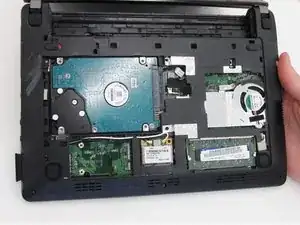
Locate the RAM in the bottom right corner. It is a thin green rectangle with a bar code sticker on top.
-
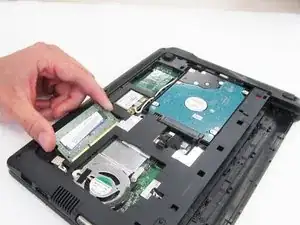
Using your thumbs, simultaneously press the two silver tabs on the outer edges of the RAM.
-
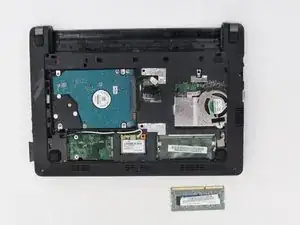
Remove the RAM from the rest of the laptop.
-
To reassemble your device, follow these instructions in reverse order.
