Introduction
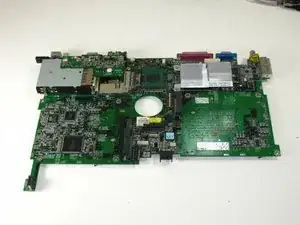
removal of the system board
Tools
-
-
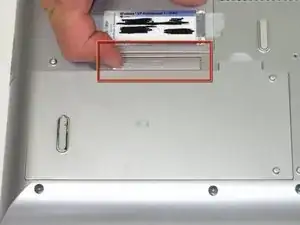
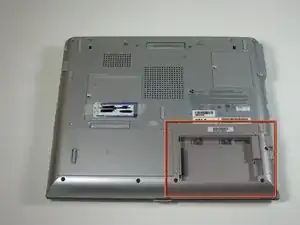
Flip the laptop over.
-
Slide the battery release tab to the right with your index finger to open the battery cover.
-
-
-
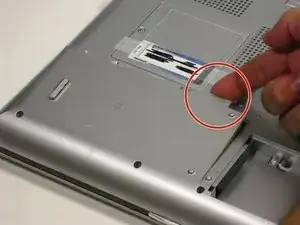
Remove the battery cover using the tab on the right side.
-
Take the battery out with your index finger.
-
-
-
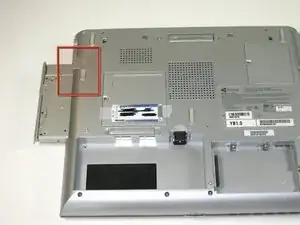
Unscrew 1 captive screw holding hard drive cover on.
-
slide hard drive to the right and remove.
-
for detailed pictures and info go to Gateway Support
-
-
-
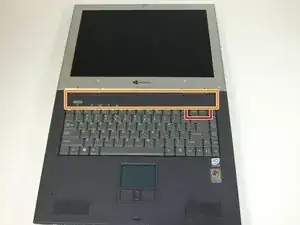
Insert the spudger between the "sysrq" and "ins" keys.
-
Gently pry free the power button panel above the keyboard, beginning from the right and moving to the left.
-
-
-
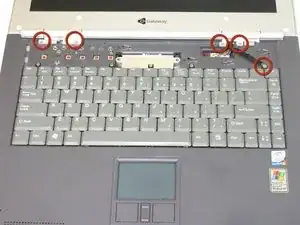
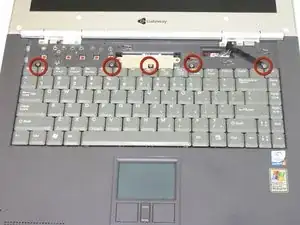
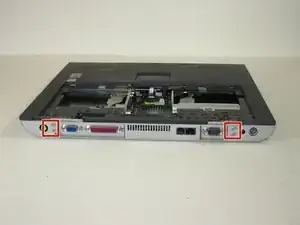
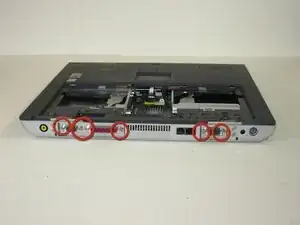
Remove the five screws with a Phillips #0 screwdriver.
-
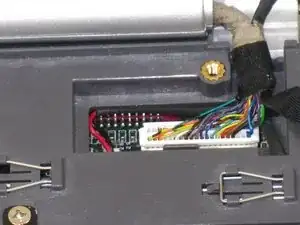
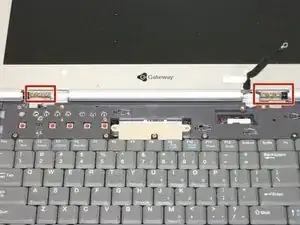
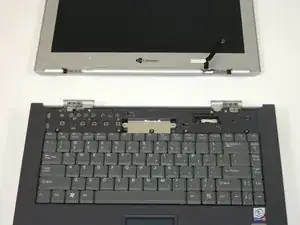
Lift the hinge covers along the outer edges with the spudger until they are released.
-
-
-
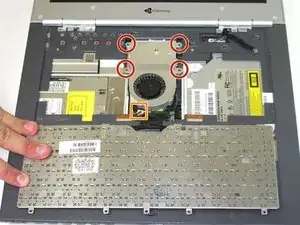
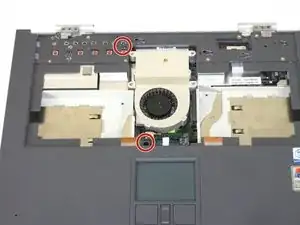
Unscrew the four captive screws.
-
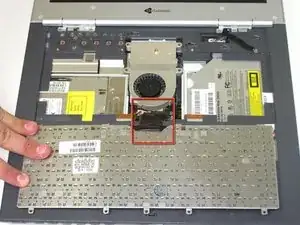
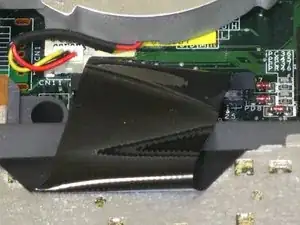
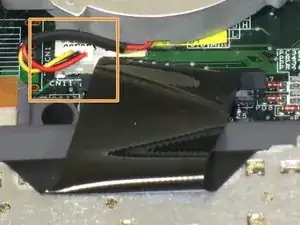
Unplug the fan from the system and pull it out. The fan unit should slide forward before coming free.
-
-
-
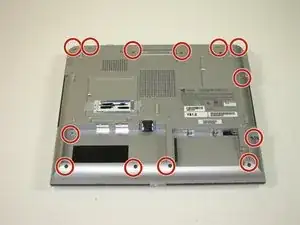
Use a Phillips #0 screwdriver to remove the thirteen screws from the bottom of the computer.
-
-
-
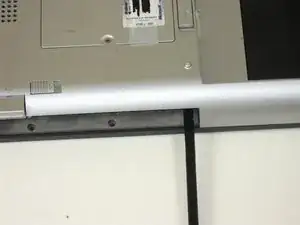
Insert your spudger between the upper and lower case at the drive bay closest to the battery.
-
Carefully and slowly go around the entire case, unseating all plastic clips holding the upper and lower cases together.
-
-
-
Lift the upper case about 1/4 inch.
-
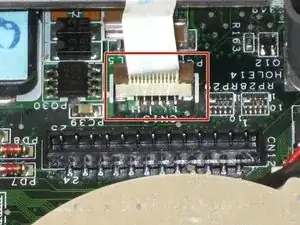
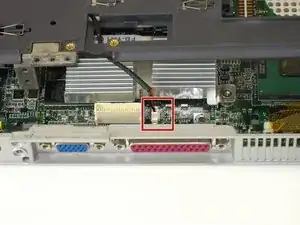
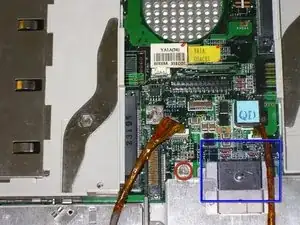
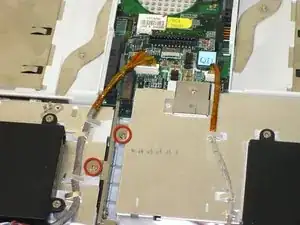
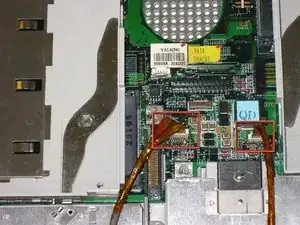
At the rear of the case is one last connecting wire. Unplug it and remove the upper case.
-
-
-
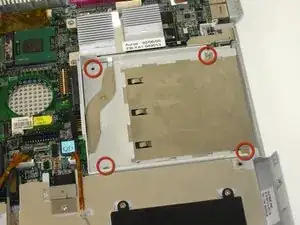
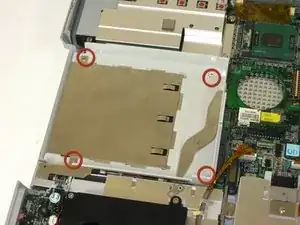
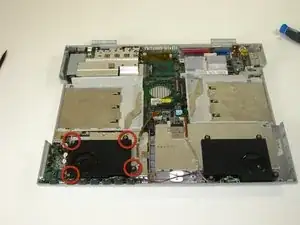
Remove 4 screws holding left speaker for ease of access to connectors and external sound board.
-
-
-
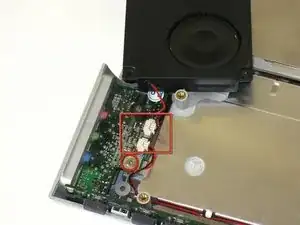
Remove screw and unplug speakers from external sound board.
-
Lift external soundboard away from system board and remove.
-
-
-
Unplug audio DJ
-
Unplug System status light board
-
Starting on the right side of case gently lift and slide system board till it comes free of lower case.
-
To reassemble your device, follow these instructions in reverse order.
