Introduction
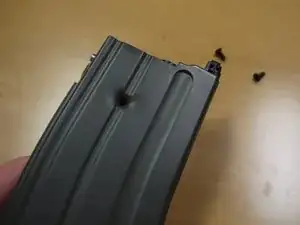
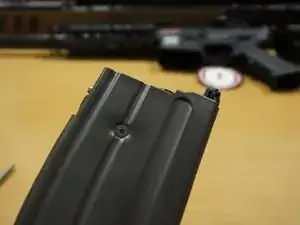
In GBB the magazine does most of the work so it is good to know how to work on it.
Tools
-
-
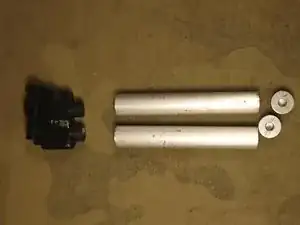
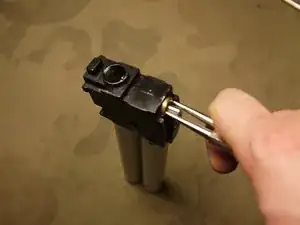
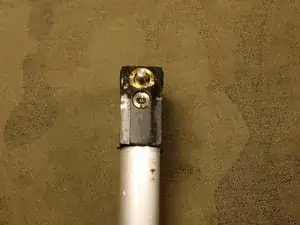
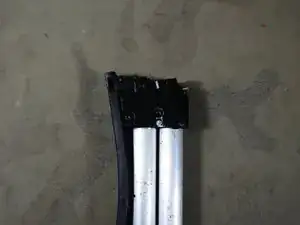
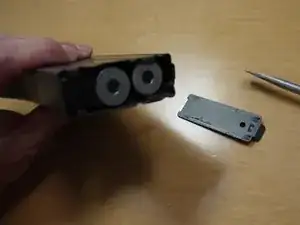
If you have taken down the magazine this far you can start screwing the tubes and caps. Either end of the tube will work.
-
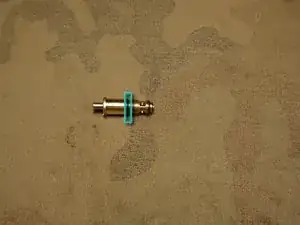
The o-ring can be a little crushed and still work effectively just make sure the the o-ring is evenly in position.
-
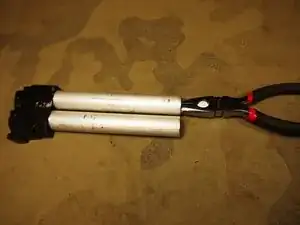
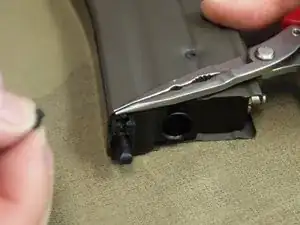
The pliers technique used in the disassemble can also be used to screw the tubes back on to the rest of assemble.
-
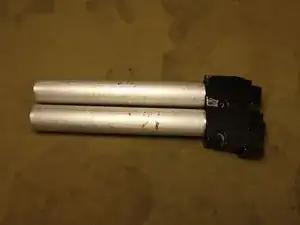
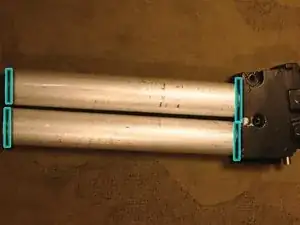
The tubes and caps need to tightly screwed down but not overly forced.
-
-
-
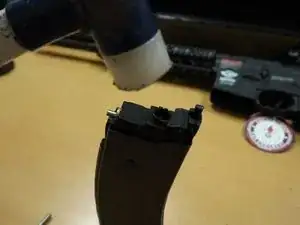
With the tubes and caps in place now is a good time check for leaks.
-
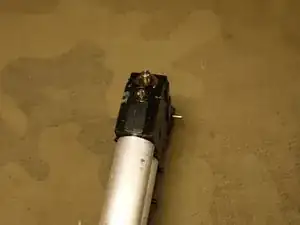
If your valves have been removed begin putting them into place.
-
Make sure that threads are line up and do not apply too much for to the valves.
-
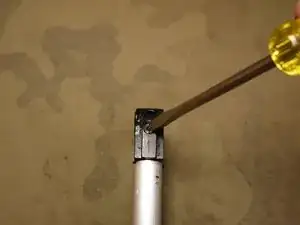
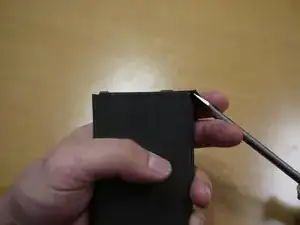
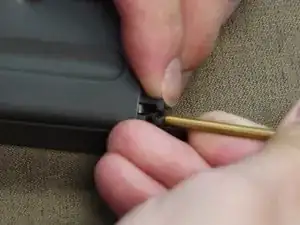
As mentioned in the disassemble using the proper valve removal tools is always best but with care you can use standard tools as shown.
-
Once everything in place you can gas up the magazine. I recommend using a green gas can that is not at full pressure to save on gas if it turns out that there still is a leak. If the lower pressure gas does not leak try filling the magazine with a full can of gas to see if it can handle the higher pressure.
-
If your trying find where a leak is coming from you can use the silicone spray on hole magazine and look for the bubbles.
-
-
-
If you are still struggling with leaks. You can use Teflon tape on the treads and silicone based plumbers grease on O-rings that do not move back and forth.
-
-
-
You can now add the bb track to the rest of the magazine core.
-
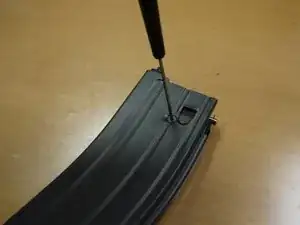
Once in position make sure the nut is into position on the other side of the magazine and then add the screw back on as shown.
-
-
-
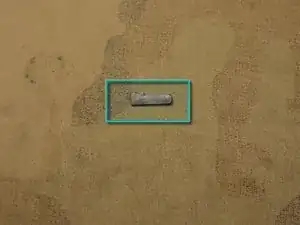
Now you can put the small plastic piece that allows you keep the bb follower down back into position.
-
Make sure the side of the piece that sticks up is set to the back.
-
-
-
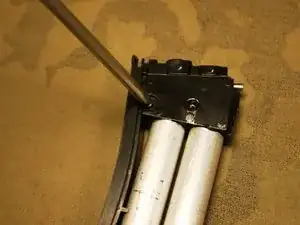
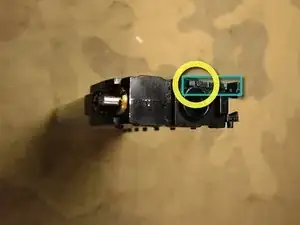
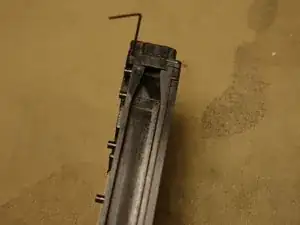
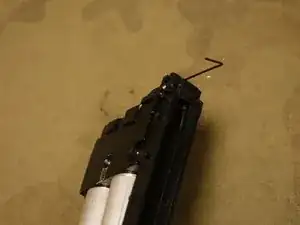
For adding the bb retention spring hold it into position with the hook section going down word and take the tiny hex screw and drive it in.
-
Make sure there is no cross threading.
-
-
-
Take the bb follower and set into the top of the of the bb track.
-
Then take the spring and set it into position.
-
With the core of the magazines all re-assembled, hold the spring in place then slide it back into the outer shell.
-
Tap the flat section on the top to get the core into position.
-
-
-
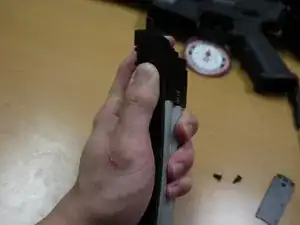
Now slide the bottom cover back into position.
-
This might take a slight amount of bending int get into place.
-
-
-
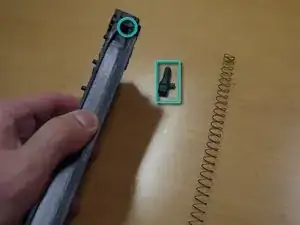
If you took the bb retention piece out earlier or it came out mistake when unloading bb's this step will show you how to put it back.
-
Use a tool to hold back the spring. Once it's back grab the leg of the spring with needles nose pliers.
-
Then take the retention piece and slide it back into place.
-
