Introduction

  1. f1mDTqvNKaKmPG5F
    f1mDTqvNKaKmPG5F
    WufBcIBPMmo1YfpV
    cCyNVHnIyZKQ42Xc
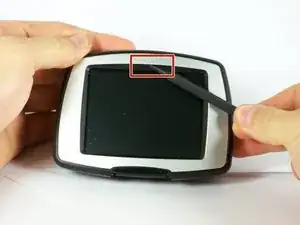
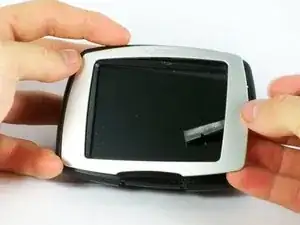
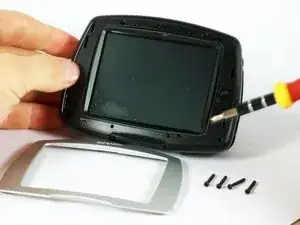
    • At the top of the outer frame, insert the plastic spudger into the groove in the center.

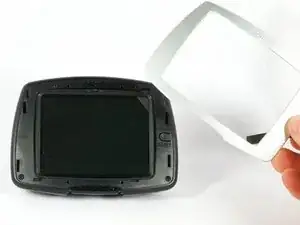
    • Lever the frame gently until it pops out of the case.

  2. MjFTNlZvVNNcpcaf
    MjFTNlZvVNNcpcaf
    eKFESYOX1GOTf65U
    6ZVBhfcG3EdOHHjR
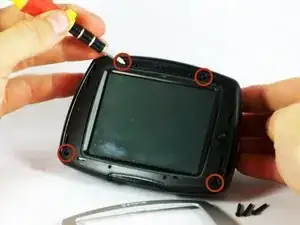
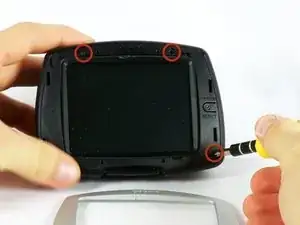
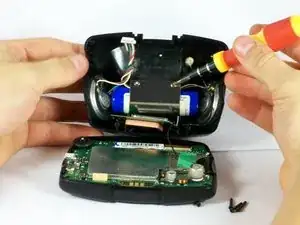
    • Use a Phillips #00 screwdriver to remove the four screws around the screen.

  3. WxMImTL1XEyboNoi
    WxMImTL1XEyboNoi
    1bUxESy2SAMgQVXC
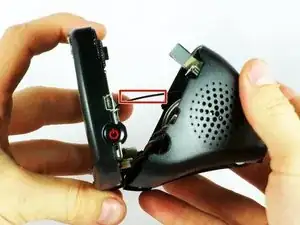
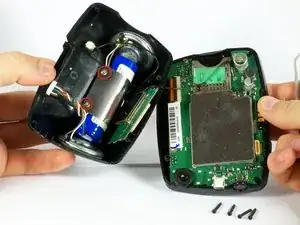
    • Gently pull from both ends of the casing to separate the front and back panels.

    • Do not force the pieces apart wider than the length of the connecting wires, or you will damage the wiring.

  4. unMPuZrswsFlqTNh
    unMPuZrswsFlqTNh
    tDGKj4LIH52pYLkB
    RuAHbLPNVBoJaBR5
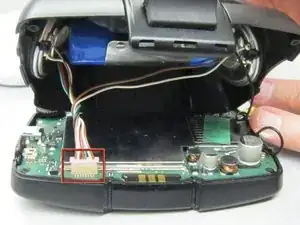
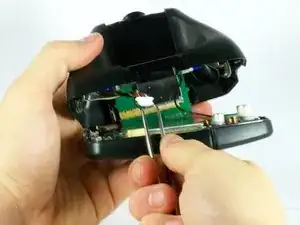
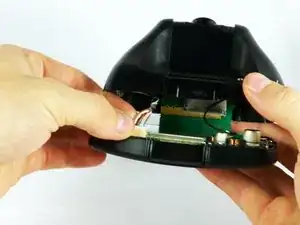
    • Gently unplug the white cable connector using either your fingers or tweezers.

  5. BeNJjmsH6PVIFEUr
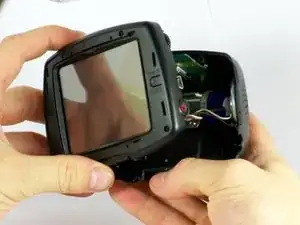
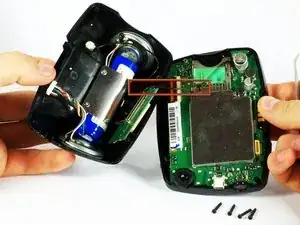
    • Carefully expose both halves of the device.

    • Be sure not to pull the two halves apart further than the black wire can reach.

  6. 4nBkuq3ohRBnSptd
    4nBkuq3ohRBnSptd
    vVa1blbCiLbQD5BG
    Sek65C2Q3BfrS4iD
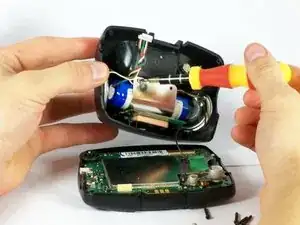
    • Use a Phillips #00 screwdriver to remove the two screws from the battery bracket.

  7. xXcbBLTFW1uSICJi
    xXcbBLTFW1uSICJi
    XjcAf2hsXCcL4JrL
    nwtZPuYQiKw5NR6i
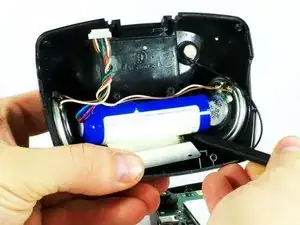
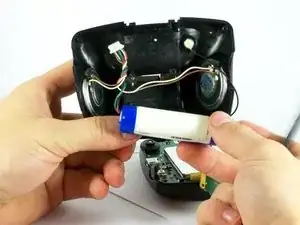
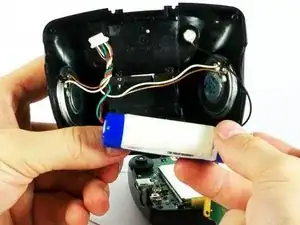
    • Carefully peel the metal bracket away from the battery.

    • Pull the battery away from the back cover.

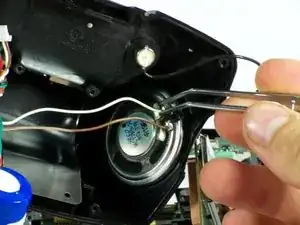
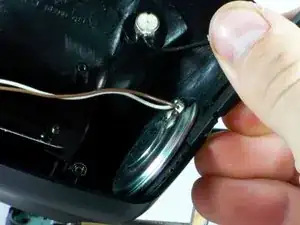
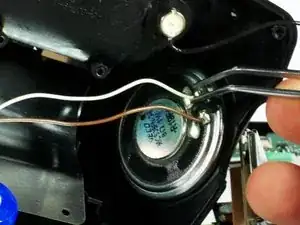
    • Desolder the wires from the speakers using a soldering iron.

  8. ejNWdLMSSYVGcTjW
    ejNWdLMSSYVGcTjW
    ncQnJjhpZAycdXAm
    • Carefully use the spudger to pry the speakers from the outer casing.

    • Once removed, you may use a soldering iron to remove the wires from the speakers.

Conclusion

To reassemble your device, follow these instructions in reverse order.
Michael

Member since: 07/10/10

107 Reputation

0 comments