Introduction
This guide instructs how to replace a faulty speaker.
Tools
-
-
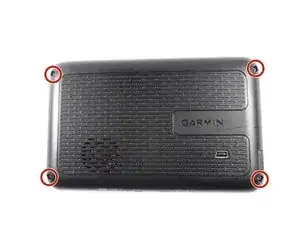
Place the LCD screen is face down on a flat surface.
-
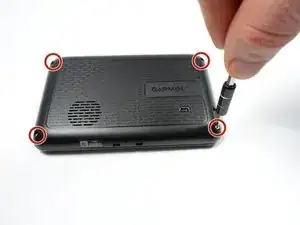
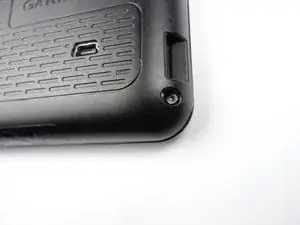
Make sure the side containing the speaker and the charging port is facing up.
-
-
-
Remove the four 9 mm screws on the back of the GPS unit using the Torx T-4 screwdriver found in the iFixit Pro Tech Tool Kit.
-
-
-
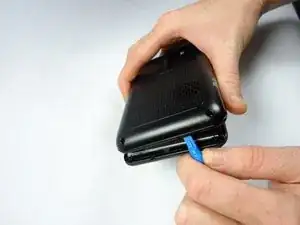
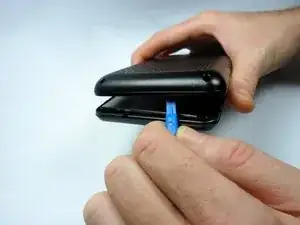
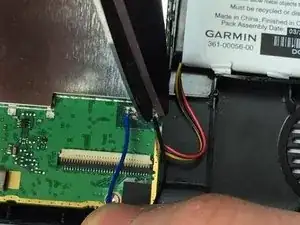
Gently pry open the device with the iFixit Plastic Opening Tool found in the iFixit Pro Tech Tool Kit.
-
-
-
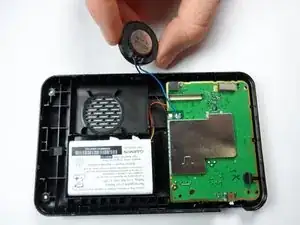
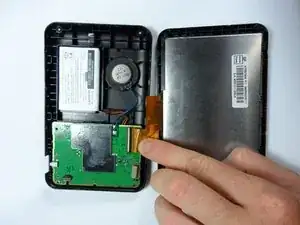
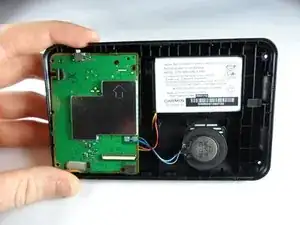
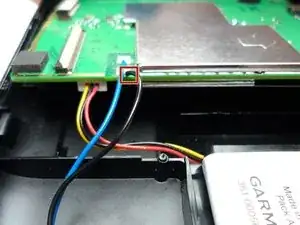
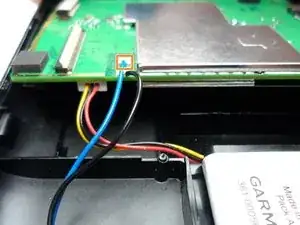
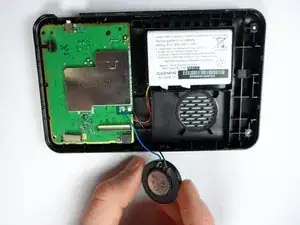
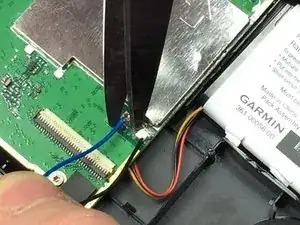
Once the GPS is open, identify the black and blue wires connecting the black speaker to the green motherboard.
-
The black wire is located closest to the speaker.
-
The blue wire is located farthest from the speaker.
-
-
-
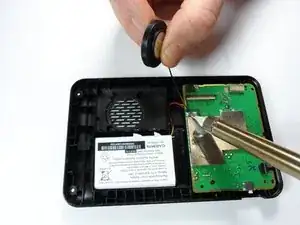
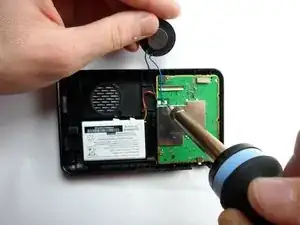
Solder the wires of the replacement speaker back onto the small silver squares located on the motherboard using the iFixit Soldering Station.
-
To reassemble your device, follow these instructions in reverse order.
