Introduction
The motherboard is the lowest replaceable unit, so users cannot simply replace the charging port. Garmin permanently attached the charging port to the motherboard. If a user needs to replace the charging port, the user must replace the motherboard.
Tools
-
-
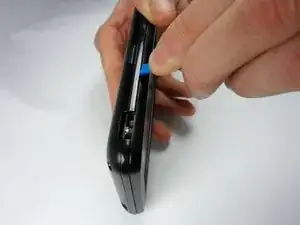
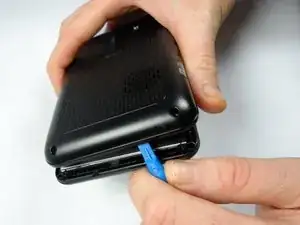
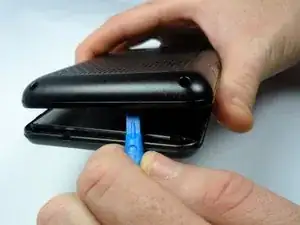
Use the iFixit Plastic Opening Tool to separate the front cover and the rear cover on all four sides.
-
-
-
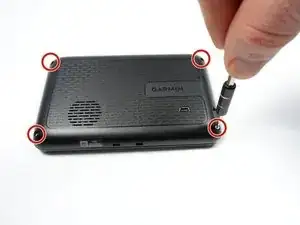
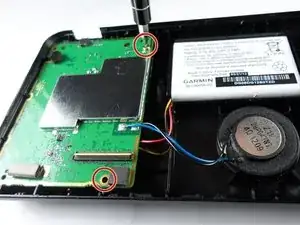
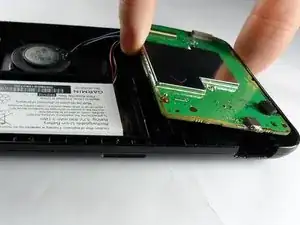
Remove the two 0.5 cm screws using the T4 Torx screwdriver attaching the motherboard to rear cover of the GPS unit.
-
-
-
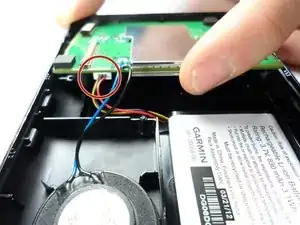
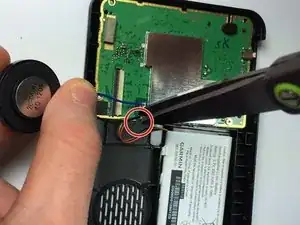
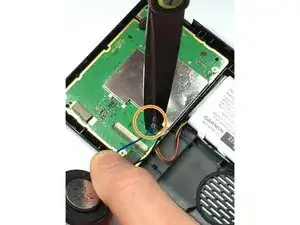
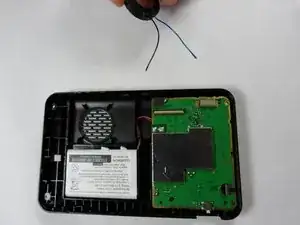
Use a pair of wire cutters to cut and separate the black speaker wire from the motherboard.
-
Use a pair of wire cutters to cut and separate the blue speaker wire from the motherboard.
-
-
-
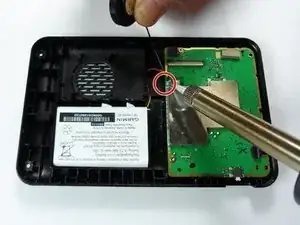
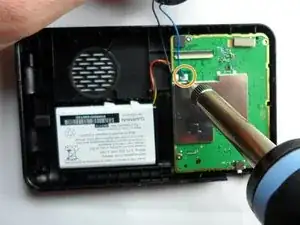
Place the replacement motherboard in the navigation system, and solder the speaker cables on the replacement motherboard.
-
Solder the black wire to the motherboard.
-
Solder the blue wire to the motherboard.
-
To reassemble your device, follow these instructions in reverse order with the exception of cutting the blue and black speaker wires.
4 comments
It's not a "Charging Port Replacement", it's a whole motherboard replacement, described in this guide. That's not what I'm looking for, and it's not what the guide's headline suggests.
ginxare -
Yes, you are right!
I was hoping it will go into SMD soldering/desoldering (using hot air, etc). Where would you find a new “motherboard”, anyways? At that point it becomes difficult to see the value in “fixing” the device.
Dan -
