Introduction
A faulty microphone can cause the device to not be able to recognize your voice and limit the use of the device. Replace it so that you can get the full amount of work out of the device.
Tools
-
-
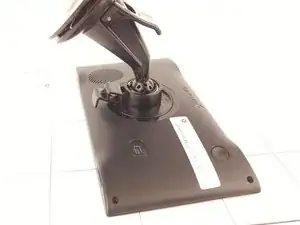
Start by taking off the stand by depressing the table turning the round piece back toward you, pulling it away for the Garmin device.
-
-
-
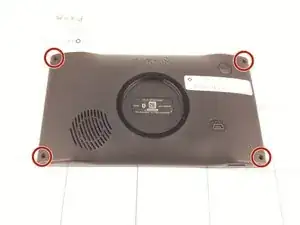
Use a T5 bit on a screwdriver to remove the 4 screws at the 4 corners on the back of the device.
-
-
-
Place the device face down on a flat surface, with the bottom facing you.
-
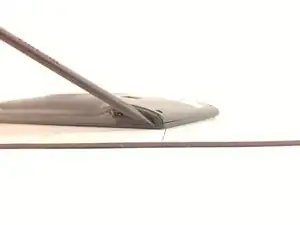
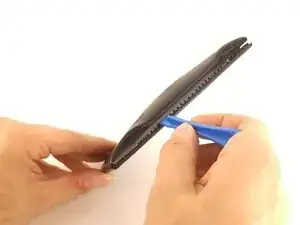
Pry open the seam with a prying tool .
-
-
-
Firmly force a plastic spudger into the bottom seam and pry open a section of the device
-
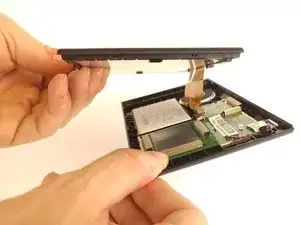
Repeat all the way around the seam until the back comes off.
-
-
-
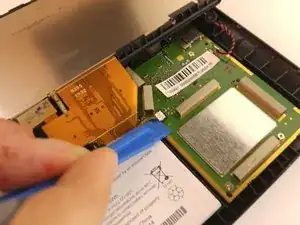
Wedge an angled plastic prying tool under the connector to the battery where the wires attach to the mother board
-
Gently pry up the connector. It should come free easily.
-
-
-
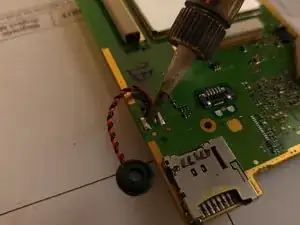
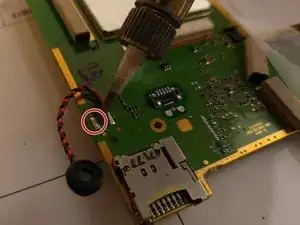
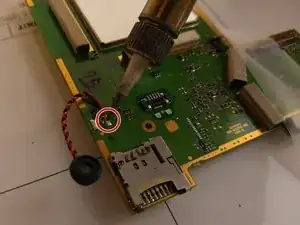
Melt the two metal connections on the circuit board using a soldering iron.
-
Remove the wires using tweezers.
-
-
-
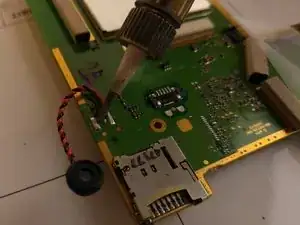
Retrieve your new microphone for your Garmin device and attach to the circuit board with the soldering iron.
-
Carefully melt the solder onto the wire at the connection points on circuit board.
-
To reassemble your device, follow these instructions in reverse order.
One comment
Great explanation, thank you! But where can I buy the replacement mic, please?
