Introduction
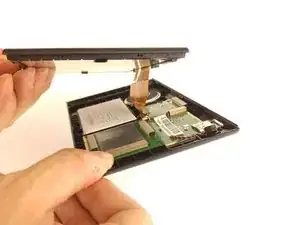
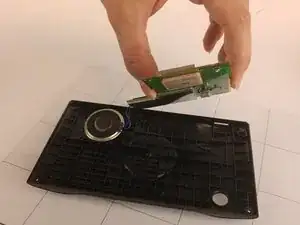
The main circuit board controls all aspects of the device. It also houses the Blue-tooth and satellite up-link components.
Tools
-
-
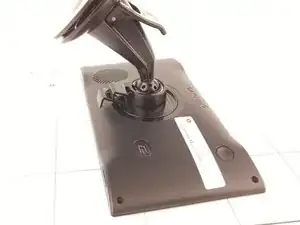
Begin by removing the stand by depressing the tab and rocking the round interface back toward you, pulling it away from the Garmin unit.
-
-
-
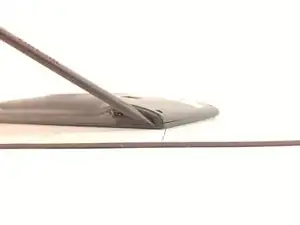
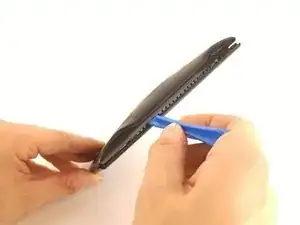
Firmly force a plastic spudger into the bottom seam and pry open a section. Use a prying/pushing motion to force the spudger into the unit.
-
Repeat this all the way around the seam.
-
-
-
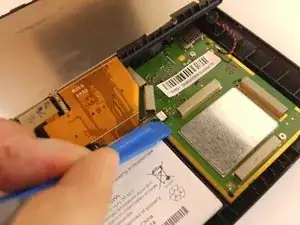
The white battery is attached to the casing with an adhesive. Separate it with a prying tool.
-
-
-
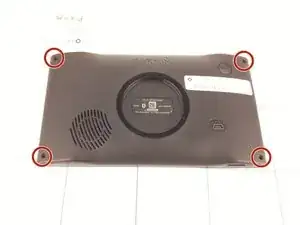
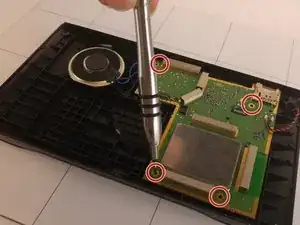
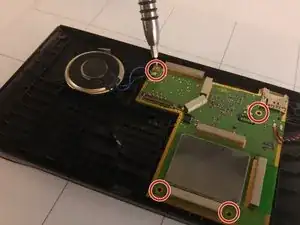
Remove the four, 4mm hex screws with a T5 bit.
-
These are located near the four corners of the main circuit board, as shown.
-
-
-
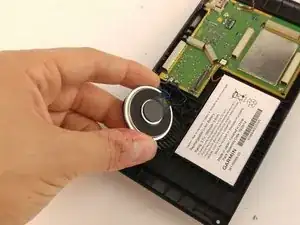
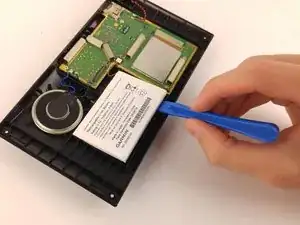
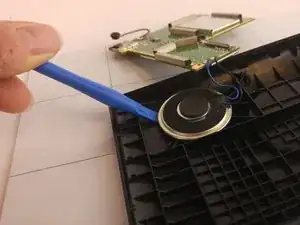
Remove the speaker - located on the device as shown - from the plastic casing using a prying tool. Use the prying tool around the entire rim of the speaker to ensure a clean removal.
-
To reassemble your device, follow these instructions in reverse order, using a new circuit board.
