Introduction
This guide will walk you through the process of replacing a faulty or broken motherboard in your Garmin Nuvi 2597LMT. You may need this guide to replace the motherboard if you know it is broken, the device doesn't run at all, or if you know the motherboard got water damaged. Make sure you are very careful when working with your device; you don't want to break any of the fragile components inside or rip the ribbon cable connecting the two halves.
Tools
-
-
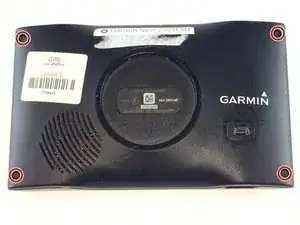
Turn your device over so the back is revealed and you can see the screws in the four corners.
-
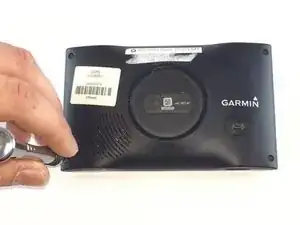
Remove the four 3mm width by 6mm length T5 Torx screws using your screwdriver.
-
-
-
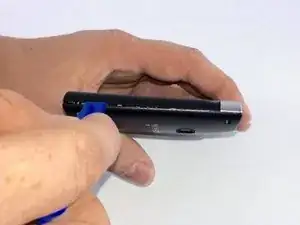
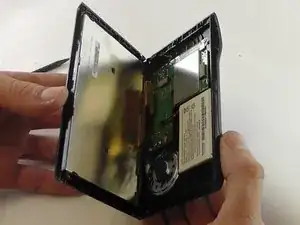
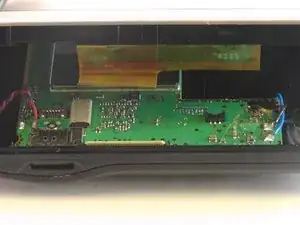
Use the plastic opening tool to pry open the device at the seam where the two halves meet, prying all along the sides and the top seams if need be.
-
-
-
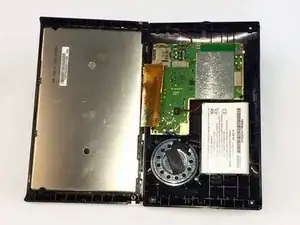
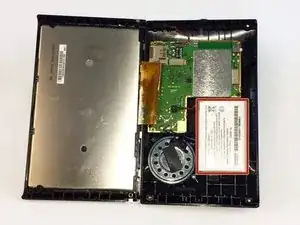
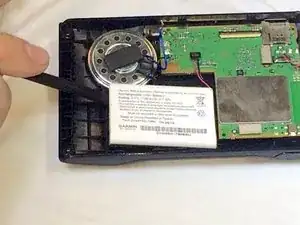
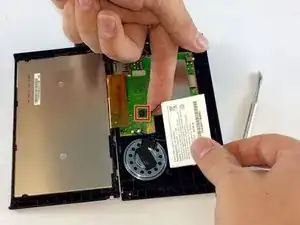
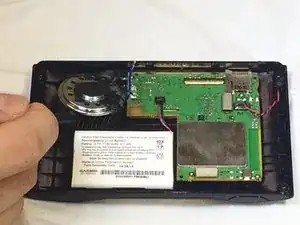
Locate the battery and then use your spudger to gently lift the battery, which is held to the case using a sticky pad, and free it from its position.
-
-
-
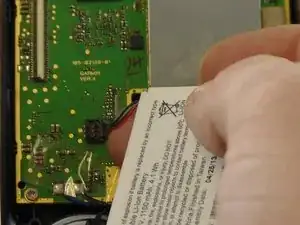
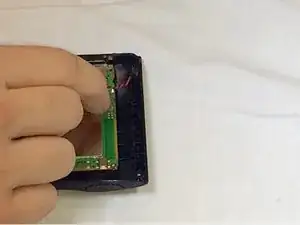
Use your hands or a spudger to gently lift the wires from underneath to disconnect the connector from the motherboard.
-
-
-
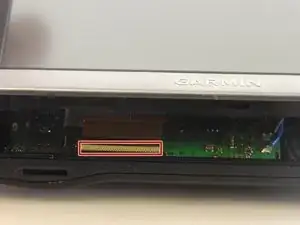
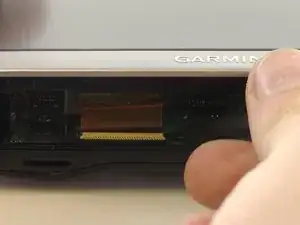
Use your tweezers to flip back the tab of the ZIF (Zero Insertion Force) Connector, that is used to keep the ribbon cable in place.
-
-
-
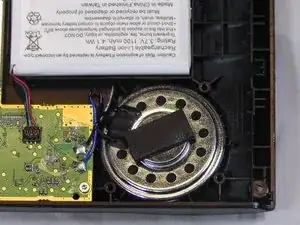
Use your thin spudger to gently lift the speaker off of the sticky pad and away from the casing.
-
-
-
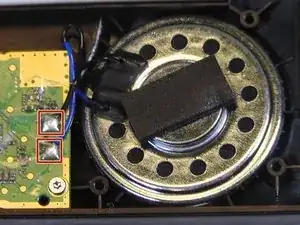
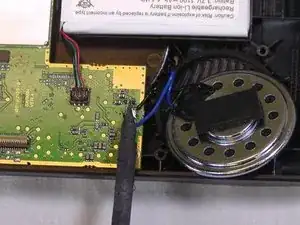
Use your soldering iron to disconnect the wires from the motherboard. Disconnect the ground wire (the black one) and the positive wire (the blue one).
-
-
-
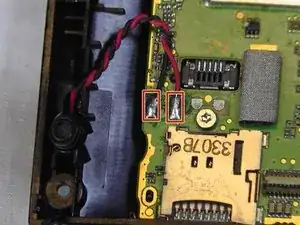
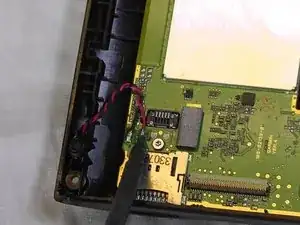
Use your soldering iron to disconnect the wires from the motherboard. Disconnect the ground wire (the black one) and the positive wire (the red one).
-
-
-
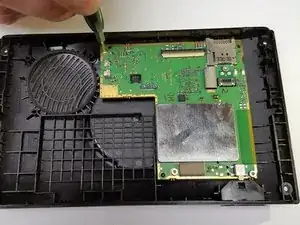
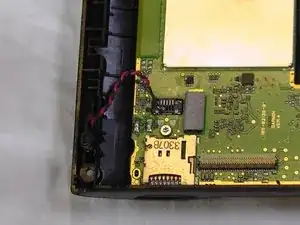
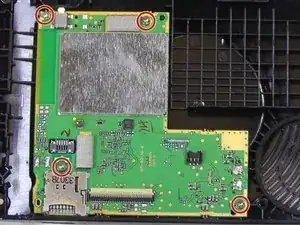
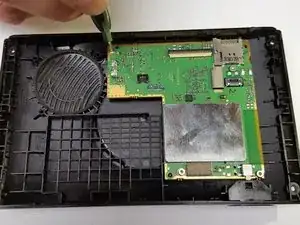
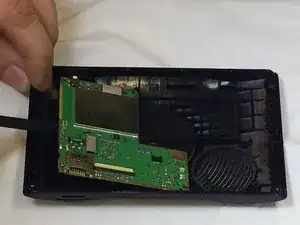
Use your spudger to gently lift the motherboard out, it just sits in there so you don't have to struggle to get it out.
-
To reassemble your device, follow these instructions in reverse order.
3 comments
Very Helpful Patrick. Thank you. Now to replace the voltage regulator I accidentally smoked!!!!
desoto -
Patrick,
Where can one buy motherboards for their Garmin Nuvi 2495 LM?
Sal Baby -
Thanks Patrick. I'm using your guide for reference when opening my Nuvi 2495 LMT. The MicroSD card slot quit latching so I wanted to see if its gummed up or something else. I didn't know where to start aside from removing the screws on back. Now I know where to pry.
I needed to know what size Torx driver I needed. Thank you! This is very easy to follow. I’m sure I’ll have no problems now replacing my battery.
myfblogin -