Introduction

The tools you will need are a T5 Torx screwdriver, plastic opening tool, and soldering equipment. The speaker might be glued to the back of the device and is connected to the motherboard.

  1. qF5jqgI2J5S4JITv
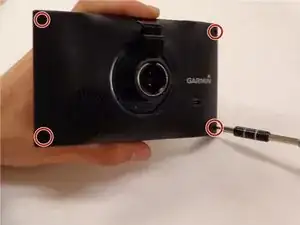
    • Using a T5 Torx screwdriver, remove four 6 mm screws from the four corners of the back of the device.

  2. mpsrNUb21T41xxGy
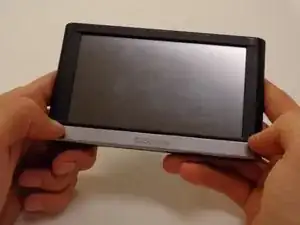
    • Grip the device with your hands. Using your thumbs pull the nameplate towards yourself and off the device.

  3. sglukEPdbLfLAdR4
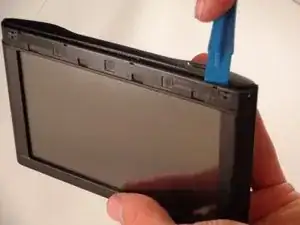
    • There is a visible separation between the front and the back of the device.

    • Using a plastic opening tool, pry open the device along this separation.

    • Trying to open the device on the opposite side will rip the motherboard-display connector.

  4. HE1M4MPtnmDDBddG
    HE1M4MPtnmDDBddG
    PGhFVO4bBkNmYfPV
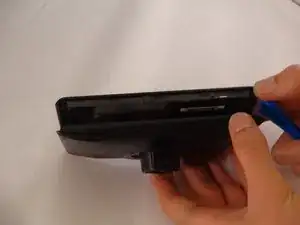
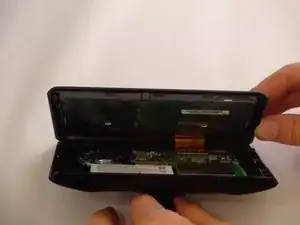
    • Carefully pull apart the device by opening it up on the opposite side of the nameplate.

  5. O2MCjT1gE2pglgut
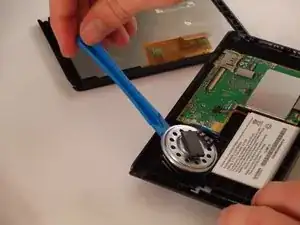
    • Using a plastic opening tool, wedge the speaker from the device.

    • Don't pull it out of the device too far. It is still connected to the motherboard wire.

  6. ONSkIwETWFVBtOik
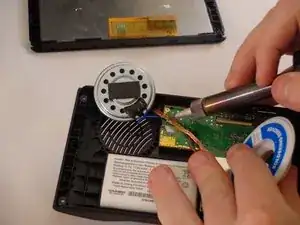
    • Using a soldering iron, desolder the wire connection between the speaker and the device.

Conclusion

To reassemble your device, follow these instructions in reverse order.
Monica Webber

Member since: 31/03/16

231 Reputation

0 comments