Introduction

  1. CXOFEKNEmENaAPIf
    • Microwave the iOpener for about 30 seconds. Then place it on top of the screen, and let it sit for about 2 minutes.

    • Repeat this process a second to ensure that the glue is becoming loose.

    I have a 820 is the same process used?

    Gary Roy Hogg -

  2. lmcgVSCTMVOVOyPk
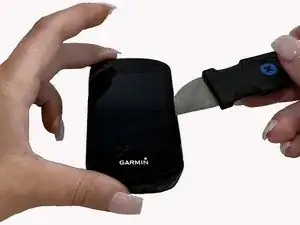
    • Use the Jimmy tool carve around the edges of the screen to break the glue seal.

    Does the glue have to be replaced? If so what type of glue?

    Gary Roy Hogg -

  3. WqXONU5VpX1YiLWZ
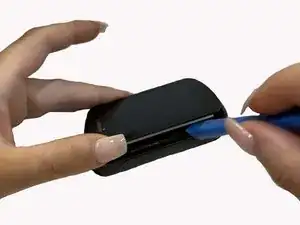
    • Use the iFixit plastic opening tool to pry open the screen.

  4. 1p2rRc3VqhLsH6hS
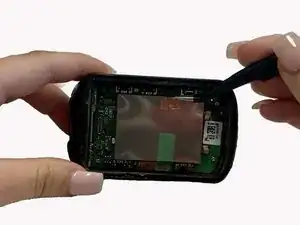
    • Remove brown and green tape with angled tweezers

  5. JQWjXVCJp1AeHULZ
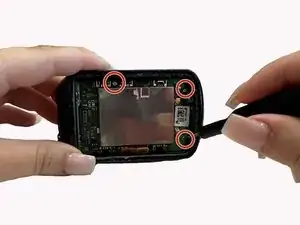
    • Unscrew the three 1 mm screws around the perimeter of the motherboard

  6. aNTUtEPIAEf5K23N
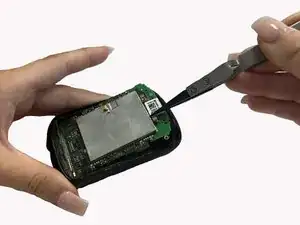
    • Use the reverse tweezers to gently pull on the silver box on top of the motherboard to remove it from the back cover.

  7. ReWMPmWOBxewmBLR
    ReWMPmWOBxewmBLR
    QgVNBrdJGbdFI21d
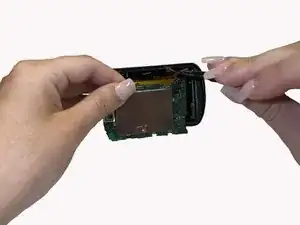
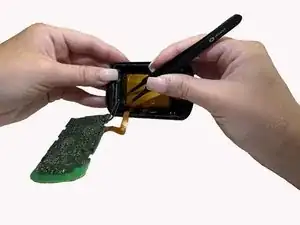
    • Locate the wire connector on the motherboard. Slowly release the wires by gently pulling with the blunt tweezers.

  8. sakXrwGA5pXvnaek
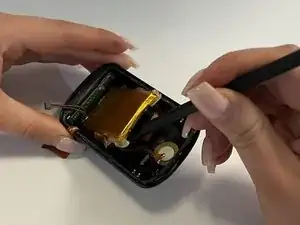
    • Use the halberd spudger to lift and remove the battery from the back cover.

  9. WJScXQoY2XPYG1Gt
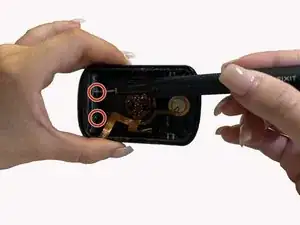
    • With the T4 screwdriver, unscrew the two 1 mm screws on the green piece located on the inside of the cable connector

  10. PJkTKhtXvqqeLmcj
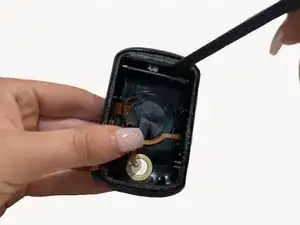
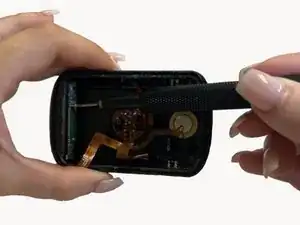
    • Use the halberd spudger to lift and remove the cable connector from the back cover.

Conclusion

To reassemble your device, follow these instructions in reverse order.
Samantha Klopman

Member since: 21/03/22

293 Reputation

0 comments