Introduction

  1. RglrkRhuoCGGuCjc
    RglrkRhuoCGGuCjc
    ohI5QHOP6pGHoQSP
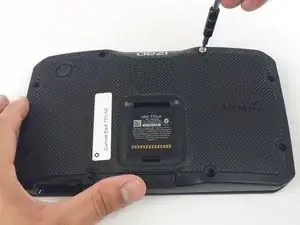
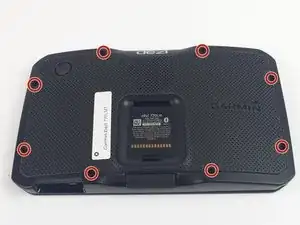
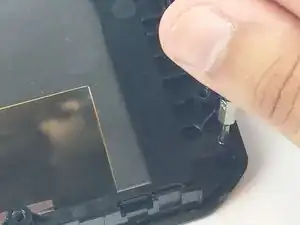
    • Turn the device screen down and using the screwdriver remove all eight screws from the back plate.

  2. 5MGKAG2ogTGE4PhZ
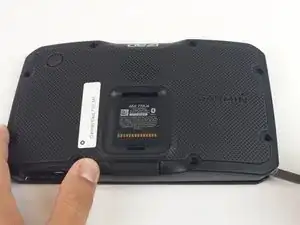
    • Place a nylon spudger in the seam between the front and back panel and carefully lift around the edge of the device.

  3. 4DRpGtWOZeB3IoGP
    • Use the spudger to pry apart the screen from all around the device.

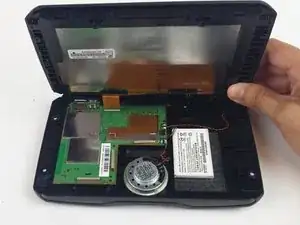
    • Gently lift the screen so not to disconnect the ribbon attaching the screen to the motherboard.

  4. VKh3wcGBiFecSLRY
    VKh3wcGBiFecSLRY
    qKvIgwQrkw4kJQMw
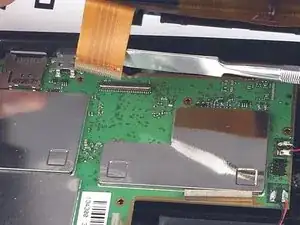
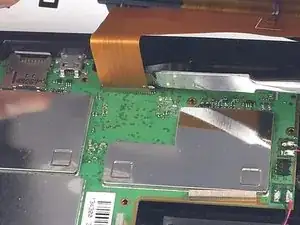
    • After you've removed the back cover, you will see a copper colored ribbon connected to a grey hinge.

    • Carefully remove the hinge from the cord using a spudger and the ribbon will come out.

    • The regular black nylon spudger should be used whenever possible, especially around sensitive internal components.

    • Make sure to wear an anti-static wrist strap when handling the motherboard.

  5. UrAd6QxcjNNgK2YP
    UrAd6QxcjNNgK2YP
    jOoPSUGj3EKfdPIu
    IMqRaQKddpqTlKqh
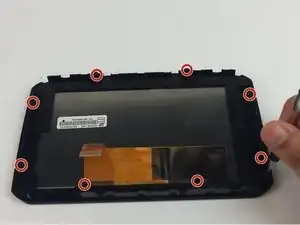
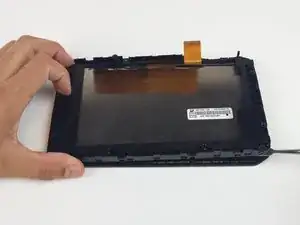
    • Now you have the screen, which is enclosed by another cover. Remove the eight screws that hold it in place.

  6. a4NruTH2VYO16yIa
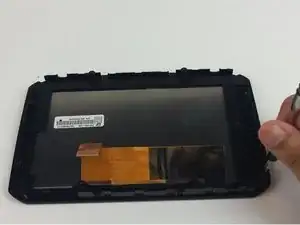
    • Once the screws have been taken out, use a spudger to carefully remove the cover. With this cover removed, the screen is now completely exposed.

    Any ideas on where to purchase a replacement screen in the US? Thanks!

    April Schneider -

Conclusion

To reassemble your device, follow these instructions in reverse order.
Aleem Waris

Member since: 10/10/16

146 Reputation

0 comments