Introduction
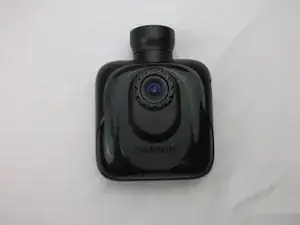
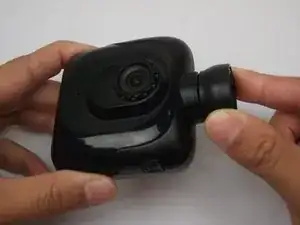
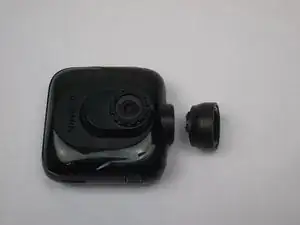
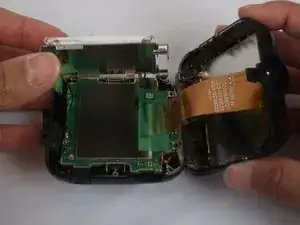
This guide will walk users through removing the top cover of the Garmin Dash Cam as well as the metal battery frame. Due to the compact nature of this device, this guide is a prerequisite to other guides that require access to the internal components of the device.
Tools
-
-
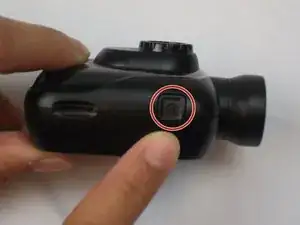
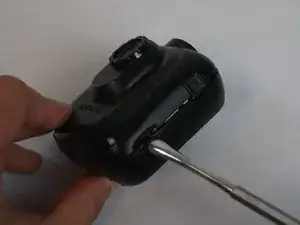
Rotate the Dash Cam to where the socket faces you.
-
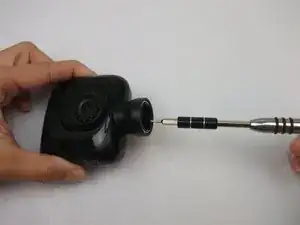
Remove the 9 mm screw using the Torx T6 screwdriver.
-
-
-
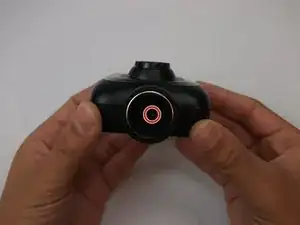
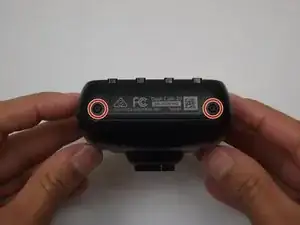
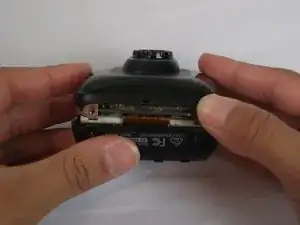
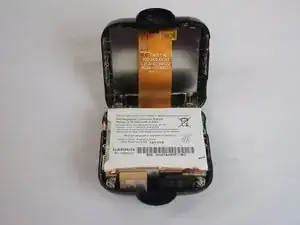
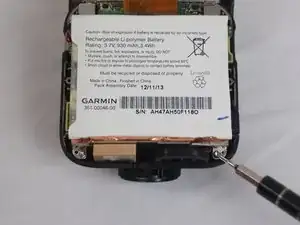
Rotate the Dash Cam to where the product information faces you.
-
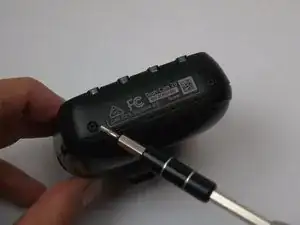
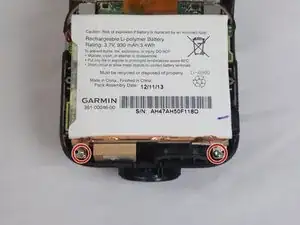
Remove the two 5 mm screws using the Torx T5 screwdriver.
-
Conclusion
To reassemble your device, follow these instructions in reverse order.
