Introduction
Fixing the common problem of lines/bars on the original Nintendo Gameboy.
Tools
-
-
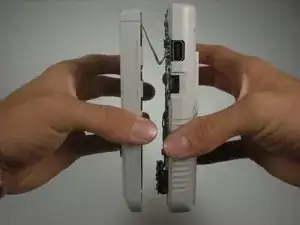
Carefully lift up the top half of the system. Be careful, there's a ribbon cable that connects the top and bottom half of the system.
-
Remove the ribbon cable for the next step.
-
-
-
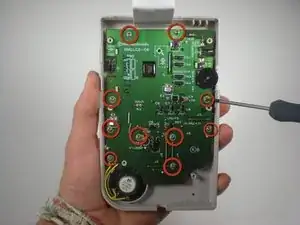
Now there will be screws that mount the board to the front, carefully unscrew these.
-
Now remove the board from the housing.
-
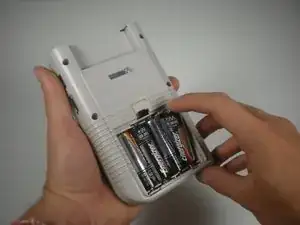
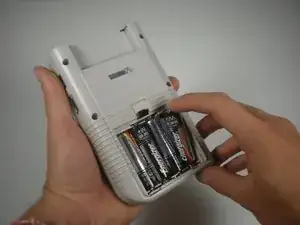
Now put the batteries back into the compartment, so you can test the screen while you fix it.
-
Reconnect the the board to back housing with the ribbon cable.
-
-
-
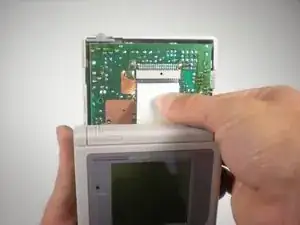
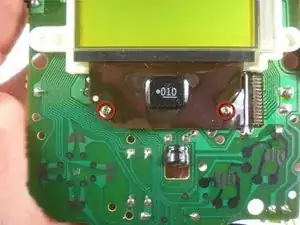
You're now going to turn the contrast ( the slider on the left) all the way up, and take your soldering iron and gently move it back and forth on the ribbon cable below the screen.
-
-
-
You will start to see the lines of pixels fade in and out, keep moving your iron back and forth until screen is completely black.
-
To reassemble your device, follow these instructions in reverse order.
One comment
Hi, this is the second time I attempt this fix, the first time it worked perfectly. The problem is that with this second machine there's a couple of pixel lines that have not tickled back to black even though I have been patiently going over them for quite some time (2 rounds of 10-15 min) is there anything else that I could try or should I just go on over the same area until I see something happen? Thanks in advance
