Introduction

Use this guide to remove the buttons in your Game Boy Advance

  1. kXYoUEHAsWGPKEFe
    kXYoUEHAsWGPKEFe
    WmTJlvYkEnEOKX5e
    hARYgMZRr1ggfMnJ
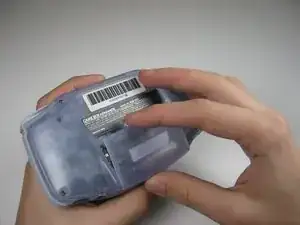
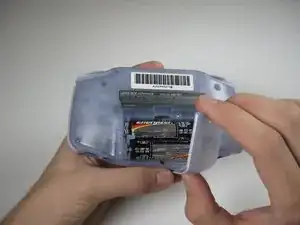
    • Take the battery cover off by releasing the locking tab and hinging the cover away. Remove the batteries inside the cover

    • Do not forget to remove the batteries! This applies to working with any electronic device as working with live electricity may damage the device or cause malfunctions

  2. EdmFB3lCk51Otdqm
    EdmFB3lCk51Otdqm
    HlN6WaAqxPChbau3
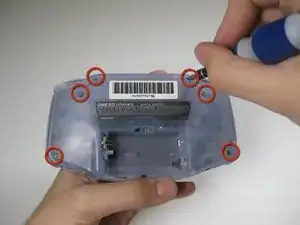
    • Remove the six back panel screws using a Tri-wing Screwdriver.

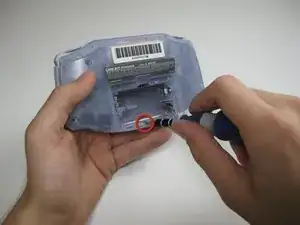
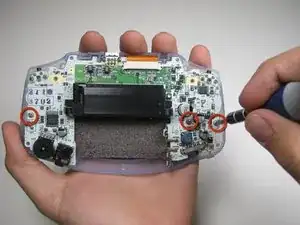
    • Remove bottom back panel screw with a Phillips #1 screw driver. (Image #2)

  3. sSNaRIcxSqRTPVfl
    • Remove the back panel by pulling away with one hand and the front secured in the other hand.

    • Removal of the back panel may cause shoulder buttons and side panels to come loose and fall off.

  4. WkkQIbeHrTlfEGGI
    WkkQIbeHrTlfEGGI
    X3pRpCLRTJHLWFRj
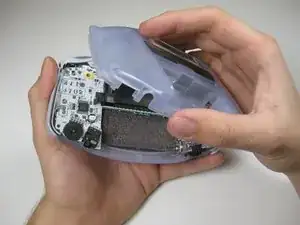
    • Remove left and right triggers by lifting and pulling them away from the system.

    • Do the same for side panels

    • For finicky or jammed triggers only! Adjust and correct triggers and reassemble. Most jammed triggers are caused by buttons misplaced or jammed in its enclosure.

    my side pannel on the right is a little loose how do i fix it

    Mark -

  5. RRebCeaukHvKwKfZ
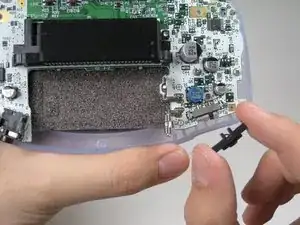
    • Remove the gray On/Off Switch by pulling up and away from the unit. Replace with another switch if necessary.

  6. JvCo1AeCraFKyq3u
    • Remove the three screws on the circuit board with a Phillips #1 screw driver.

  7. Zt5QVxBOF3KYi6nk
    Zt5QVxBOF3KYi6nk
    pYOYGdlqudvRSNjS
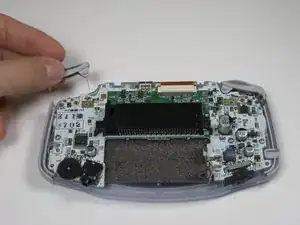
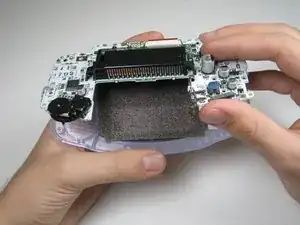
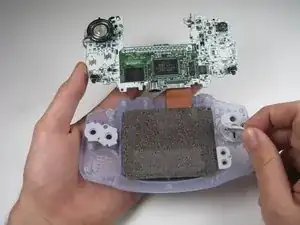
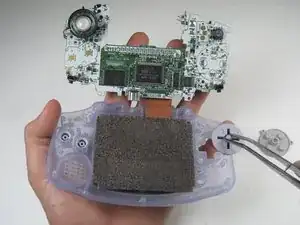
    • Pull circuit board away from the front panel by pulling up at the bottom of the circuit board, keeping the top ribbon still connected.

    • Handle with care! The ribbon connecting the circuit board to the LCD screen can easily be damaged and will require replacement if broken.

  8. PShAUXBUS6tTZQCt
    PShAUXBUS6tTZQCt
    CbINuYWAAbUWDyiy
    CCqwROISYgTlsbHX
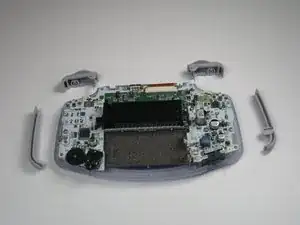
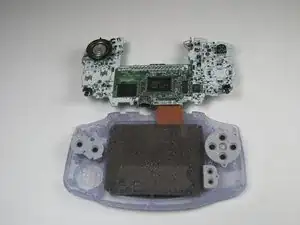
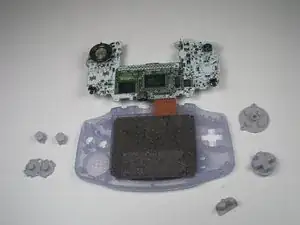
    • Remove the rubber button pads from their pockets.

    • Remove the plastic buttons and the D-pad from beneath the rubber pads with tweezers or by hand.

Ben

Member since: 22/01/10

530 Reputation

One comment

If you have buttons that don’t respond, you can also just clean the contacts (the round black ones and the gold ones on the board) with alcohol and a Q-tip. After that, I coated the contacts with some contact spray, also with Q-tip. All buttons are working again.

Simon -