Introduction
This is a prerequisite-only guide! This guide is part of another procedure and is not meant to be used alone.
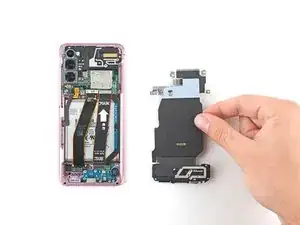
Use this guide to replace the wireless charging coil and the loudspeaker in your Samsung Galaxy S20.
-
-
Use a spudger to pry up and disconnect the wireless charging coil's press connector on the motherboard.
-
-
-
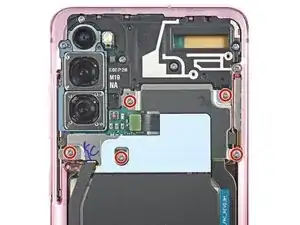
Use a Phillips #00 screwdriver to remove the five 4 mm-long screws securing the motherboard bracket.
-
-
-
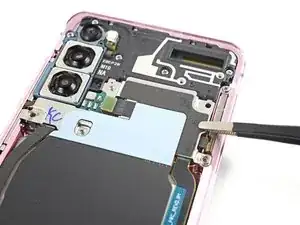
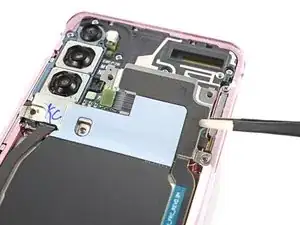
Use a pair of blunt-nose tweezers to gently pull up and unclip the motherboard bracket from the plastic midframe.
-
-
-
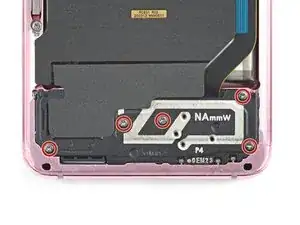
Use a Phillips #00 screwdriver to remove the five 4 mm-long screws securing the loudspeaker and lower midframe.
-
-
-
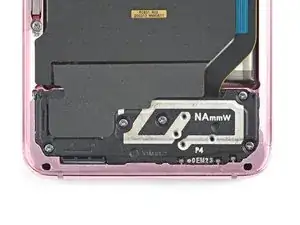
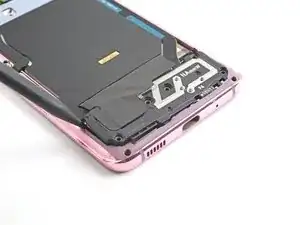
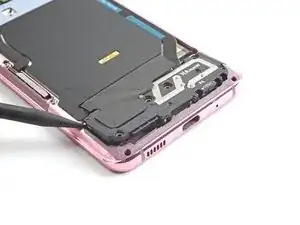
Insert the point of a spudger into the notch in the top left corner of the midframe and pry up to release the clips holding it in place.
-
-
-
Insert the point of a spudger into the notch in the top left corner of the midframe and pry up to release the clips holding it in place.
-
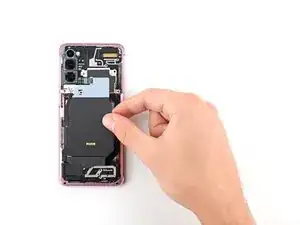
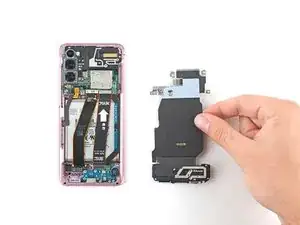
Remove the wireless charging coil.
-
To reassemble your device, follow these instructions in reverse order.
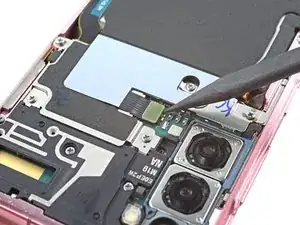
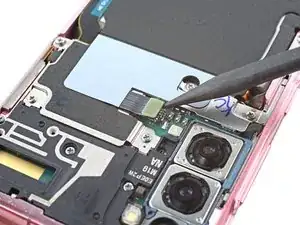
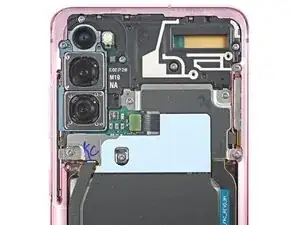

Since mine didn't have it, I believe the non-Verizon models don't have this connector (it appears the connector is a part of the motherboard bracket). If you don't have this, you can skip to the next step safely.
Ryan Sammons -