Introduction
Over time, switches in a keyboard can wear out or become damaged, resulting in a decrease in typing performance or even complete keyboard failure. In some cases, users may also want to replace their keyboard switches with different types to improve their typing experience or for customization purposes.
This guide shows you how to replace a damaged Gateron brown switch on the GMMK-BRN or Glorious Modular Mechanical Keyboard so that you can continue to use your keyboard without having to replace the entire unit.
After you have completed this repair, you will be able to fix your keyboard in the future if additional keys stop working.
Tools
-
-
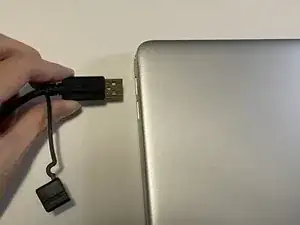
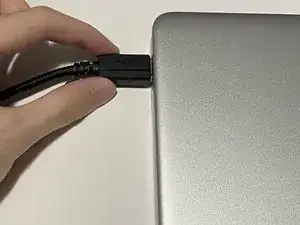
Unplug the keyboard from your device.
-
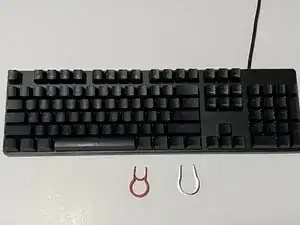
Place the keyboard on a clean workspace, along with the tools required.
-
-
-
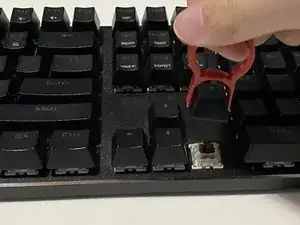
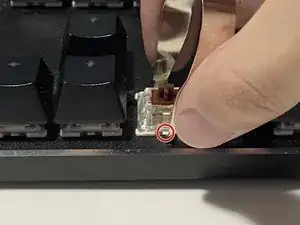
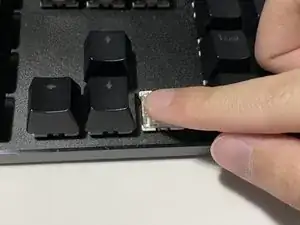
Use the switch remover to push the tabs in on the opposite sides of the switch.
-
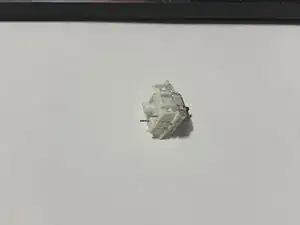
Firmly pull the switch upwards.
-
-
-
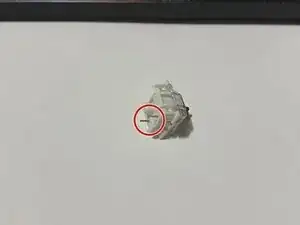
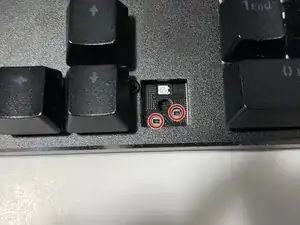
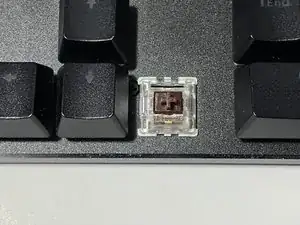
Align the pins on the keycap with the ones inside the keyboard.
-
Insert the switch, and press down firmly until a click is heard.
-
-
-
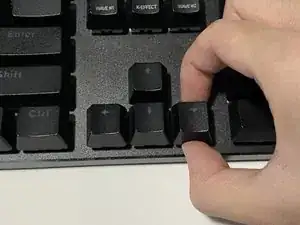
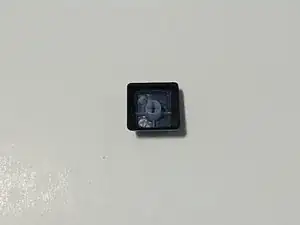
Align the cross of the keycap with the cross of the switch.
-
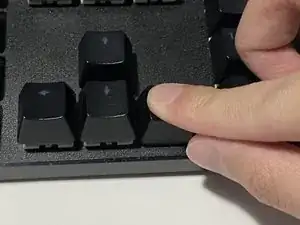
Push the keycap down firmly to reattach.
-
-
-
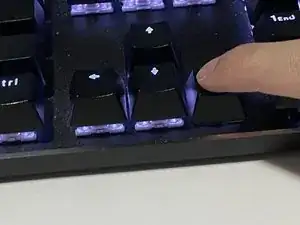
Plug the keyboard back into your device.
-
Turn you device on and do a test to see if the new switch works.
-

To reassemble your device, follow these instructions in reverse order.