Introduction
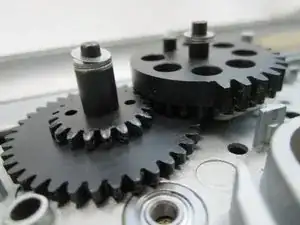
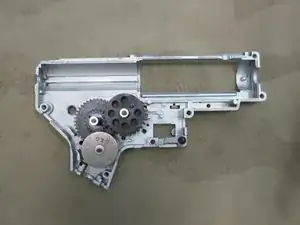
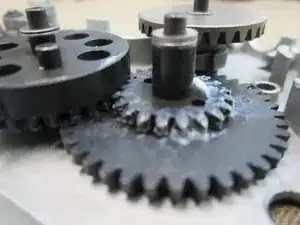
Shimming is the practice of using small spacers (shims) to precisely align the gears in an AEG gearbox so that they operate smoothly. A poorly shimmed gearbox often results in a loud whining noise while firing, premature parts wear, stress on the motor, a reduced rate of fire, and poor battery life.
The goal is to space the gears in such a way that maximizes contact between the teeth on each gear while minimizing the amount of space that the gears have to move side-to-side within the gearbox. It is also extremely important that the gears are not shimmed excessively, which would cause them to bind up with one another or the gearbox itself.
Proper shimming is essential for any AEG, and can make a huge difference in performance. Even expensive guns with high-quality internals will feel cheap and sluggish if they are not shimmed well. Likewise, inexpensive guns can perform surprisingly well after a good shim job. It is one of the cheapest, yet most beneficial modifications that can be done to an AEG, and this guide will teach you how to do it.
Tools
Parts
-
-
Before you begin it is important to have few packs of shims in various sizes on hand. You can never have too many shims in your spare parts collection.
-
Shims usually range in size from 0.1mm to 0.5mm. Try to find a pack that contains a good variety of sizes, but it is more important to have the smaller sizes for finer adjustments. Thicker shims are good for filling large gaps and are easier to keep track of, but are not mandatory.
-
The shims I am using today are 0.1mm 0.2mm and 0.3mm.
-
-
-
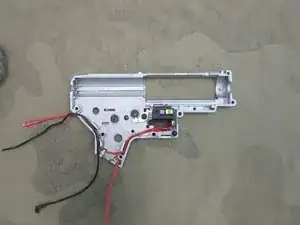
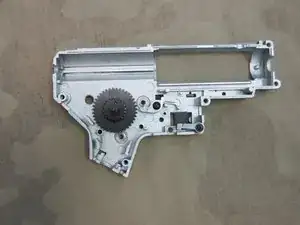
The first thing you will want to do is remove all of the major components from the gearbox.
-
For this guide, the wiring and selector plate will be removed just to make things easier.
-
You DO NOT have remove the bushings if you don't intend on replacing them. There is no harm in doing so, but it would just be extra work.
-
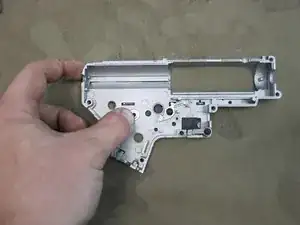
If you have not done so already, now is a good time to clean your gearbox. The safest and most effective way to do this is by using electrical cleaner or silicone spray along with a clean rag.
-
-
-
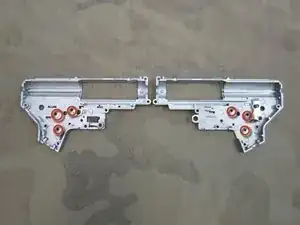
Bushings are the round parts that the axles of the gears fit into. Replacing them would require that you re-shim the gearbox.
-
Bushings can be made from plastic, brass, or steel. Some bushings are solid, while others contain ball bearings. Ball bearings improve performance by allowing the gears to turn more freely. The disadvantage in ball bearing bushings is that they are more expensive and can sometimes break if used with a powerful piston spring.
-
Make sure the bushings are fully seated in the gearbox before you begin shimming.
-
To install bushings in the gearbox, first try pushing them in with your fingers. If you need more force to get them in, try to use something soft like the back of a rubber screwdriver grip.
-
-
-
Once your bushings are in, you can begin the shimming process.
-
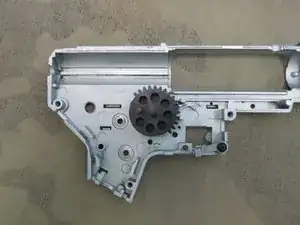
First, place the spur gear in the middle bushing.
-
It will most likely drag on the gearbox wall. If this is the case, start adding shims to raise it upward just enough so that it no longer drags on anything when you close the gearbox.
-
Once it is high enough, start adding shims to the top to stop the gear from moving up and down when the gearbox is closed. A slight amount of movement is acceptable, but try to keep it to a minimum.
-
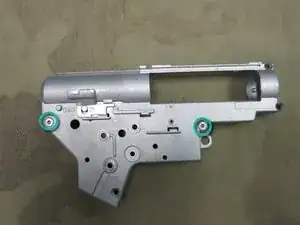
Once you have the gear where you want it, screw the two halves together and test it again. If the gear doesn't spin freely, remove a shim and try again. Try to figure out how much of a difference screwing down the gearbox vs just holding down makes so that you can anticipate how many shims you will need in the future.
-
Lastly, you do not have to install every gearbox screw for this test. You only need to use the the two closest to the gear or gears that you are testing.
-
-
-
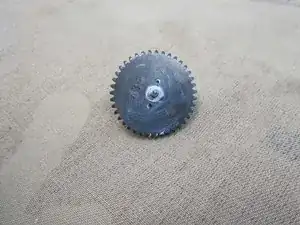
Now you have the spur gear shimmed you get to the sector gear. You may find it easier to start with just the sector gear and once you are done ad the spur back in.
-
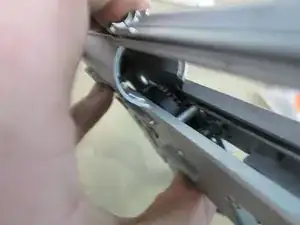
The sector gear has to be shimmed so that it just clears the cut off lever but still meshes with the spur gear.You may have adjust the spur gear if possible to meet the needs of the sector gear.
-
Just keep using the same test technique and do the final test of screwing down the two shell and anticipating the difference between when the you are holding the shells together by hand and when the two halves are screwed down tightly.
-
Remember, too loose is always better than too tight.
-
-
-
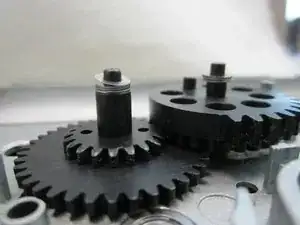
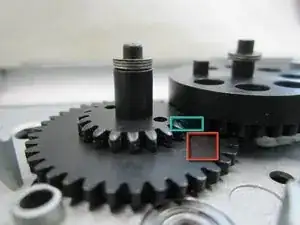
Make sure the teeth from both gears are making as much contact here as possible
-
There should be enough space between the two gears so that the flats of the gears are not touching one another.
-
The sector gear should just barely hover over the lower half of the spur gear for ideal performance.
-
-
-
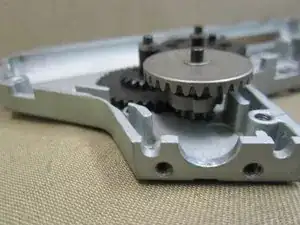
For the bevel gear, you will want to maximize contact with the spur gear teeth and have proper engagement with the pinion gear (motor gear).
-
The simple way of achieving this is too shim the bevel slightly higher then center and to give it a little more slop then the other gear. Just make sure the spur gear is making full contact when the bevel is pushed up and not binding when it is pushed down.
-
There is a more advanced technique for shimming the bevel gear which will be mentioned in the next step.
-
-
-
There is a more advanced shimming technique that allows you to precisely align the pinion gear(AKA the motor gear) with the bevel gear for optimum performance. This technique requires you to mount the motor to the gearbox while it is outside of the gun in order to observe how the motor engages the bevel gear.
-
To do this, you would need to attach your gun's pistol grip or motor mount to the gearbox and check the positioning of the bevel gear with the motor engaged. You would then remove the motor and try to replicate that positioning using shims.
-
I am just mentioning this technique to appease the hardcore tuners out there, but this technique very time consuming and not practical for fast repair shop technicians. However, for those of you who are building high speed or high velocity guns, it is highly recommended.
-
-
-
As a final help I recorded the shim placement used for the gearbox in this tutorial. No gearbox is going to be exactly like this one even among other G&G AEG's but it can serve as a extra helpful reference to give you an idea of spacing or the ratio that shims are added in a given area.
-
Spur gear- Top:(0.3mm)x3+(0.1mm)=1mm Bottom: (0.3mm)+(.2mm)=0.5mm
-
Sector gear- Top:(0.3mm)x2+(0.1mm)=0.7mm Bottom: (0.3mm)x2+(0.1mm)=0.7mm
-
Bevel gear- Top: (0.3mm)x1=(0.3mm) Bottom:(0.3mm)x2=0.6mm
-
Never try to simple look for an exact placement of shims for any one gun or gear combination. Another person might have the exact gun and gear set that you do, but that does not guarantee that their shim arrangement will work for you. This is true of any AEG.
-
-
-
Becoming proficient at shimming requires lots of practice and patience, but it is an invaluable skill for any airsoft player.
-
If you follow this guide, your shimming should be at least as good as that of any stock AEG. A gun that has been hand-tuned by a skilled technician will likely perform much better than any gun direct from the factory.
-
8 comments
Very good guide.
Hi,
Do you know the size of the shims? Like inner and outer diameter?
Thanks
it depends on your bushing/bearing size
