Introduction

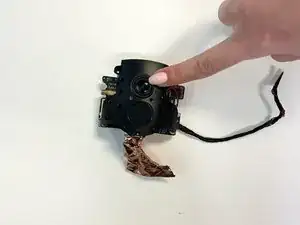
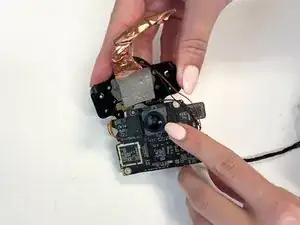
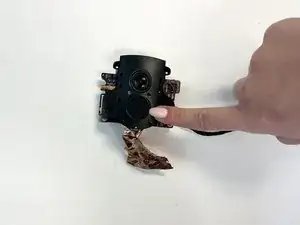
This guide will show you how to remove the barking sensor assembly from your Furbo Dog Camera. Removing and replacing your barking sensor assembly may fix any issues that were not able to be fixed by troubleshooting.

  1. SmoGV1gmICMUgYWr
    SmoGV1gmICMUgYWr
    vBkPEOMZ4pejBYWC
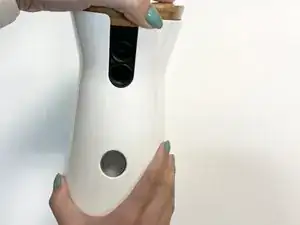
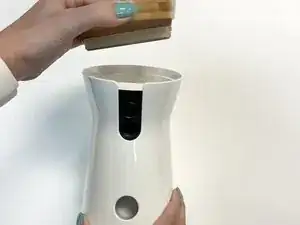
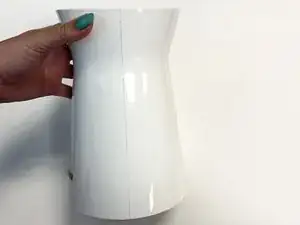
    • Remove the lid from the top of your Furbo Dog Camera.

  2. eJBWLomLNVqSmFxt
    eJBWLomLNVqSmFxt
    XVATu5pMPuDCPOlI
    HcLBSHwEFWsZIW4g
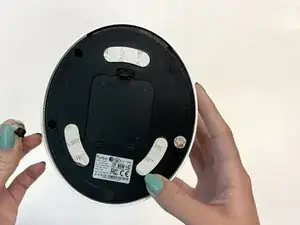
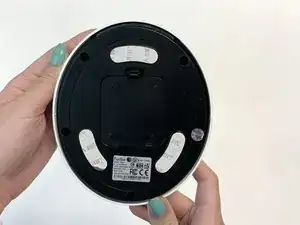
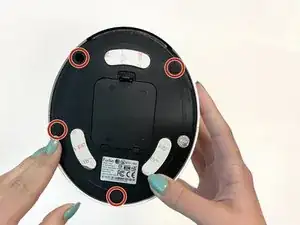
    • Rotate your Furbo so that the bottom faces you.

    • Remove the rubber caps to reveal the four screws on the bottom of the Furbo.

  3. wyab46akDYXDX1QX
    wyab46akDYXDX1QX
    3feaqCUjySYbC5ar
    Oem4yTs2ZmcCtbk1
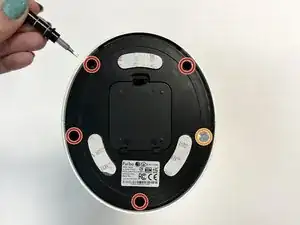
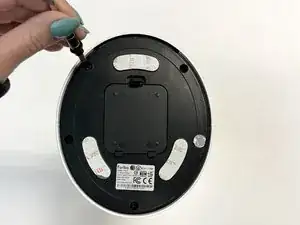
    • Use a 2.5 mm Flathead screwdriver to remove the four 5 mm screws from the bottom of the Furbo.

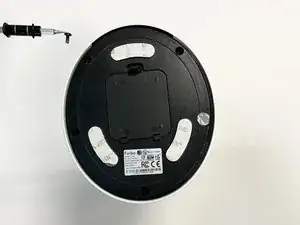
    • Use a 2.5 mm Flathead screwdriver to remove the single 5 mm screw under the silver sticker.

  4. iReZ5qVbXPLZwbEn
    iReZ5qVbXPLZwbEn
    QNY56p2te2BpKVVB
    klgZIWTeMKBysPVJ
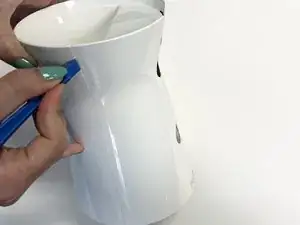
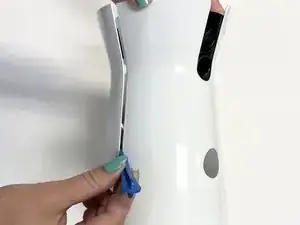
    • Rotate your Furbo so that the side is facing towards you.

    • Use an opening tool to separate the two plastic coverings.

    On the MAX model that I disassembled, there were two Phillips head screws through tabs on the front half, holding it in place. I had to remove them so that the front half could be removed.

    MARSHALL PRYOR -

  5. FuJooUX2LYLroorA
    FuJooUX2LYLroorA
    e5nCSZN1oaPKmrkV
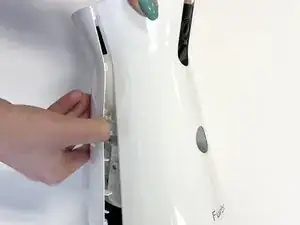
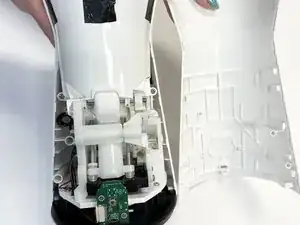
    • Once you have separated the two plastic coverings, remove one side by pulling on it and carefully separating it from the adhesive.

  6. 1QUX5I4MdrYVfEJP
    1QUX5I4MdrYVfEJP
    CUE2Ed5xmKJcgKGf
    nLy3sjWSXAs4KorV
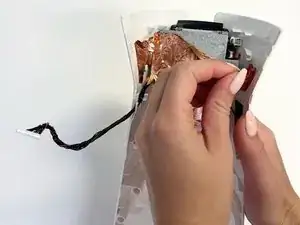
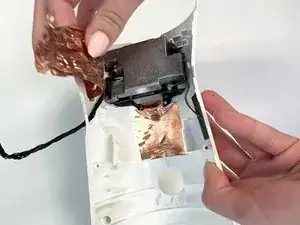
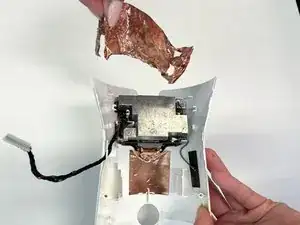
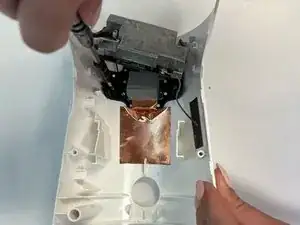
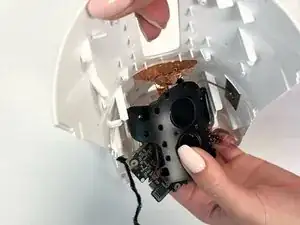
    • Carefully remove the copper foiling that surrounds the camera hardware.

  7. MGNARAwSTWoWB1xh
    MGNARAwSTWoWB1xh
    nd56xlxXXO66G6YU
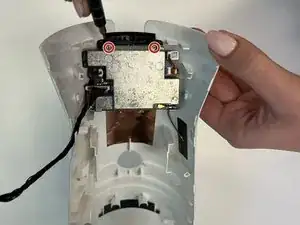
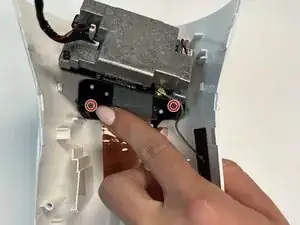
    • Use a Phillips #000 screwdriver to remove the 2.5 mm screws at the top of the camera hardware.

  8. xqcmJAAxqADMZG5b
    xqcmJAAxqADMZG5b
    qEt2vqJLiWl6rVBN
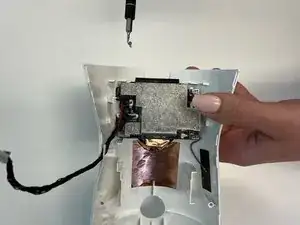
    • Gently pry the metal backing off of the camera hardware.

  9. KjSRjEMMAMFf5g6w
    KjSRjEMMAMFf5g6w
    usKrUTmlOICBovRM
    • Use a Phillips #000 screwdriver to remove the 0.4 mm screws that attach the camera to the Furbo case.

  10. U5UstVINYk3BQB1a
    U5UstVINYk3BQB1a
    DsWEnwhlEIuOr4cS
    43WXfJXpNmtRKGTc
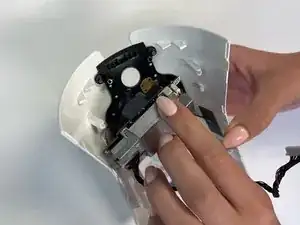
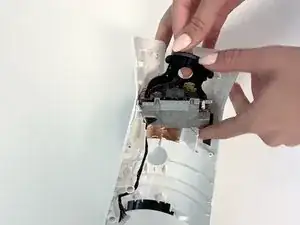
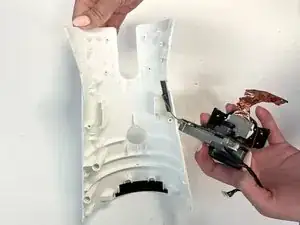
    • Gently pry the camera off and detach it from the Furbo.

  11. 5gVheioF5I3sh6rp
    5gVheioF5I3sh6rp
    FTGFRFNZZbkwL6aG
    Zp1OjbsjQILABCcr
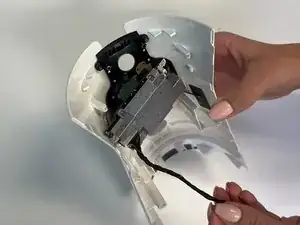
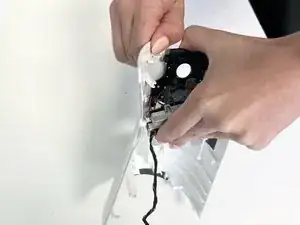
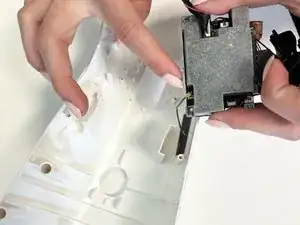
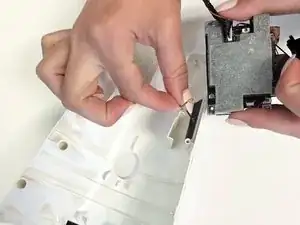
    • Detach the wire attaching the camera hardware from the Furbo.

  12. YGxj1abrF3Xx2N5R
    YGxj1abrF3Xx2N5R
    A2r2kZLnTESQA5sg
    • Once removed, you may replace your camera.

  13. FhuYAZfA4EgmmpRe
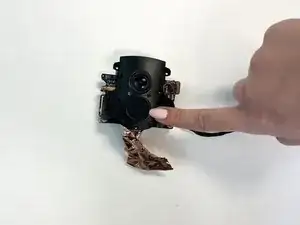
    • Remove the barking sensor and replace it with a new part.

Conclusion

To reassemble your device, follow these instructions in reverse order.
Sarah Teague

Member since: 21/03/22

265 Reputation

0 comments