Introduction
If your laptop fails in reading whatever disc you have, then the problem may lie on either your disc or your disk drive. This guide will show you the steps to replace your disk drive.
Tools
-
-
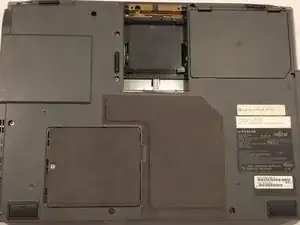
Flip your laptop so that the bottom of the laptop is facing up and the hinges of the screen are closest to you.
-
-
-
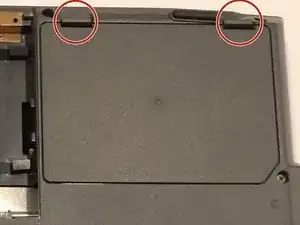
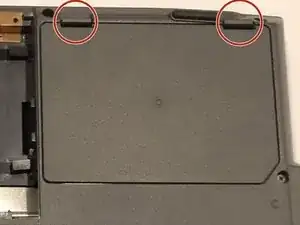
To remove the battery, place your fingers underneath the two clips and simultaneously lift them up while pulling the cover towards you.
-
-
-
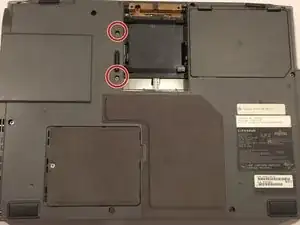
The disk drive will be located on the side of the computer, on the top-left corner
-
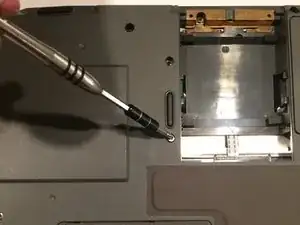
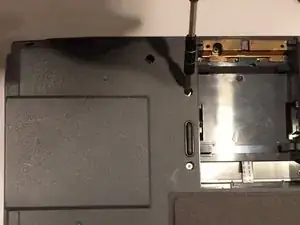
Using a Phillips #1 screwdriver, remove the two 6 mm screws which are located above the disk drive. Remove the screws by turning your screwdriver counter-clockwise.
-
-
-
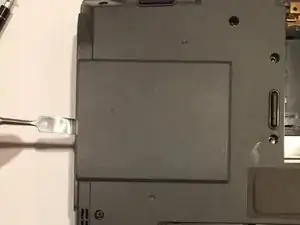
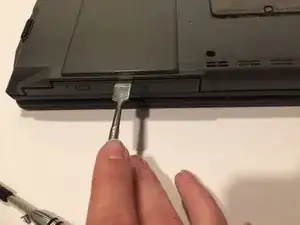
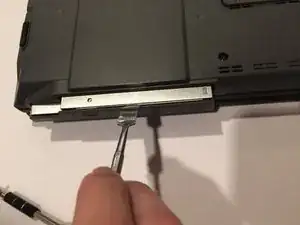
Insert the metal spudger in the gap between the disk drive and the laptop's body itself, as seen in the picture.
-
Push the spudger down, so that it is behind the drive.
-
Gently pull the disk drive out from the laptop until it unlatches.
-
To reassemble your device, follow these instructions in reverse order.
