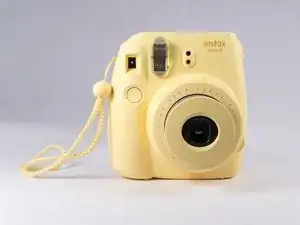
Introduction
Before attempting repairs, please take note of certain risks of receiving shock from the camera's flash capacitor. Also make sure to ground yourself before operating on or near the camera's motherboard or you might discharge static to crucial components.
-
-
Remove screws from bottom of camera with a small #00 Phillips Screwdriver. Then remove screws around the camera.
-
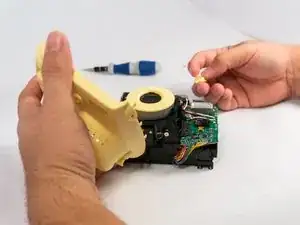
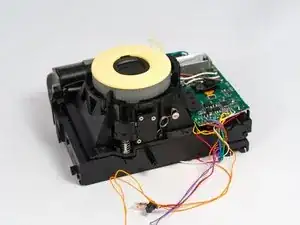
Once all screws are removed, gently pry open the front casing carefully. Do note that there will be a spring that attaches the front casing and the main circuit board, so refrain from allowing excess tension on the spring.
-
-
-
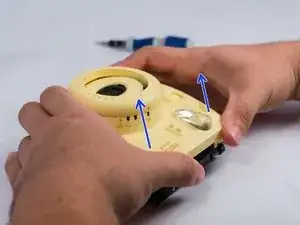
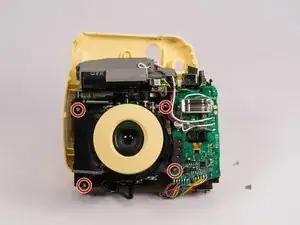
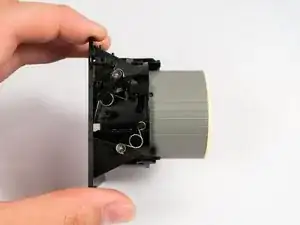
Locate the four screws on the lens unit by the corners and remove them to loosen the lens casing from the main frame. Make sure to keep hold of the unit screws to use for the next step.
-
-
-
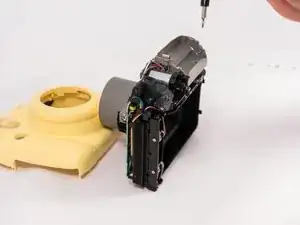
Remove the lens unit from the main camera frame.
-
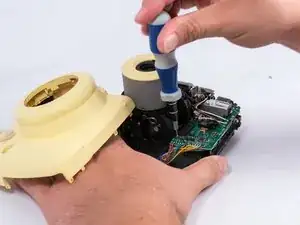
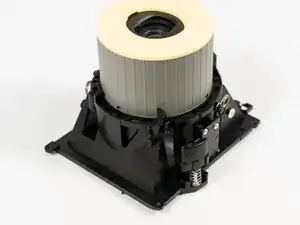
Obtain the replacement part to perform the replacement operation.
-
To reassemble your device, follow these instructions in reverse order.

13 comments
the lens covers on my lens broke (the small black pieces that cover the lenses) and i am unable to put back on, will this affect my camera and pictures because of the ex poser?
When I dropped my instax mini 8, none of the lense pieces broke, they just fell apart, I just need to puzzle them back together. Can you make a tutorial to put the yellow and black parts in the lense back together?
My daughter dropped her camera and the round, hard plastic part that goes over the lens fell out along with a black piece that has four prongs. There is also a spring attached at a section that would look like 4-5 o'clock if looking at the camera head on. I am not sure where the other end of spring attaches to. Please help
Il y a une vis caché sous la pièce enjoliveur (6cmx 9mm blanche) de sortie des photos
Gaby
Malosse -
Translation: There is a screw hidden under the trim piece (6cmx 9mm white) for outputting the photos.
Alexander Honkoski -