Introduction
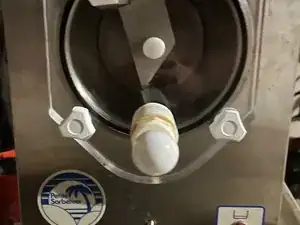
In this Fast Fix, I will be showing you how to replace the rubber gasket seal on a Frosty Factory Margarita Machine Model 113. Occasionally, this seal may be worn down or torn. This will keep the machine from having a pressured seal in order to keep the mixing contents within. Luckily, the process of replacing it is easy and safe. This guide will include step by step instructions for the partial disassembly required to reach the seal, the replacement of said seal, and the reassembly process.
Here is a link to an online pdf of the device's manual.
-
-
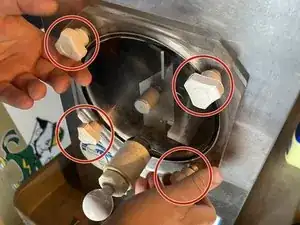
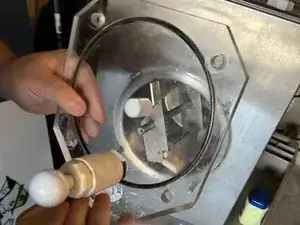
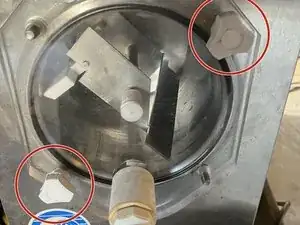
Unscrew the white knobs that are on the four corners of the faceplate in diagonal pairs.
-
Place the knobs aside.
-
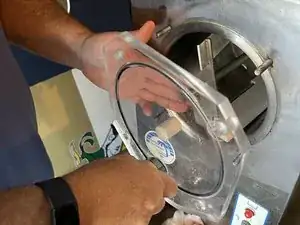
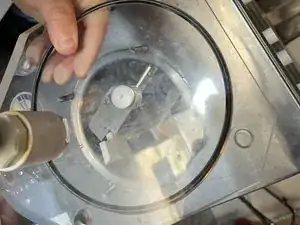
Pull the faceplate off the machine.
-
-
-
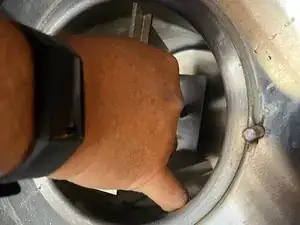
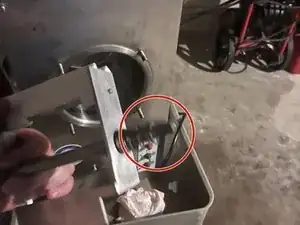
Pull out the beater bar. This will make the reassembly easier.
-
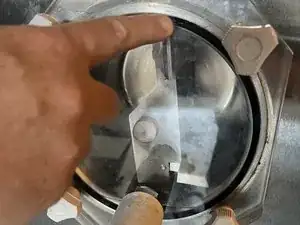
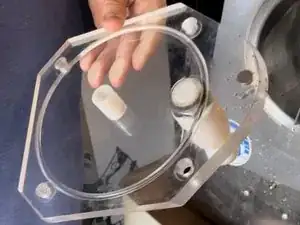
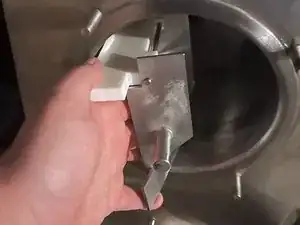
Notice the beater shaft on the beater bar that attaches to the white faceplate bushing on the faceplate that the seal was on.
-
-
-
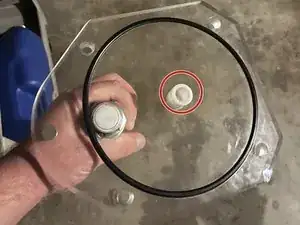
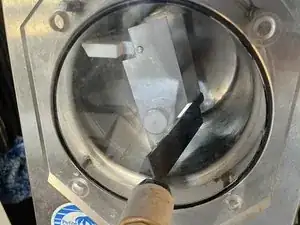
Place the new rubber seal in the frame.
-
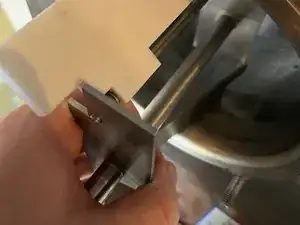
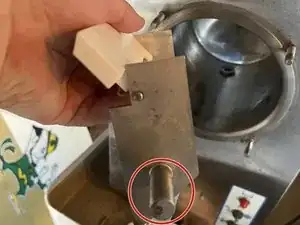
Here is the white faceplate bushing for front end of the beater bar to go into.
-
-
-
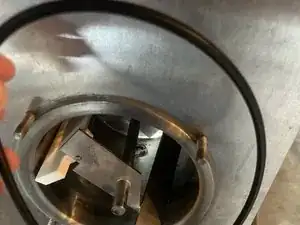
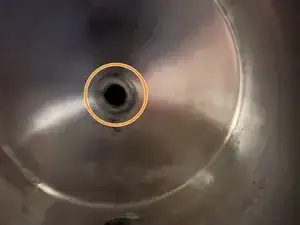
Slide the black carbon ring wrapped end of the beater shaft towards the slot in the machine's mixing chamber.
-
Carefully press the beater bar into the machine as far as you can once the black carbon ring end is in the slot.
-
Gently turn the beater bar clock-wise until the beater shaft catches the driver plate, which will allow you to push the bar closer to the back of the chamber's wall.
-
-
-
Line the faceplate bushing up with beater shaft.
-
Align the faceplate's four outer holes along the four screws and push it against the machine.
-
Screw the knobs back on, once again in diagonal pairs.
-
You will have successfully disassembled, replaced, and then reassembled part of the machine.