Introduction

Use this guide to replace the keyboard in your Framework 16" laptop.

Note: the laptop used in this guide is a generic setup of one US keyboard, one numpad module, and two touchpad spacers. Your setup might vary, but the procedure should remain the same.

  1. FyZqYQXlGGSUVdfO
    FyZqYQXlGGSUVdfO
    ddbQkHnXk5QEvLfj
    • Unplug all cables and fully shut down your laptop.

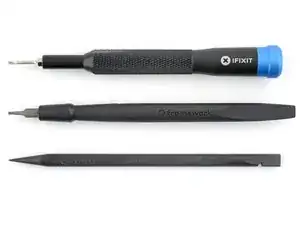
    • If your repair requires a spudger, a T5 Torx, or a Phillips screwdriver, you can use the included Framework screwdriver. Whichever works best for you!

  2. Ij5tZGZrkdXZTD2w
    Ij5tZGZrkdXZTD2w
    LCNSyJH2IOKHeHb2
    4pRwkxTQGNlUhlIx
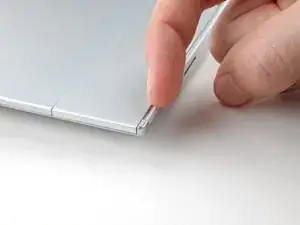
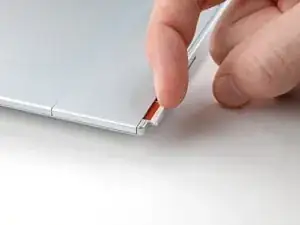
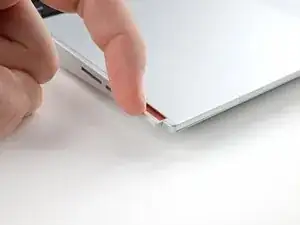
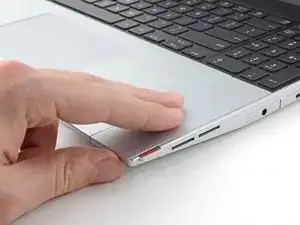
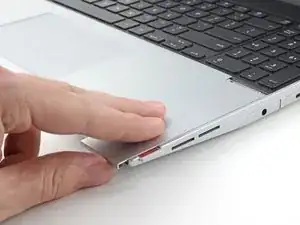
    • Use your fingernail to pull out the two Input Module latches and unlock them.

    • The latch will show red if it's unlocked.

  3. oRA2BGYySG6cv4UI
    oRA2BGYySG6cv4UI
    EjHQwVWhreadODGC
    Qd4HyChkTncRj6NB
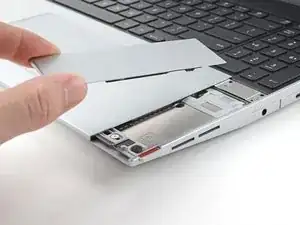
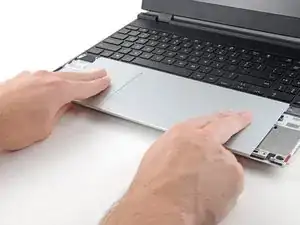
    • Use your fingers to slide the touchpad spacer toward the bottom edge of the laptop and unclip it.

    • If you're having trouble, check if the corresponding Input Module latch is properly unlocked.

    • Lift the touchpad spacer off the laptop and remove it.

  4. PIQuXTPBOmiCmpTP
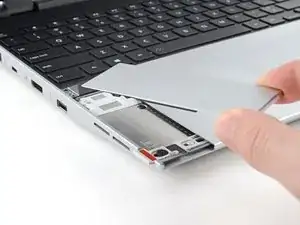
    • Repeat the same procedure for the other touchpad spacer.

  5. XUyEDC4iKWYV5Tnt
    XUyEDC4iKWYV5Tnt
    pTmsgnLnOsotLW2D
    IAOYbMHag2mlLGT6
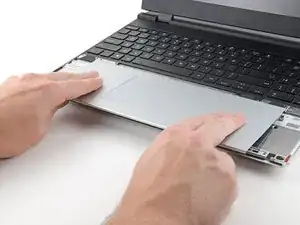
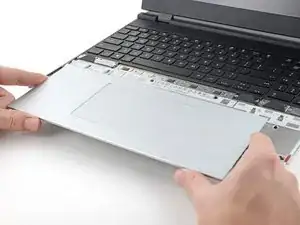
    • Use your fingers to slide the touchpad toward the bottom edge of the laptop and disconnect it.

    • If you're having trouble, check if the Input Module latches are properly unlocked.

    • Lift the touchpad and remove it.

    • During reassembly, perform the following:

    • Place the touchpad flat on its cutout so its clips are properly aligned.

    • Press the touchpad down and slide it into place so it lines up evenly with the bottom edge of the laptop.

  6. EMiltNMDCZ2ZfrqP
    EMiltNMDCZ2ZfrqP
    kI1lOpjnUTZDpfZt
    5UtiQGpQXVRbA4QM
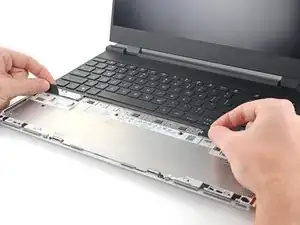
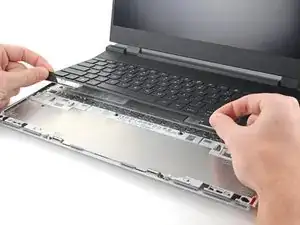
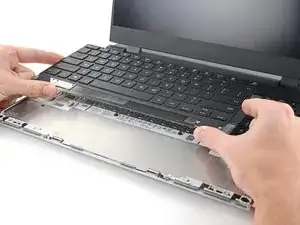
    • The keyboard is held in place with strong magnets. Apply gradually increasing force to avoid having the keyboard violently eject.

    • Grip the two pull tabs along the bottom of the keyboard.

    • Lift the pull tabs until the keyboard magnets release.

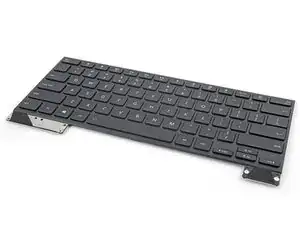
    • Remove the keyboard.

    • During reassembly, make sure the keyboard is seated properly on its alignment pegs and sits evenly with the edges of the laptop.

Conclusion

To reassemble your device, follow these instructions in reverse order.

Take your e-waste to an R2 or e-Stewards certified recycler.

Repair didn’t go as planned? Try some basic troubleshooting, or ask our Answers Community for help.
Alex Diaz-Kokaisl

Member since: 16/01/22

117889 Reputation

0 comments