
-
-
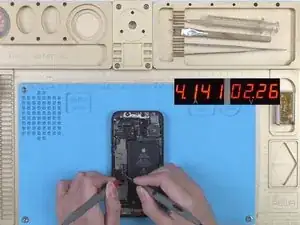
Press the power button and the phone won’t turn on. Connect the phone to power and the phone still won’t turn on.
-
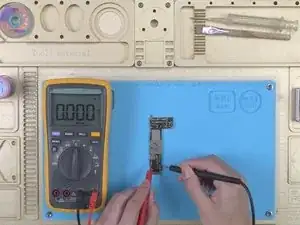
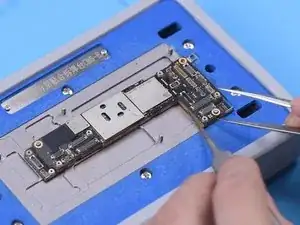
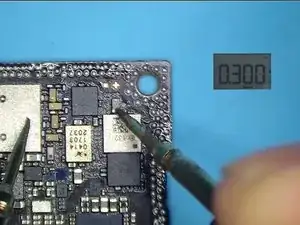
Disconnect the display. Power up the motherboard. Please be noted that the time for powering up shouldn’t be too long. It can be seen that the current value is large. The motherboard has a large current which indicates the motherboard is short-circuited.
-
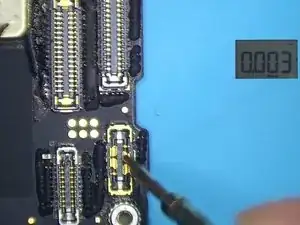
Next, we need to remove the motherboard and locate the faulty part for repair. Measure the diode value of PP_BATT_VCC line with a multimeter.The diode value is 0. It can be confirmed that PP_BATT_VCC line is short-circuited.
-
PP_BATT_VCC line and PP_VDD_MAIN line of iPhone 12 are connected in series by an inductor. So the short-circuited PP_BATT_VCC line may also cause the PP_VDD_MAIN line to short circuit.
-
-
-
The old solution to repair the large current problem is through rosin detecting. Through the melting of rosin, we can confirm the faulty part. Though the solution is cheap and effective, it has some shortcomings. The motherboard has to be covered with rosin while the rosin is hard to clean up afterward.
-
In addition, we have to remove shielding covers on the motherboard for a thorough inspection. There is no doubt that operation difficulty will be greatly enhanced.
-
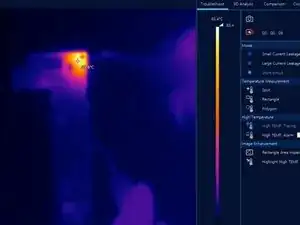
Today we will introduce a more advanced and effective way to look for short circuit on the motherboard with the help of a Thermal Imager Camera . The thermal imager locates the part of which temperature is higher than normal value via infrared radiation.
-
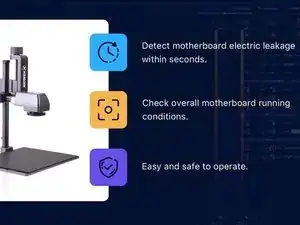
The thermal imager can detect motherboard electric leakage within seconds. The faulty parts will be detected in no time once you put the motherboard under the camera, tremendously improving repair efficiency. While checking overall motherboard working conditions, the thermal imager can pinpoint faulty parts with high accuracy.
-
Furthermore, the thermal imager is an expert in detecting small electric leakage, short circuit and other problems with easy and safe operation, substantially lowering the error rate.
-
-
-
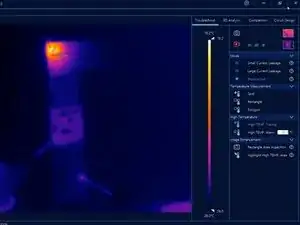
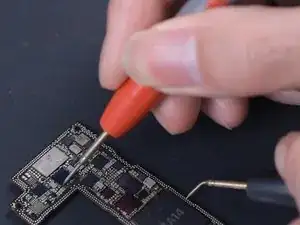
First of all, we put the motherboard on the working platform. Connect the black probe of the direct power supply to the ground and connect the red probe to PP_BATT_VCC line. The temperature on the top left corner has risen up. The faulty part can be confirmed on the top left corner.
-
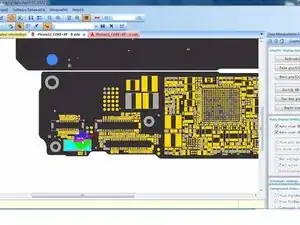
Open the bitmap. We can see that PP_BATT_VCC line is not on the top left corner. Since PP_BATT_VCC line and PP_VDD_MAIN line are connected in series by an inductor, we can judge that PP_VDD_MAIN line is short-circuited.
-
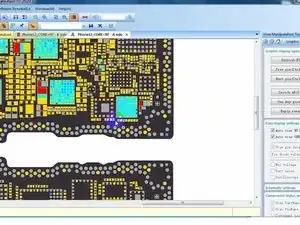
Through inductors of PP_BATT_VCC line, click another side of the inductors. The other side is connected to PP_VDD_MAIN line. We can again determine the range of faulty part.
-
It can be seen on the bitmap that the PP_VDD_MAIN line is on the logic board.
-
-
-
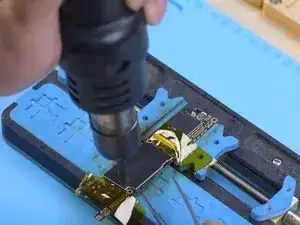
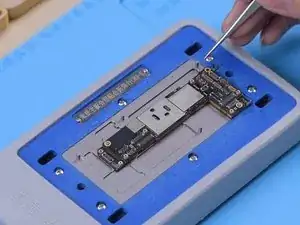
Next, we separate the motherboard. Put the motherboard on the 170 °C Heating Platform to heat.
-
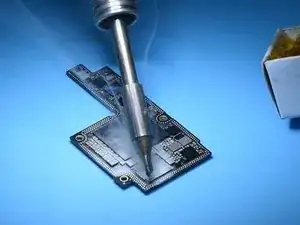
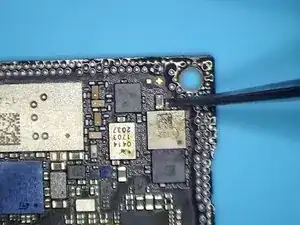
After the logic board has cooled, power up the logic board. Connect the black probe to the ground and connect the red probe to PP_VDD_MAIN line. Through the thermal image, we can now confirm the faulty part. The capacitor is flawed with charring.
-
-
-
Remove the capacitor and clean the bonding pad with PCB Cleaner. Measure the diode values of PP_VDD_MAIN line and PP_BATT_VCC line. The diode values return to normal. The short circuit fault has been eliminated.
-
-
-
Then we recombine the motherboard. Assemble the phone to test. The phone turns on normally. WiFi and baseband function well. IMEI number can be seen. The fault has been eliminated.
-


To reassemble your device, follow these instructions in reverse order.