Introduction
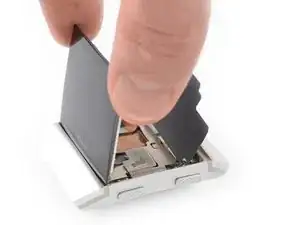
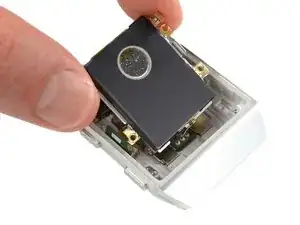
Use this guide to replace a worn-out or dead battery in your Fitbit Ionic.
If your battery is swollen, take appropriate precautions. For your safety, discharge your battery below 25% before disassembling your Fitbit Ionic. This reduces the risk of a dangerous thermal event if the battery is accidentally damaged during the repair.
You’ll need replacement adhesive to reattach components when reassembling the device.
Tools
-
-
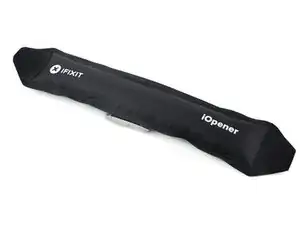
Heat an iOpener and apply it on the display for at least two minutes to soften the adhesive underneath.
-
-
-
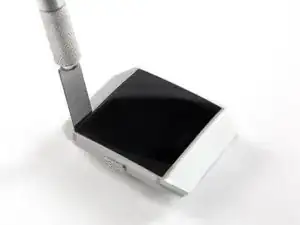
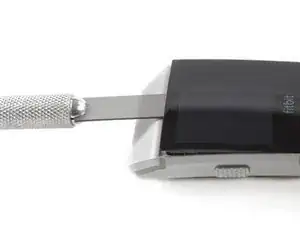
Insert a technician's razor with a flat blade into the small gap between the watch case and the display.
-
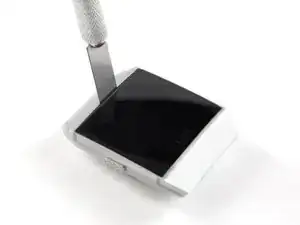
Cut through the adhesive on the upper side of the Fitbit Ionic.
-
-
-
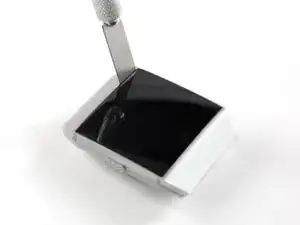
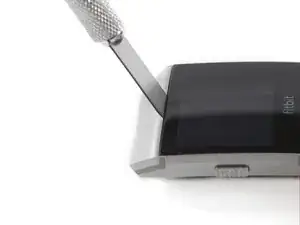
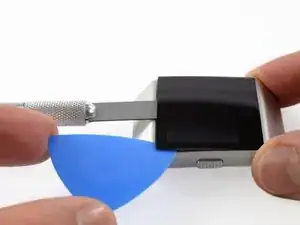
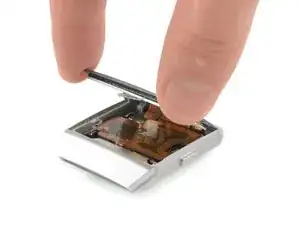
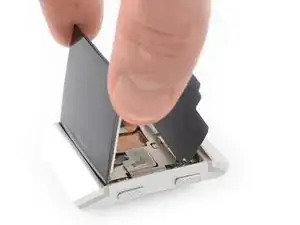
Use a technician's razor with a flat blade to pry up the top edge of the display and create a small gap.
-
-
-
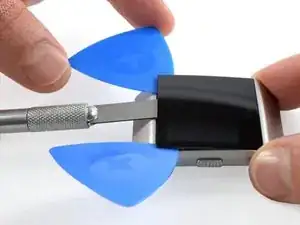
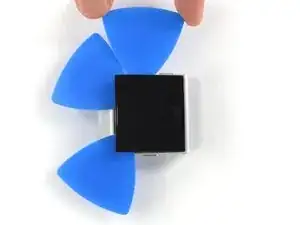
Insert two opening picks underneath the top left and the top right corner.
-
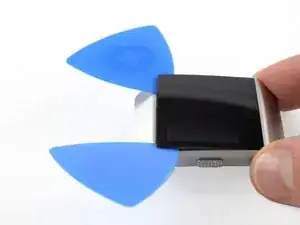
Leave the opening picks in place to prevent the adhesive from resealing.
-
Remove the razor blade.
-
-
-
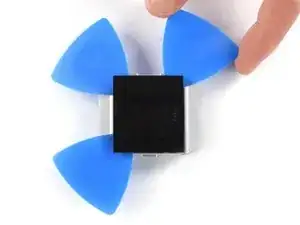
Insert a third opening pick underneath the top right corner and slide it along the right edge of the display.
-
Leave the opening pick in the bottom right corner to prevent the adhesive from resealing.
-
-
-
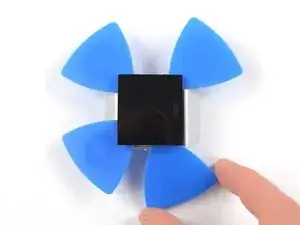
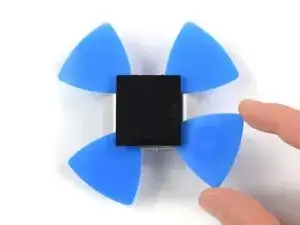
Insert a fourth opening pick underneath the top left corner and slide it along the left edge of the display.
-
Leave the opening pick in bottom left corner to prevent the adhesive from resealing.
-
-
-
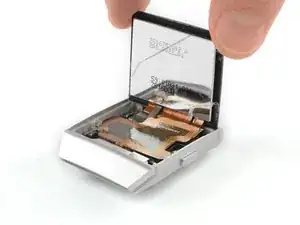
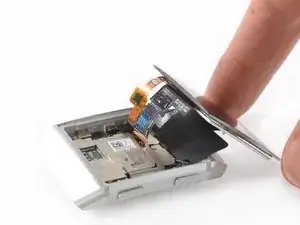
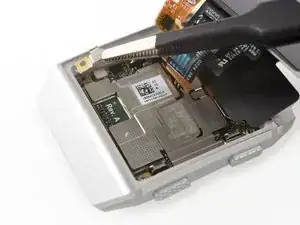
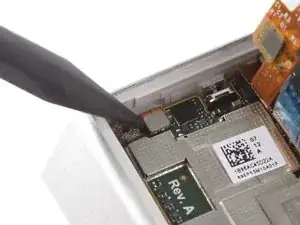
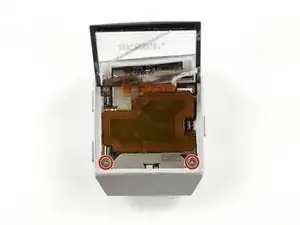
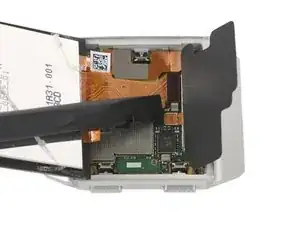
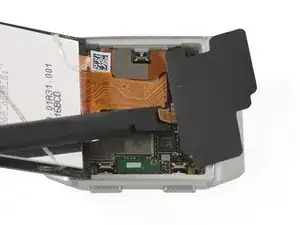
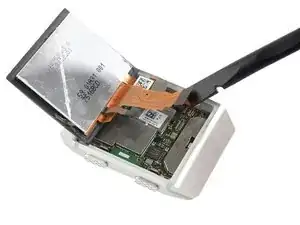
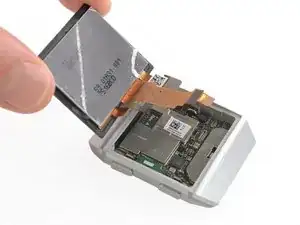
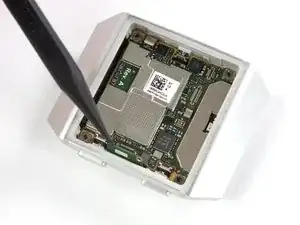
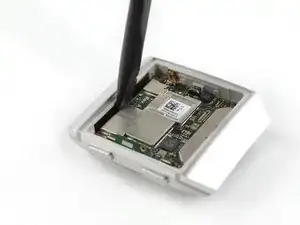
Use the flat end of a spudger to loosen and pry up the mildly glued NFC antenna.
-
Carefully fold the NFC antenna in the direction of the upper edge of the watch.
-
-
-
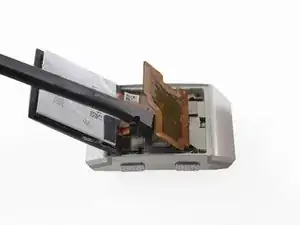
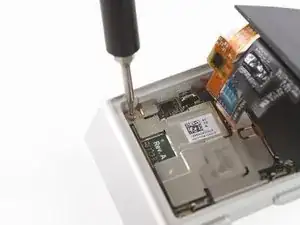
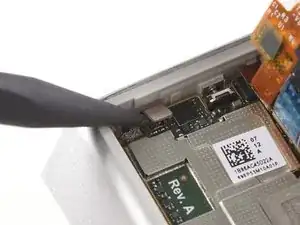
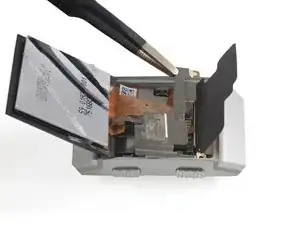
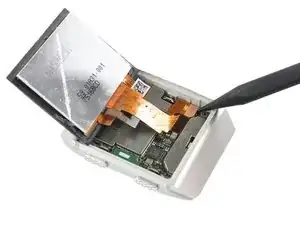
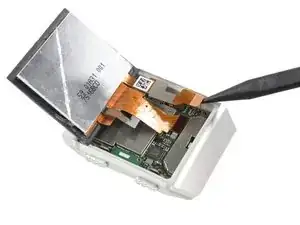
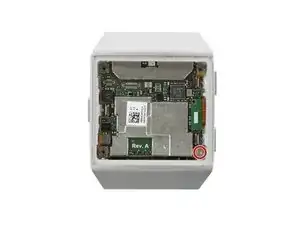
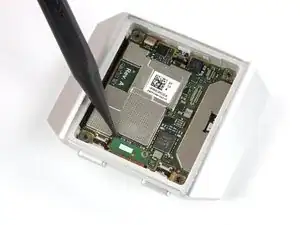
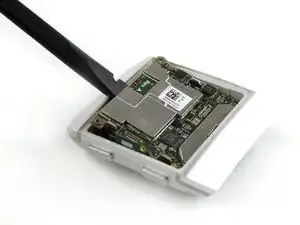
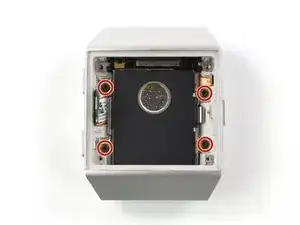
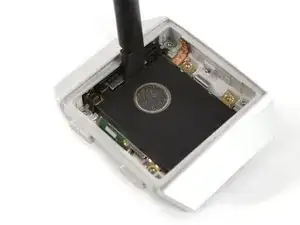
Insert a spudger into the gap between the watchcase and the upper edge of the motherboard.
-
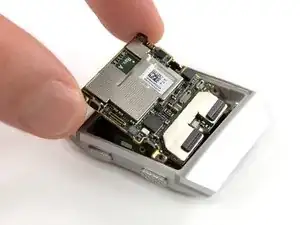
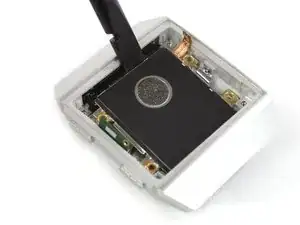
Use the spudger to pry up the motherboard.
-
Remove the motherboard.
-
-
-
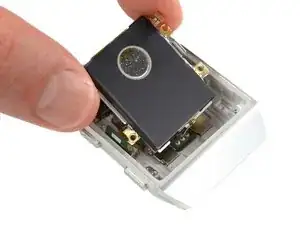
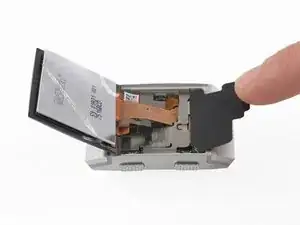
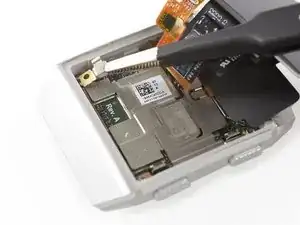
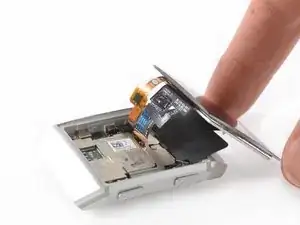
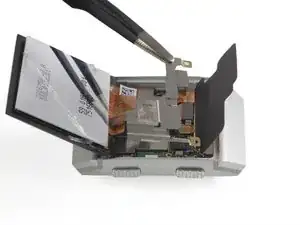
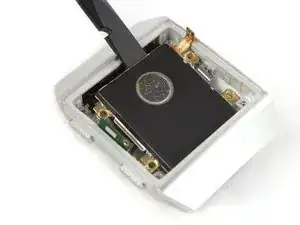
Insert the flat end of a spudger between the watchcase and the battery on the top edge of your Fitbit Ionic.
-
Use the spudger to pry up the battery.
-
To reassemble your Fitbit ionic follow these instructions in reverse.
If possible, turn on your device and test your repair before installing new adhesive and resealing.
For optimal performance, calibrate your newly installed battery: Charge it to 100% and keep charging it for at least 2 more hours. Then use your device until it shuts off due to low battery. Finally, charge it uninterrupted to 100%.
Take your e-waste to an R2 or e-Stewards certified recycler.
Repair didn’t go as planned? Try some basic troubleshooting, or ask our Answers community for help.
14 comments
This guide is very detailed and pretty accurate. Thank you for posting it!
Does anyone know how crucial the ‘Calibration’ procedure noted at the end article is?
I replaced my battery and it drains so quickly - during the course of a few hours.
But I didn’t try leaving it on the charger for 2 hours after 100% is reached. Trying that now.
Monte87 -
The battery drains so quickly - just like the old battery that I am replacing.
It charges up to 100% but then loses about 1% every 5 minutes. Could there be a short circuit somewhere?
This was all sealed up by factory until I needed a new battery.
Monte87 -
Hi @monte87 unfortunately I’m overwhelmed with this problem. Maybe you can contact the troubleshooting website of Fitbit directly. I hope someone there can tell you more about your problem.
