Introduction
-
-
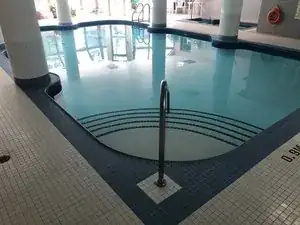
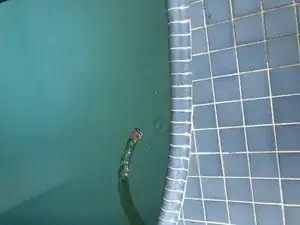
In this step , the fixer must remove enough water from the pool so that he can start to work on the broken pool tiles. The water from the pool should be removed before starting on the project because it is a safety concern. The fixer must not start work until the pool is fully drained or partially drained ,depending on where he is fixing .
-
-
-
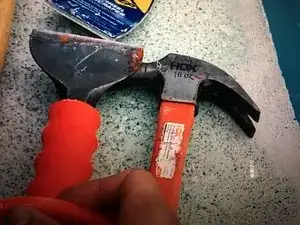
In this step , fixer would need to get a hammer and a chisel as these tools will be used to remove the old broken tiles.
-
Insert wisdom here.
-
-
-
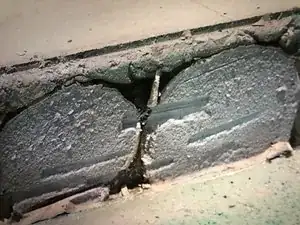
In this step , by using a hammer and a chisel , fixer must remove all the grout that can be found after removing the old tiles. The flat surface where you will placing your new tiles needs to be clean so that the new tile can be placed properly.
-
-
-
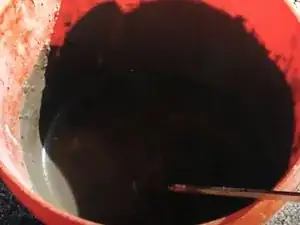
In this step , fixer must take mix concrete concentrate and water together. After it has been mixed properly , fixer should wait 10 minutes so that the mixture can settle down.
-
-
-
In this step , fixer must apply the concrete mixture to the back of the new tiles so that it can be later placed at the location where the old tiles were removed.
-
-
-
Next, fixer must wait 8 hours for the tiles to dry up. Once the pool tiles are checked to see if they are dry, fixer can then proceed to fill the pool up with water.
-
To reassemble your device, follow these instructions in reverse order.
