Introduction
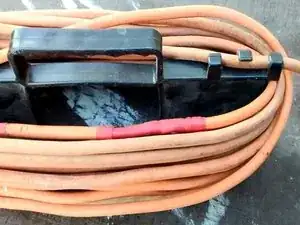
This guide will help you learn how to repair an extension cord. If your extension cord has been cut, it is not essential to buy one. Repair is a simple and economical solution. So how do you repair an extension cord? I will show you how to repair an extension cord step by step.
Caution:
Safety tips when working with Sharp Blades or Edges.
The most common concern when using sharp blades or edges is an injury, such as a cut (laceration, puncture) or an amputation.
Tools or equipment with sharp blades or edges can include knives and other utensils, box cutters, utility knives, safety cutters, scissors, razor blades, etc. and in our case, it will be a utility knife.
To prevent cuts: Use the right tool for the job, Inspect the tool before use, Carry one tool at a time, tip and blade pointed down at your side, Work in a well-lit space so you can see what you are doing, Cut on a stable surface, Use a cutting board and/or slip-resistant matting to prevent the item from sliding on the counter, Hold the tool with your stronger hand, Use mesh gloves, especially for the holding hand, Cut away from your body. Make sure no body parts are in the cutting path, or in the path the blade might take if it slips.
Tools
-
-
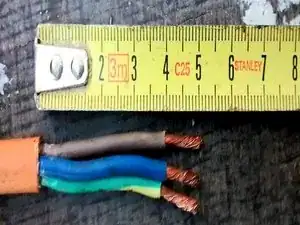
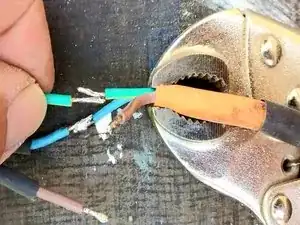
Use wire strippers to remove about 5cm of the outer insulation from the cable.
-
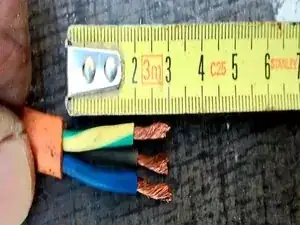
Remove around a centimeter of insulation from the inner wires to reveal the bare copper using the wire strippers.
-
Do the same for the other side of the extension cord.
-
-
-
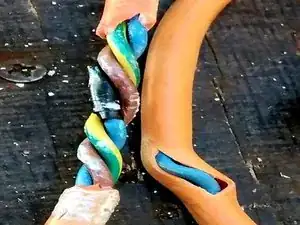
Take the two halves of the extension and join the corresponding wires together. Neutral wire N (blue wire); The phase L wire (red, black or brown); The ground wire (green and yellow).
-
Twist the copper wires together.
-
-
-
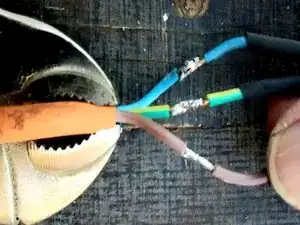
Solder the joints of the wires with a soldering gun.
-
Once you've soldered all of the connections, check with the ohmmeter that the current flows well from one end of the extension cord to the other. If it does not, check to make sure that the solder has made a firm connection with each side of each cable pair. It may help to reflow the soldered connections.
-
-
-
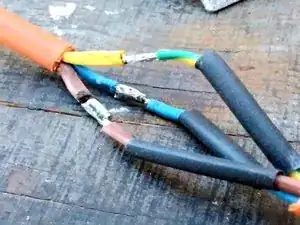
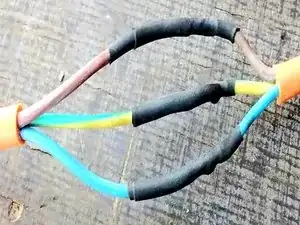
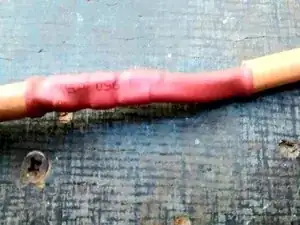
After covering all connections individually with electrical tape. Then cover the entire wire harness with retractable sheath thermosetting tube.
-
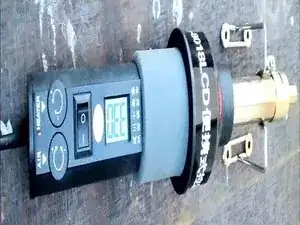
Apply heat from a hairdryer or heat gun to the heat shrink tubing until it is wrapped tightly around the cable.
-
One comment
Be sure to slide the section of thermosetting tube onto one of the cord ends before soldering the wires. The tube should be cut to a length that will cover the repair section and overlap the adjacent outer insulation by 1.5cm on each side of the repair. After soldering, slide the tube over the repair and heat shrink it.
lw3685 -
