Introduction
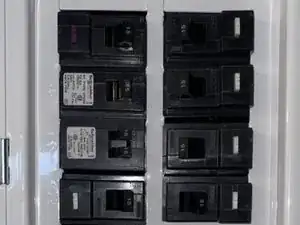
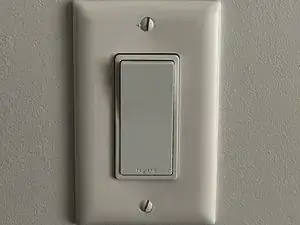
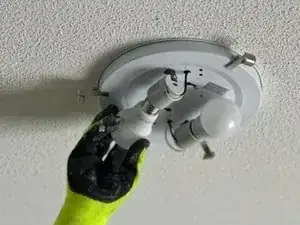
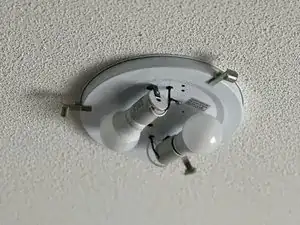
If your light is not turning on, then you most likely have a short circuit, which requires a replacement. This guide is specifically meant for incandescent light bulbs under a ceiling mount. It will demonstrate how to remove the broken bulb and replace it with a functional bulb. Make sure there is no current running through the light bulb to avoid electrocution before you begin.
Tools
-
-
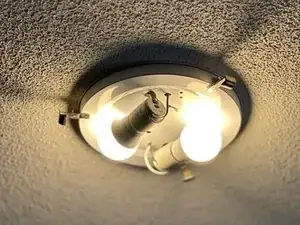
Turn the light switch and the circuit breaker back on to check if the light bulb(s) are working before putting the mount cover back on.
-
-
-
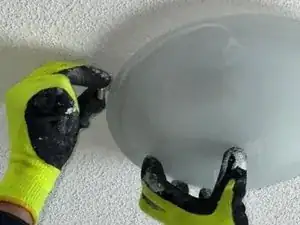
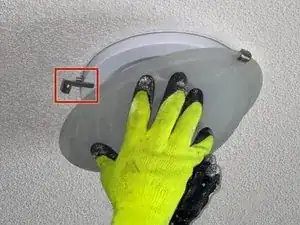
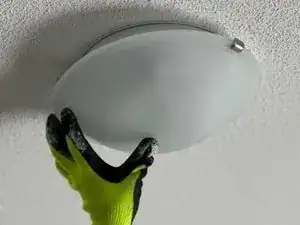
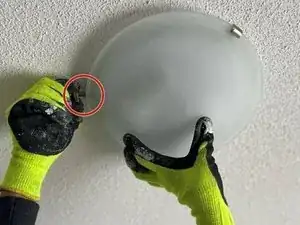
Once the light bulb(s) are working, place one hand under the mount. Pull the clip back and let it settle in place.
-
If the lightbulb does not work after step 7, then you need to get a new lightbulb and repeat step 5-7. If it still does not work then your socket might need a replacement.
