Introduction
Use this guide to replace the earpiece speaker in your Fairphone 4.
Parts
-
-
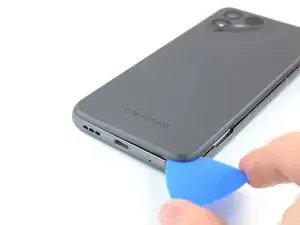
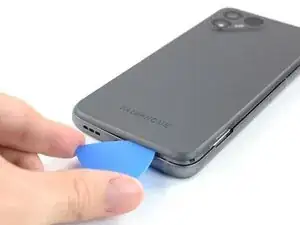
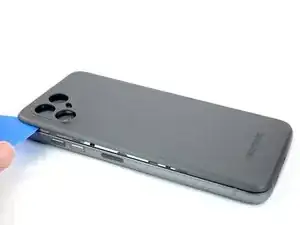
Insert your thumbnail, or a prying tool like a spudger, into the notch at the bottom right of the back cover.
-
Pry the back cover up to start separating its plastic clips.
-
-
-
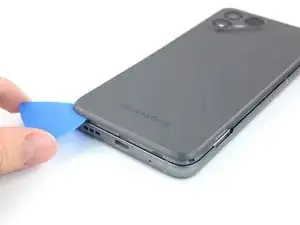
Using your thumbnail or an opening pick, slide along the right side of the phone to loosen the plastic clips.
-
-
-
Slide along the left side of the phone to loosen the plastic clips.
-
Lift the back cover to release the rest of the plastic clips and remove it.
-
-
-
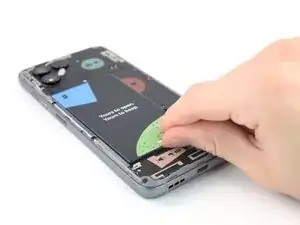
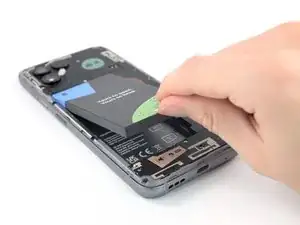
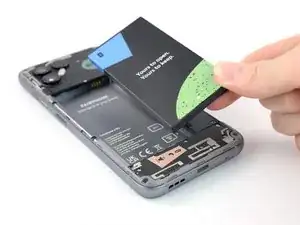
Use a fingernail or a prying tool at the marked notch to lever the battery out of its recess.
-
Lift the battery out of its recess and remove it.
-
Remove the battery.
-
-
-
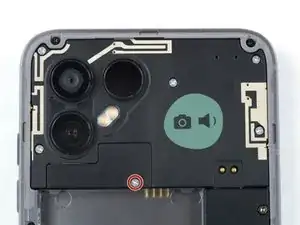
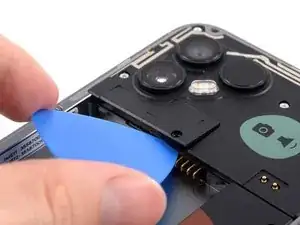
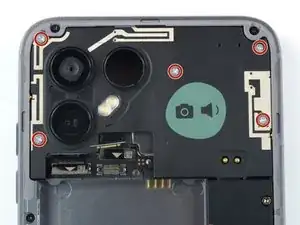
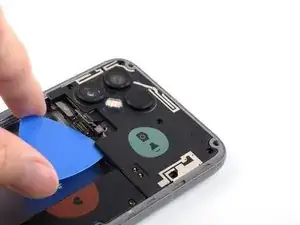
Insert an opening pick beneath the cover near the triangular mark.
-
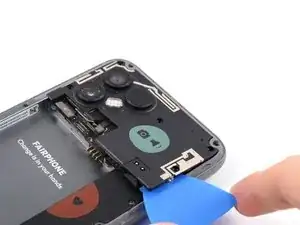
Twist the opening pick to pry the cover up.
-
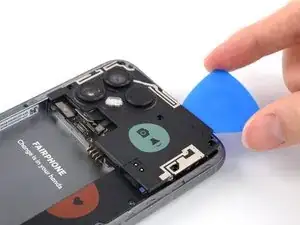
Remove the cover.
-
-
-
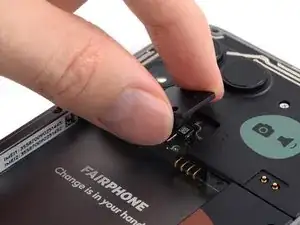
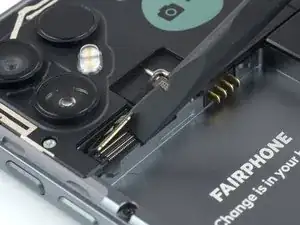
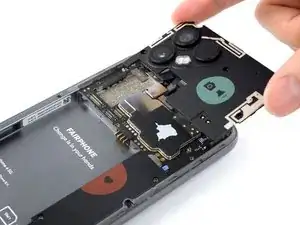
Lift up the right connector to reveal the additional connector beneath it.
-
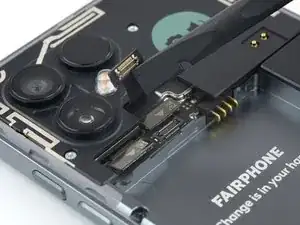
Use a spudger or an opening pick to pry up and disconnect the third camera connection cable.
-
-
-
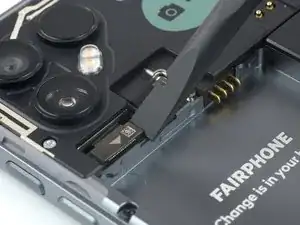
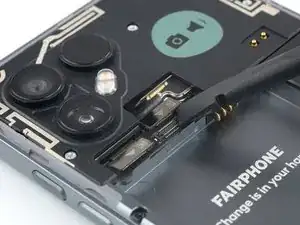
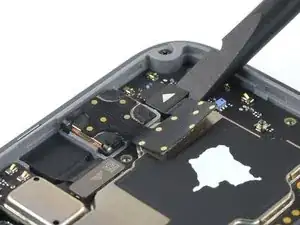
Use an opening pick to slide underneath the rear camera module.
-
Slide the opening pick along the rear camera module to release the clips that hold it in place.
-
-
-
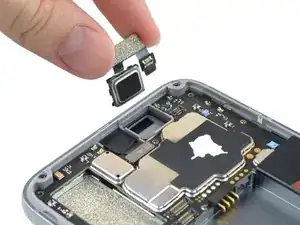
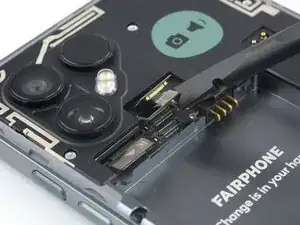
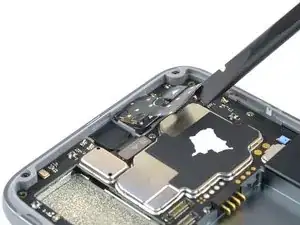
Use a spudger to disconnect the earpiece speaker by prying the connector straight up from its socket.
-


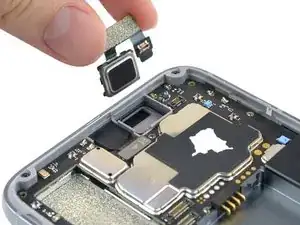
To reassemble your device, follow these instructions in reverse order.
Take your e-waste to an R2 or e-Stewards certified recycler.
Repair didn’t go as planned? Try some basic troubleshooting, or ask our Answers community for help.

Thank you for this very helpful guide. However I fail to see why you would conclude that replacing the battery is 'moderate'. Could you elaborate on this a little bit more, please?
For me 'moderate' means it is (very) complicated (i.e. plenty of steps) but feasible in general (i.e. there is a good chance you're not gonna brick your device) for which there is only one escalation level left: 'not feasible at all'. Non of that is true for the FP4. Could removing the battery more user-friendly, though? Well yes, of course but it is still by far very simple and straight forward.
Again, thank you very much for this great contribution.
Dave S. -
Hey Dave S.,
thanks for your comment. You're totally right, the "moderate" rating was due to an oversight as it is the default in the system. I've changed the rating.
Manuel Haeussermann -