Introduction
Prereq guide to remove all of the expansion cards before removing the mainboard.
-
-
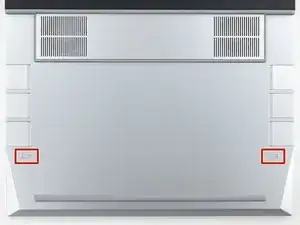
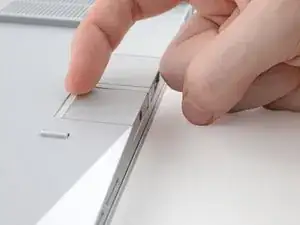
Flip your laptop over and find the two locking tabs beneath the expansion cards.
-
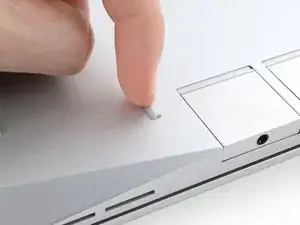
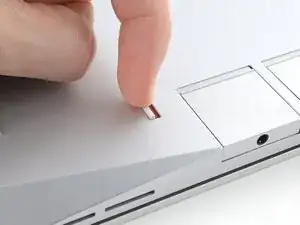
Pull the locking tabs down to unlock the rows of expansion cards above them.
-
-
-
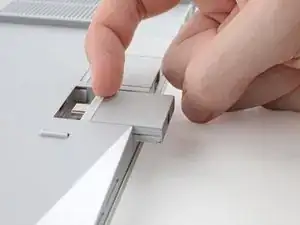
Insert your fingernail over the white rubber lip along the inner edge of the expansion card.
-
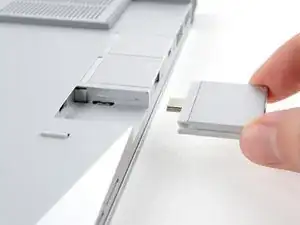
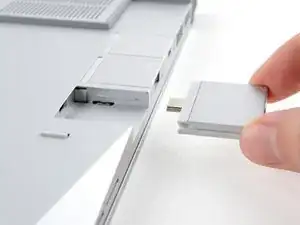
Pull the card away from the laptop to disconnect it.
-
Slide the card completely off its rail and remove it.
-
Repeat for all of the expansion cards.
-
Conclusion
To reassemble your device, follow these instructions in reverse order.
Take your e-waste to an R2 or e-Stewards certified recycler.
Repair didn’t go as planned? Try some basic troubleshooting, or ask our Answers Community for help.
