Introduction
Sometimes, the belt in the vacuum can go bad or even just come loose. In order to properly maintain your vacuum, it’s important to know how to replace the belt. This guide covers the necessary steps for a successful replacement. Make sure your vacuum is off before attempting any replacements.
Tools
-
-
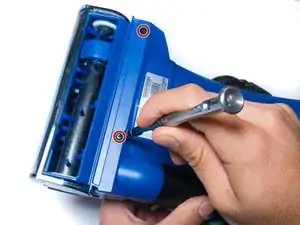
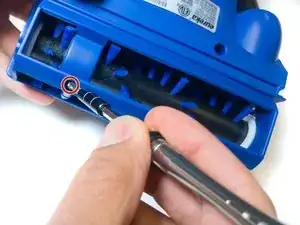
Unscrew the 14mm PH2 Phillips head screw.
-
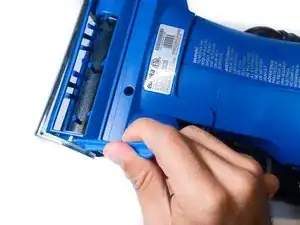
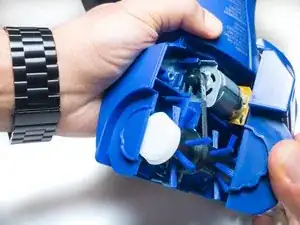
Pull the bottom cover off of the rest of the casing.
-
-
-
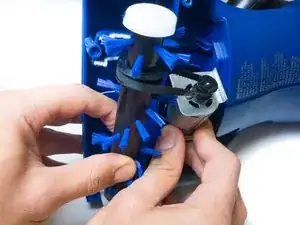
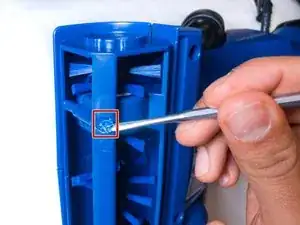
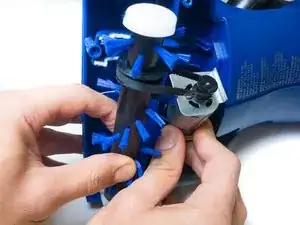
Pull the roller, motor, and belt out of the casing.
-
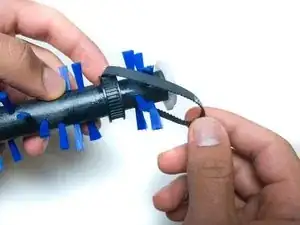
Separate the belt from both the roller and the motor.
-
Conclusion
To reassemble your device, follow these instructions in reverse order.
One comment
Hello would you know what belt number this would use? I have looked everywhere. I would appreciate it
vdean4b -
