Introduction
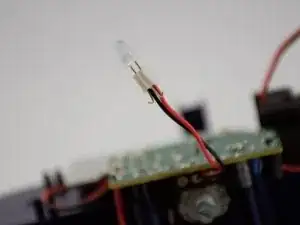
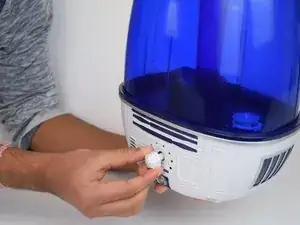
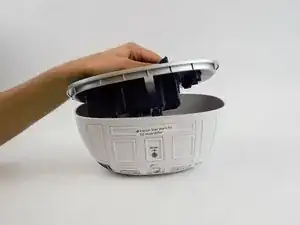
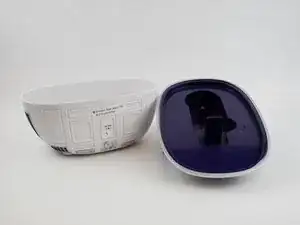
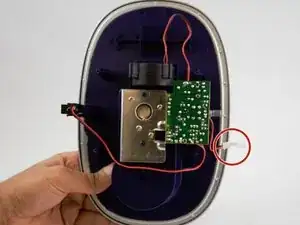
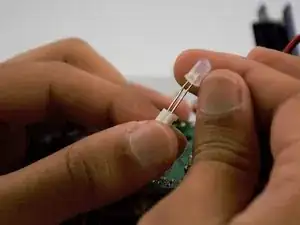
The blue LED indicates whether the device is on or off. If the device is working and the blue LED is not on, the LED may either be faulty or it has poor contact to the wire and/or to the printed circuit board. We will demonstrate the steps on getting to the blue LED from inside the device for replacement. Then, we will replace the blue LED.
Tools
Parts
-
-
Lay the bottom part of the device upside down on a table.
-
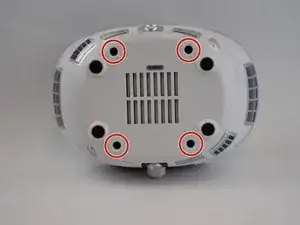
Locate the four PH1 screw heads on the underside.
-
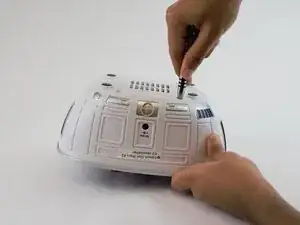
We used the driver and 150mm driver extension with a PH1 screwdriver bit (from 64 Bit Driver Kit) to elongate the driver. (See note below and second image)
-
Conclusion
To reassemble your device, follow these instructions in reverse order.
