Introduction

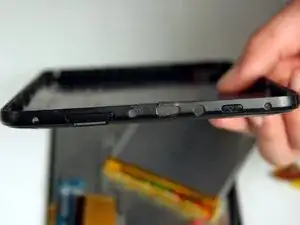
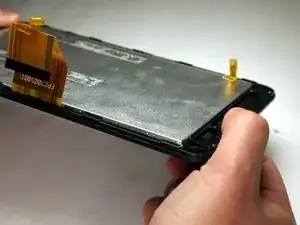
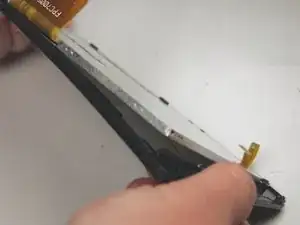
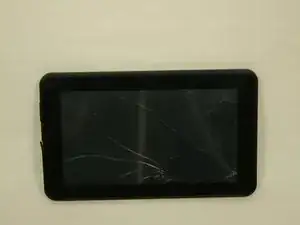
If the screen is cracked or damaged it may need to be replaced. This guide will show the user how to easily and safely replace the screen.

  1. 1sYTq2dkTlcmhNuQ
    1sYTq2dkTlcmhNuQ
    PCrvlwqrREFC1Dwb
    bFpIiYI4VWdUdHxu
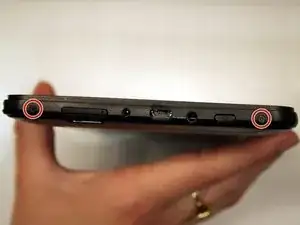
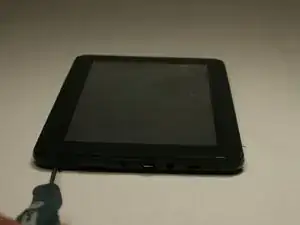
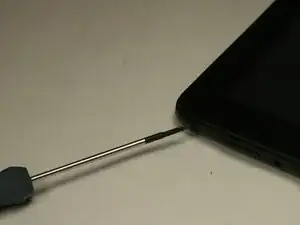
    • Unscrew the two (2) 1.3mm Phillips #00 screws found on the bottom edge of the tablet, where the power and volume buttons are located.

  2. sA1wLWu62qt2BMkE
    sA1wLWu62qt2BMkE
    vOAKP1bUETguDoRJ
    euADCxTF6TqtHc1f
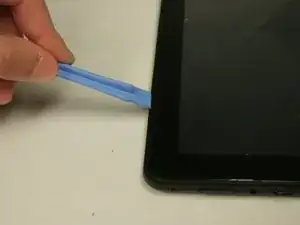
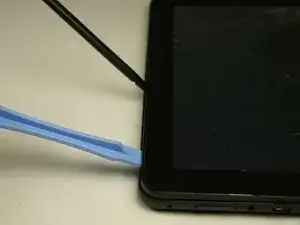
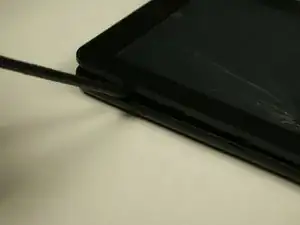
    • Insert plastic opening tool into the edge between the screen plate and the back plate to create a separation between the casings.

    • Insert the flat end of the spudger next to the plastic opening tool and carefully pry the edges apart. Continue this all around the edges until the casings separate.

    • There may be cracking sounds when prying them apart. If carefully done, this is only the locks coming apart and is not harmful.

    • Be careful when separating the two plates as they are connected by the speaker wires and could be disconnected during this process.

  3. SSEfhhgZYGPgAhi5
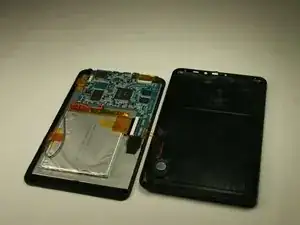
    • Remove back plate from screen plate and lay both down flat next to each other.

    • Be careful when separating the two plates as they are connected by the speaker wires and could be disconnected during this process.

  4. YV6YKavcBSbc2ABJ
    YV6YKavcBSbc2ABJ
    CVbqvPQqbE5SUSSr
    JC1pPWqjKnki5um2
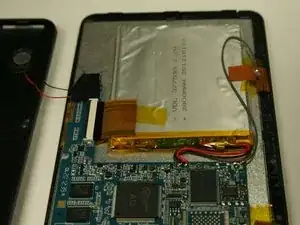
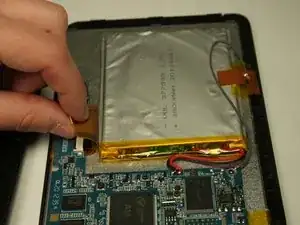
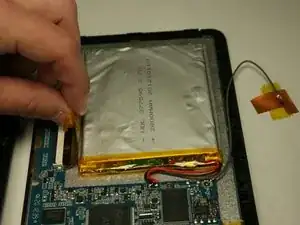
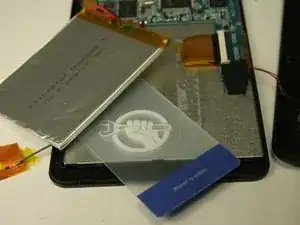
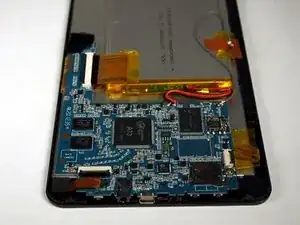
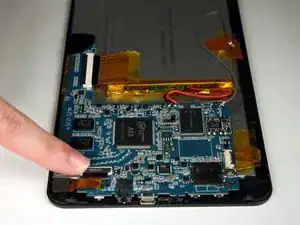
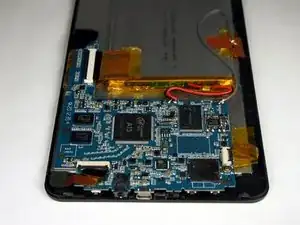
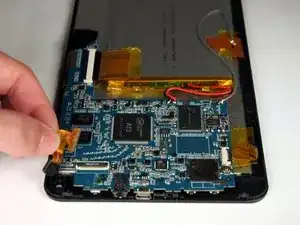
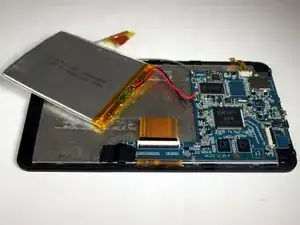
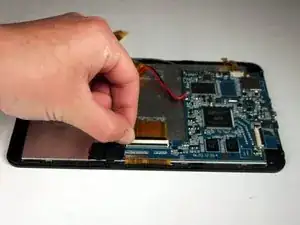
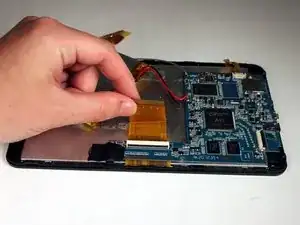
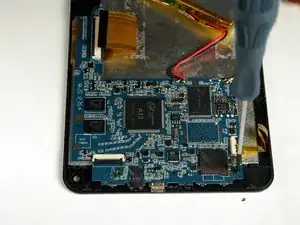
    • Lift up the two pieces of tape holding the copper plate and the connector ribbon to the battery. Gently hold or place away from the battery.

  5. LFXtGgXlfWD5YeYl
    LFXtGgXlfWD5YeYl
    MGYROgMqS54pYUgq
    nm5hbx4l5BIIVvSH
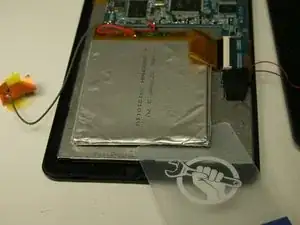
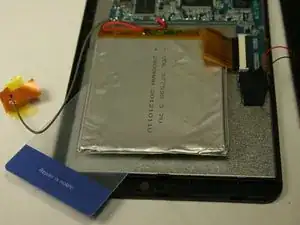
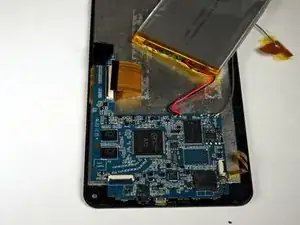
    • Using a plastic card, gently break the adhesive that holds the battery to the metal screen plate.

    • The battery is very bendable. Although it may not be working, there are still dangerous contents inside batteries.

  6. BSLqGMwJ5yTQ61fq
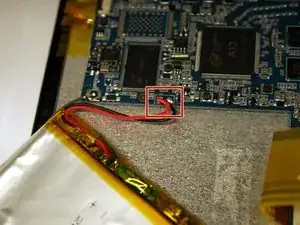
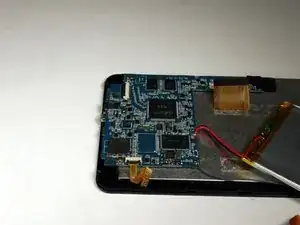
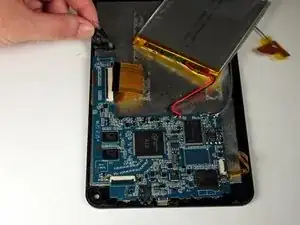
    • If replacing the battery, disconnect the wires that connect the battery to the motherboard.

    • If not replacing the battery, do NOT disconnect the wires.

    • To reconnect the new battery, a soldering kit will be necessary. Use the iFixit soldering guide to gain further information on how to complete this step.

    • How To Solder and Desolder Connections

  7. XRQuORZsRAVBOmQ4
    XRQuORZsRAVBOmQ4
    ubGKyL6dWVG3Hf2S
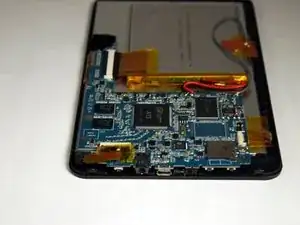
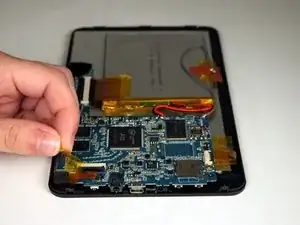
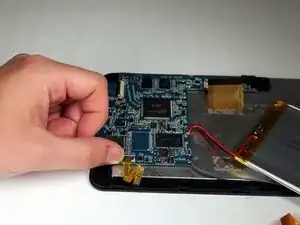
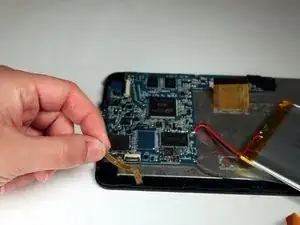
    • Once the panels are separated, remove the tape holding down the ribbon connector that is connecting the camera to the motherboard.

  8. MFpIeWHH2JbBtwGb
    MFpIeWHH2JbBtwGb
    OLteoMXaDEtYUsRF
    • Lift up the black lever of the connector that holds the camera ribbon in place.

  9. J1kylCRhWAaglRsB
    J1kylCRhWAaglRsB
    16hyHp4jRkmR3hSF
    • Gently pull the ribbon out of the connector and lift the camera out of the casing.

    • There is adhesive holding the camera in the case. Pull up strong enough to separate the camera from the casing without damaging the components.

  10. SdkMkFTyZnepDXD2
    SdkMkFTyZnepDXD2
    yQPdtd6tUHx3geLv
    ZACSgCqRZ3Q3nqGP
    • Once battery is removed, flip up the black lever of the connector that is holding the wide ribbon in place for the screen. Remove the ribbon from the connector.

  11. bLiMPkDbHaeRg2W4
    bLiMPkDbHaeRg2W4
    uQUXSluxUXvuZVqM
    RWlPbCaraGPKJaPE
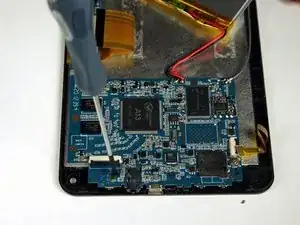
    • Rotate the tablet 180 degrees and flip up the black lever of the connector holding the small, yellow ribbon. Remove ribbon from the connector.

  12. L6NyVGDkTBYj3JJk
    L6NyVGDkTBYj3JJk
    2IdHQFvPJfhYS5wg
    QEEsYR6ByWFBhNJw
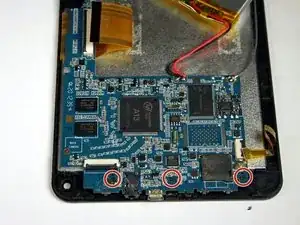
    • Rotate the tablet 90 degrees and remove the three (3) 1.3 mm Phillips #00 screws that hold the motherboard in place.

  13. 6sB5n1YCkcrpoIOR
    6sB5n1YCkcrpoIOR
    3bApVIskTqafRBtm
    • Lift up the tape that covers the speaker wires and holds the motherboard in place.

    • This picture does not show speaker wires attached. These do NOT have to be disconnected for this.

    • Be careful not to disconnect the speaker wires from the motherboard. Otherwise, they will need to be soldered back on.

  14. sydHDAsFKYd2MkGE
    sydHDAsFKYd2MkGE
    upJwfAc6YFNkOwhP
    • With the motherboard detached from the screen plate, there is now access to the electrical components under the motherboard and the mechanical button components on the back plate.

  15. CNAhSEgpLiFUEJeA
    CNAhSEgpLiFUEJeA
    rCtstgK51KxWTJ5O
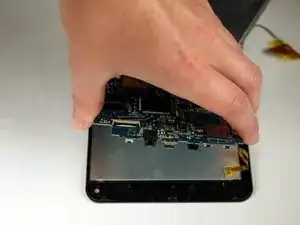
    • Once the battery and motherboard have been removed, gently bend the screen plate to pop out the metal digitizer that sits on the glass and plastic screen.

    • Be careful when bending as glass could break.

Conclusion

To reassemble your device, follow these instructions in reverse order.
Justin Rohrman

Member since: 23/03/15

745 Reputation

0 comments