Introduction
This will show you how to troubleshoot any problems with the cable, replace it and and clean the sliding contacts.
Please note that this guide is not perfect, some pictures are missing but it should get you past the biggest hurdles such as finding all the screws to open the housing (including the "hidden" one under the power button)
-
-
On the HEPA filter holder press down the brownish tab and pull out the entire plastic piece
-
Then pull out the HEPA filter
-
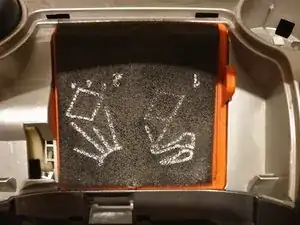
Then remove the plastic in front of the washable filter
-
Remove the washable filter and the orange holder
-
-
-
The power button has 3 plastic hooks/clips holding it on. Use some kind of prying tool to push them in.
-
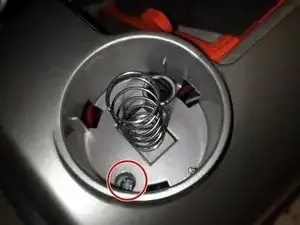
Remove the philips head screw underneath the power button
-
-
-
Now that the screw under the power button and the screws on the bottom have been removed the plastic housing can be seperated.
-
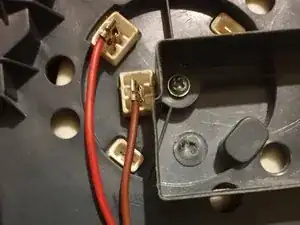
Mind the cables going to the power switch, these are short and need to be disconnected from the switch before the housing can be fully seperated.
-
-
-
The cable winder can now be pulled out (you might have to push the housing a bit apart to get it out), be careful with the cables that are still connected to it.
-
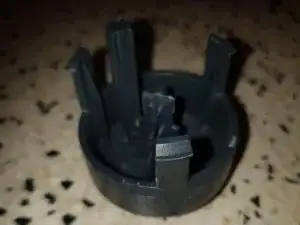
Also note the direction of the U of the shaft, the opening should be on the top (remember this for when you're reassembling)
-
-
-
Press the button to wind up the power cord while simultaneously guiding the power cord so it does not get stuck. You should release as much pressure as possible from the winder (which means "winding up" more than would normally be possible with the housing installed)
-
-
-
Make sure that you have removed as much force on the coil as possible. Be careful when separating as any remaining force will make the winding mechanism rotate when removing the grey part (removing the grey part disables/removes the brake)
-
You can seperate the grey and white plastic part by removing the single philips head screw.
-
-
-
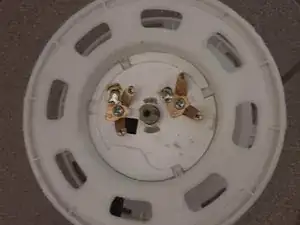
Remove the sliding contact by pulling it out (with the help of some pliers)
-
You can now measure the continuity of the cable without the sliding contact to determine if the cable is fine. If the cable does not measure continuity unsolder it and follow the next step to be able to replace it.
-
You can clean the sliding contact and bend the sliders a bit so they press against the metal circles with more force if necessary
-
-
-
This is only necessary if you want to replace the cable
-
Remove the 2 Philips head screws
-
Remove the security torx screw
-
If the brownish metal strip is in the way, make sure to unwind the winder as far as possible to relieve as much tension as possible from it. If then it still is in the way it can easily be pushed out of the way. Do this with a tool or wear a glove as the strip might be sharp.
-
do not remove the grey metal piece on top holding the metal strip down. The metal strip acts as a spring and it is a cumbersome job to rewind it if it decides to jump out.
-
Once the 2 plastic halfs (that clamp the cable) are seperated the cable can be removed and a new one can be installed.
-
To reassemble your device, follow these instructions in reverse order.
Make sure to check the tightness of the electrical connectors as you may have (slightly) bent the female side to disconnect them making them looser than they originally were.


