Introduction
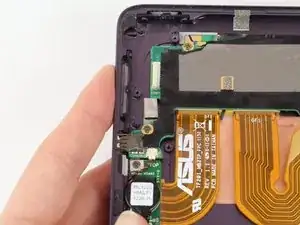
Replacement of the external portion volume buttons may be necessary if the buttons becomes severely jammed or damaged. Replacing the volume buttons is very simple, and the proceeding steps are fairly easy as well. This is a very doable fix!
Tools
-
-
Power down your device.
-
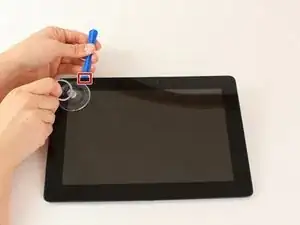
Place the small suction cup on a corner of the screen and lightly pull up to expose a seam between the screen and case.
-
-
-
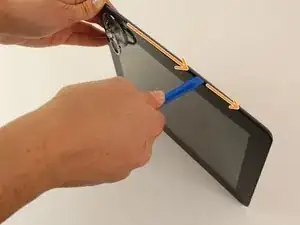
Insert the plastic opening tool into the seam near the corner of the device.
-
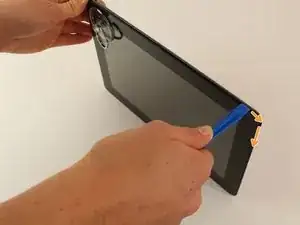
Slowly slide the tool around the perimeter of the device, gradually prying up the screen.
-
-
-
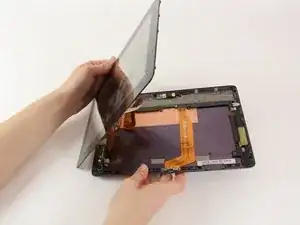
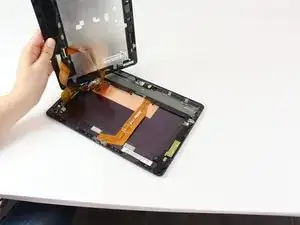
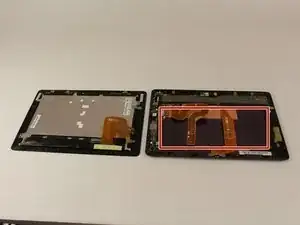
When the screen is free of all spring clips and adhesive, slowly open the device like a clam shell with the hinge being the left hand side of the device.
-
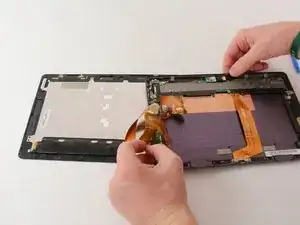
Safely place the device back on the table by laying the screen face down.
-
-
-
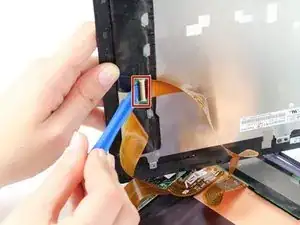
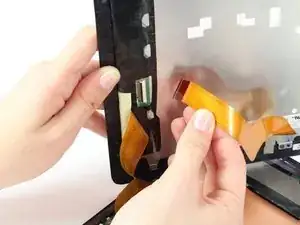
Disconnect the ribbon cable by placing a plastic opening tool under the black plastic tab that is on the opposite side of the port as the ribbon cable.
-
Pry upward until the black tab moves 90 degrees, and gently pull the ribbon cable out of the port.
-
-
-
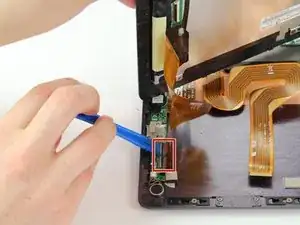
Place a plastic opening tool under the white plastic tab on one of the ribbon cable ports.
-
Pry upward until the black tab moves 90 degrees, and gently pull the ribbon cable out of the port.
-
Repeat the previous process to remove the other ribbon cable.
-
-
-
Remove the battery (secured by six screws and a white wire connector) by following the removal portion of this battery replacement guide.
-
-
-
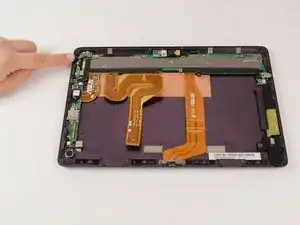
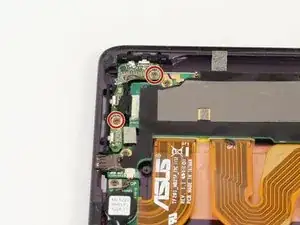
Orient your device so that the lock and volume buttons and the attached components are on the top left.
-
-
-
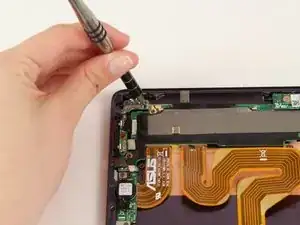
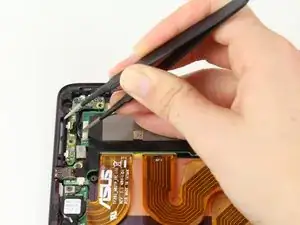
Use tweezers to pull back the strip of black tape covering the connection between the electronic portion of the lock and volume buttons and the motherboard.
-
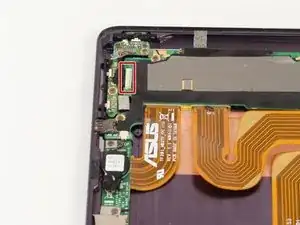
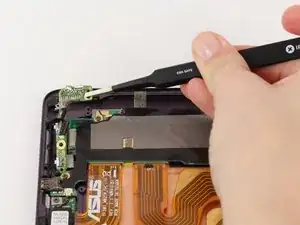
Push the black part out of the white part of the connection using tweezers.
-
-
-
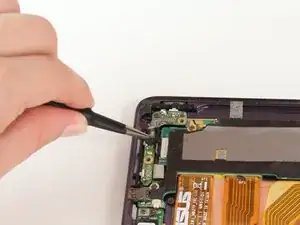
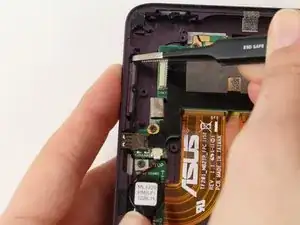
The electronic portion of the lock and volume buttons should now be free to move. Lift it gently using tweezers, and set it aside.
-
-
-
Press down on the volume button from the outside of your device using your finger.
-
Use tweezers to pull the volume button upwards from the inside of the device, while keeping your finger pressed from the outside.
-
Pull the volume button free from the device and set it aside.
-
To reassemble your device, follow these instructions in reverse order.
