Introduction

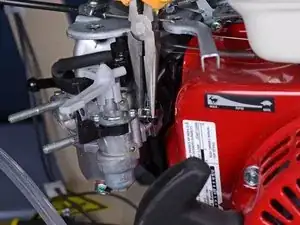
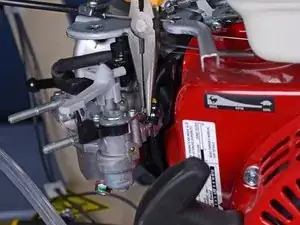
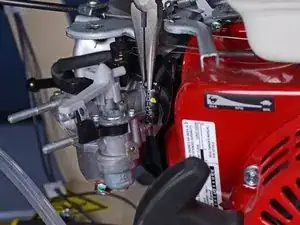
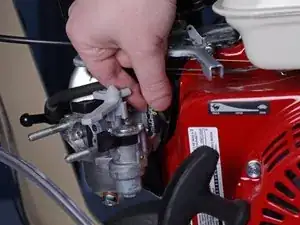
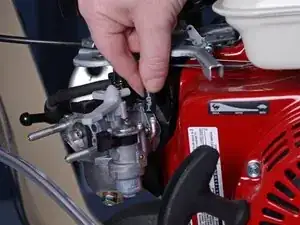
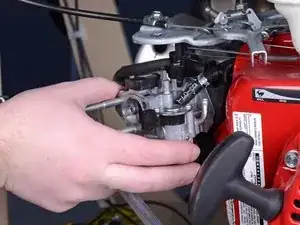
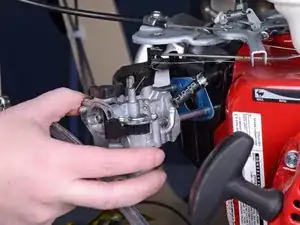
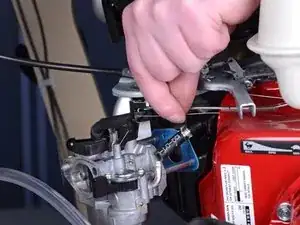
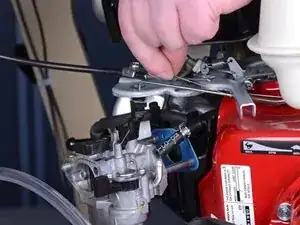
Follow this guide to remove a carburetor on the Edco Cement Saw KL1465H, either for cleaning or replacement.

  1. AoO1MwKlXfZZVgSh
    AoO1MwKlXfZZVgSh
    OuvTv1CQgDXUSGbM
    • Before you begin, ensure that the machine is powered down and cool to the touch.

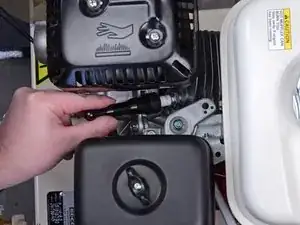
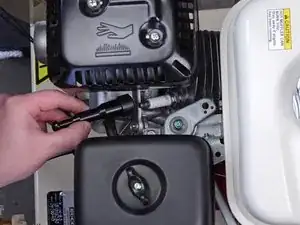
    • Disconnect the spark plug to prevent the engine from accidentally starting up during service:

    • Grab the plastic spark plug cap at the end of the spark plug wire.

    • Firmly pull to disconnect the spark plug cap from the spark plug.

  2. wY5SV4VulmmWHq2p
    wY5SV4VulmmWHq2p
    uZRHMAvgTYPviCjm
    pZdkbqyhpOCSGv1x
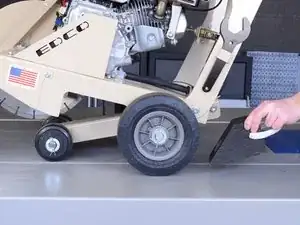
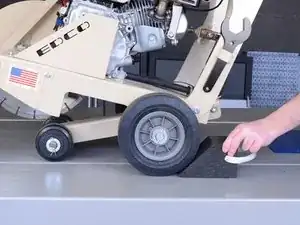
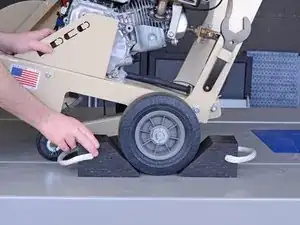
    • To prevent the concrete saw from rolling during service, place wheel chocks in front of and behind a rear wheel.

  3. GBasBPxdriuYEPSu
    GBasBPxdriuYEPSu
    GdT36ffhVKrOeUhv
    bw4QJeDiQtgajg2s
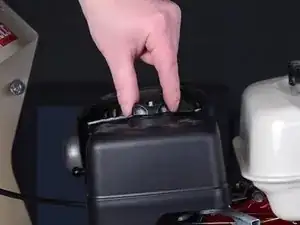
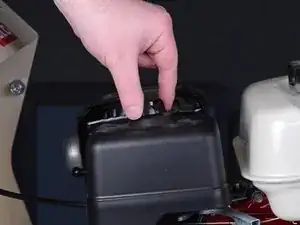
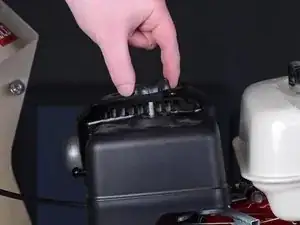
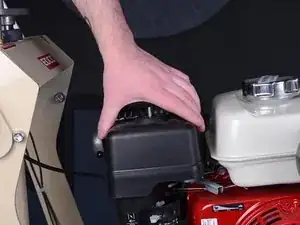
    • Use your fingers to unscrew and remove the wing nut securing the air filter cover.

  4. XYpXvFM6DK6iPeo1
    XYpXvFM6DK6iPeo1
    GIVQPAxS2HoKUyUE
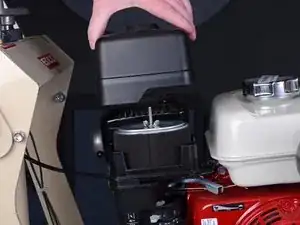
    • Lift the air filter cover straight up to remove it.

  5. obyVVnjdHuq1n2pm
    obyVVnjdHuq1n2pm
    IEadZYLKUYdNFFwH
    HIecXugkiiN3UPrp
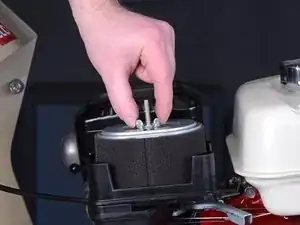
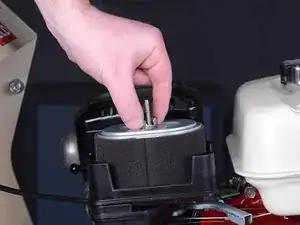
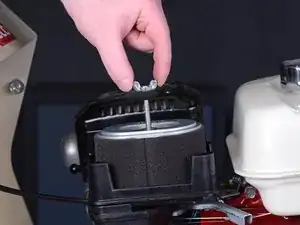
    • Use your fingers to unscrew and remove the wing nut securing the air filter.

  6. dLB4hKnYnvroD3YI
    dLB4hKnYnvroD3YI
    AXchwVRFr2w11AgS
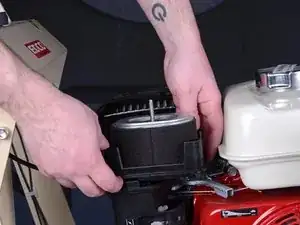
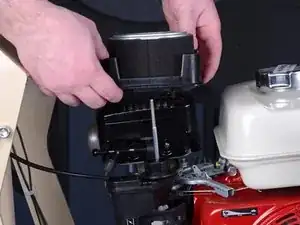
    • Grab the black plastic air filter platform and lift it straight up with the air filter to remove both components.

  7. 42gvIAcQ3OMnDRWI
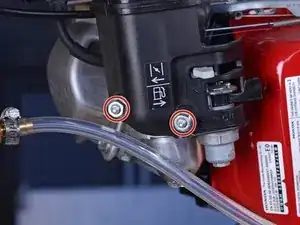
    • Use a 10 mm wrench to remove the two nuts securing the air filter elbow to the carburetor's threaded rods.

  8. BqZC46IhJtasbx5r
    • Use a 10 mm wrench to remove the bolt securing the air filter elbow to the concrete saw.

  9. DNq4ESMZ1JhkHWFN
    DNq4ESMZ1JhkHWFN
    oWVOQSiAWbpESIZP
    DtGQVNYsGwtUd5ED
    • Pull the air filter elbow straight off of the carburetor's threaded rods.

    • The breather tube on the rear side of the air filter elbow should come out with the elbow. If you have difficulty removing the elbow because of the breather tube, use your fingers to loosen its press-fit connection to the engine's valve cover.

  10. nTfRvVCQXoAckXWP
    nTfRvVCQXoAckXWP
    HVNlVrOfYcsujXpv
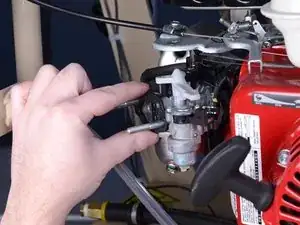
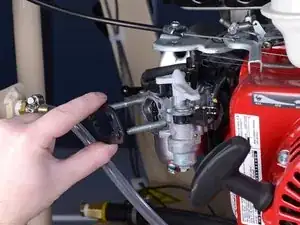
    • Pull the carburetor spacer straight off, making sure it clears the threaded rods.

  11. NJAx5BaITYVLibRg
    NJAx5BaITYVLibRg
    Kg335RmXlHaCWZij
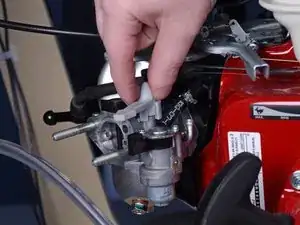
    • Pull the choke lever straight up to remove it from the carburetor.

  12. XDRk1hGhD1kVwsti
    XDRk1hGhD1kVwsti
    r1bnqPFEKvhqhDNM
    PvKRUI1xWQgmSnDJ
    • Use a pair of needle nose pliers to squeeze and loosen the spring hose clamp on the fuel supply hose.

    • Move the clamp up 2-3 cm so it's not clamping down onto the end of the tube.

  13. rPExsAF4UIltMOnk
    rPExsAF4UIltMOnk
    PvtRmVGWhQKrfJq5
    • If you didn't completely drain the fuel tank beforehand, have a gasoline-safe container ready to catch the gasoline as it drains out of the hose.

    • Grab onto the end of the fuel supply hose and pull it straight up to disconnect it from the carburetor.

  14. 5kvUpPrk4iVUgmcG
    5kvUpPrk4iVUgmcG
    qi1sgCo2ex2fUjYk
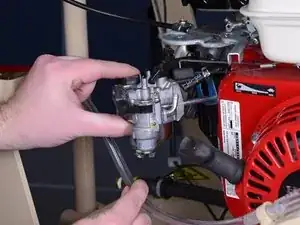
    • Pull the carburetor halfway out, but do not completely remove it yet.

  15. daBUMpXleRJtVyMC
    daBUMpXleRJtVyMC
    xvrWKYLG3Ld4ZsQ2
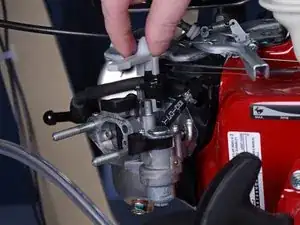
    • Grab the throttle return spring and lift it up to remove it from the carburetor.

    • The governor rod is connected to the throttle return spring, so it should lift up and off with the spring. If not, lift it straight up to remove it from the carburetor.

  16. rqiQjyTONCcxIIRo
    rqiQjyTONCcxIIRo
    MIvDdINHVEoOuDQE
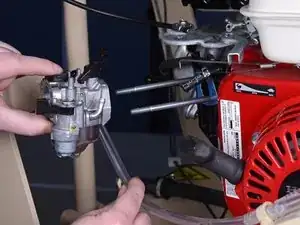
    • Pull the carburetor straight off of the threaded rods to remove it.

    • Use your other hand to pull the water supply hose out of the way as you remove the carburetor.

Conclusion

To reassemble your device, follow these instructions in reverse order.
Craig Lloyd

Member since: 10/02/16

35240 Reputation

0 comments