Introduction

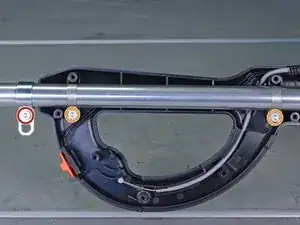
Use this guide to remove or replace the fan clutch drum in an Echo Power Pruner 254 cc PPT2620 2019.

  1. gigWZpfBcrWPbDJp
    gigWZpfBcrWPbDJp
    G43OEnDJ1FPduch1
    • Move the stop switch into the "stop" position to turn the pruner off before attempting any repairs.

    • Pull the spark plug cap straight off of the spark plug.

  2. tXlLKriELHhOyHXw
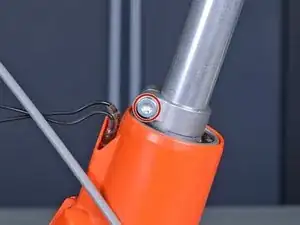
    • Use a T25 Torx screwdriver to loosen (but not remove) the two screws clamping the main pipe assembly to the control handle.

  3. YlfCcEx6OT1KOekW
    YlfCcEx6OT1KOekW
    OK6KUWqLVU4l4ILo
    • Remove the control handle from the main pipe assembly.

  4. YbwKCishTSL3DDXc
    • Remove seven T25 screws holding together the control handle.

  5. QWBYoUGaL6Bt53jd
    • Lift the top half of the control handle straight up to remove it.

  6. ZgmepbhxUZAoWJfE
    ZgmepbhxUZAoWJfE
    oJAFrEOIrRiaSWUt
    • Lift the throttle lockout out of the control handle.

    • During reassembly, make sure the throttle lockout and the throttle trigger are oriented correctly, and that the small wire spring is inserted in the hole on the throttle lockout, as shown in the second photo.

  7. 22RbwYutWFWcALZY
    22RbwYutWFWcALZY
    FjHFbWPFcIUEXjJl
    UgDDjGmMwPULwani
    • Lift the throttle trigger out of the control handle.

    • During reassembly, make sure that the spring inside the trigger is positioned so that it loops around the trigger's hinge post and rests against the screw post to the left of the trigger.

  8. 63jYyfurqkNrxRMw
    63jYyfurqkNrxRMw
    h5IV64cLSL2JiFp5
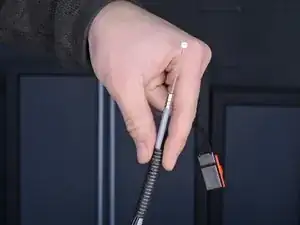
    • Pull the throttle cable sideways through the slot in the throttle trigger to remove it from the trigger.

  9. DK11y4RabgMgTYur
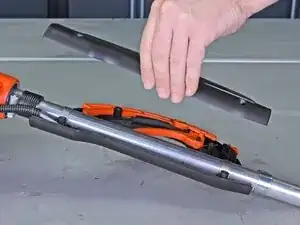
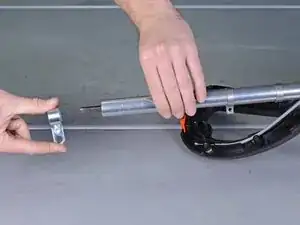
    • Use a T25 Torx screwdriver to loosen (but don't remove) the screw clamping the strap hook to the handle pipe.

    • You may need an 8 mm socket and socket wrench to hold the nut on the back of the strap hook while you loosen the bolt.

    • Remove the two T25 screws securing the handle to the handle pipe.

  10. VhYWQVR41oDFMW4b
    VhYWQVR41oDFMW4b
    eeYTXGIMIZpOoJeX
    bZFQJiIETayZRnYg
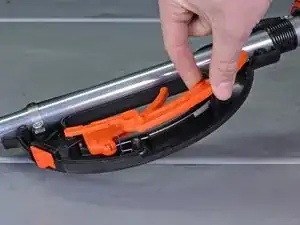
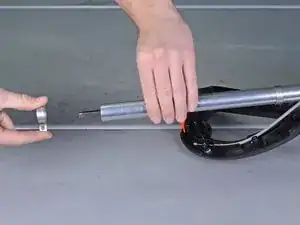
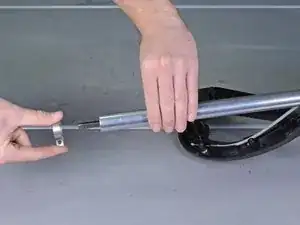
    • Slide the strap hook off the pipe and remove it.

    • Slide both clamps that held the handle off of the pipe and remove them.

  11. ZMCMMdXP33RPsEAu
    • Slide the flexible tube off of the handle pipe and remove it.

  12. 3G1k5lJOIhacnBTS
    3G1k5lJOIhacnBTS
    JdAiFQ3J3dpMDQvH
    YEj1MhTEGGpThtLw
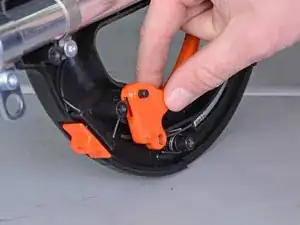
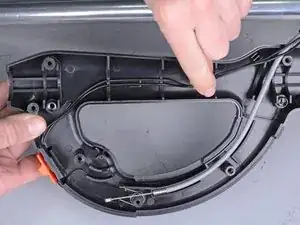
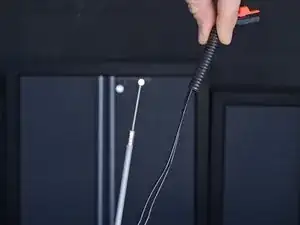
    • Lift the control wires out of their slots in the handle.

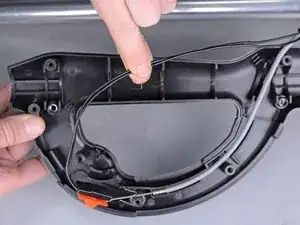
    • Lift the throttle cable out of its slots in the handle.

  13. 6VtalosHGLLAB3AV
    6VtalosHGLLAB3AV
    egdYFZJchmcDVwg1
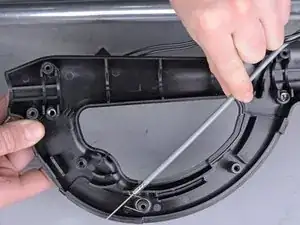
    • Slide the plastic tube holding the control wires and the throttle cable together up and off of the throttle cable. The tube will stay on the control wires.

  14. tUfoiAcDMEXTQp3S
    tUfoiAcDMEXTQp3S
    PlbhghgSejnpVMEO
    • Lift the driveshaft straight out of the handle pipe and remove it.

  15. LALsY1MsCAxwBjRv
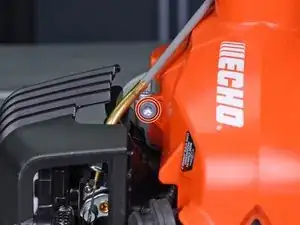
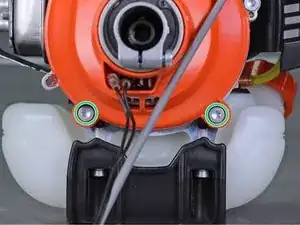
    • Use a T25 Torx screwdriver to loosen (but don't remove) the screw securing the clamp around the handle pipe.

  16. ZA4JTxqLLhII24rk
    ZA4JTxqLLhII24rk
    UFEMLU4YDQdResyD
    • Remove the handle pipe.

  17. cIsGItecT61oLDLj
    cIsGItecT61oLDLj
    kHv1ZU2hCwqd2Lkg
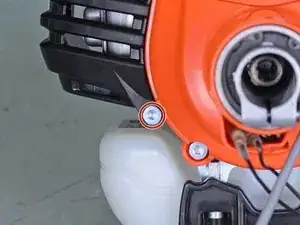
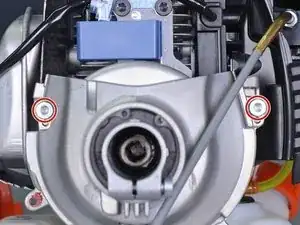
    • Remove two T25 screws securing the exhaust cover: one between the cover and the fuel tank, and the other near the fan cover.

  18. rH3scLrq3pN5KyHn
    rH3scLrq3pN5KyHn
    P6dqm1KnZDpHLXrF
    SgQmhMmYCLfcBPGg
    • Lift the exhaust cover starting at the side nearest the fuel tank and rotate it away from the exhaust muffler assembly.

    • Lift the exhaust cover to remove it.

  19. UiR4eUjApvCAdPSA
    UiR4eUjApvCAdPSA
    t5FI53sUZlMEsbPU
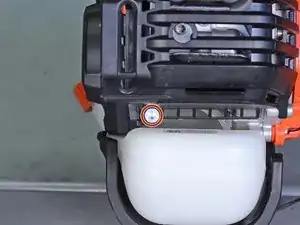
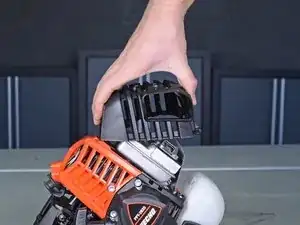
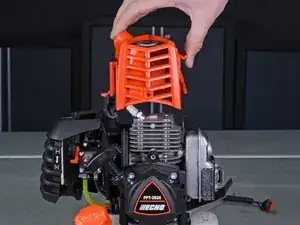
    • Remove two T25 screws securing the engine cover: one near the starter handle, and another near the base of the throttle cable.

  20. FHJaeUa1JYODysBX
    FHJaeUa1JYODysBX
    SfbUCbFRwB62jvxl
    • Lift the engine cover straight up to remove it.

  21. BfRrYL4fwgfLdSPL
    • Remove the two T25 screws securing the fan cover protector.

  22. SR5S1plKEBPbNZDK
    SR5S1plKEBPbNZDK
    X5gJUv6briLhPGcW
    • Pull the fan cover protector straight out and remove it.

    • Make sure that it does not get caught on the control wires running through it. It is not necessary to pull the wires all the way out of the fan cover.

  23. jqr235VZ4cmqoW6X
    • Remove the two T25 screws securing the fan cover.

  24. 1MeDxgTLPANYRFVU
    1MeDxgTLPANYRFVU
    33cyIiuZSMxOGOrG
    • Remove the fan cover.

  25. TSIAiLxABbgIwTBw
    TSIAiLxABbgIwTBw
    EdWQQemeVPgesFOI
    • Use snap ring pliers to remove the snap ring inside of the narrow end of the fan cover.

  26. uHbQIdGvHdEOoxtI
    uHbQIdGvHdEOoxtI
    PnOxBiYb4uQR31jN
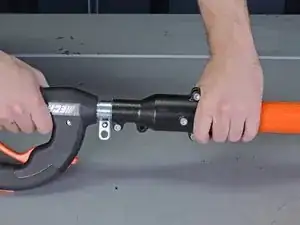
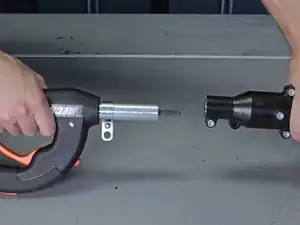
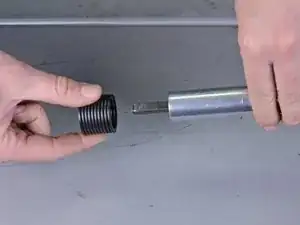
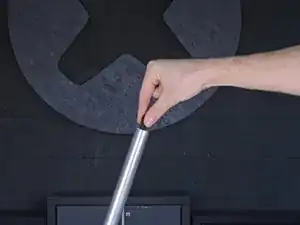
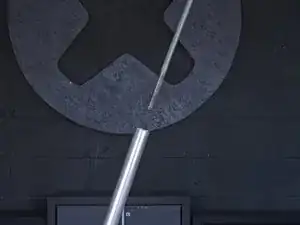
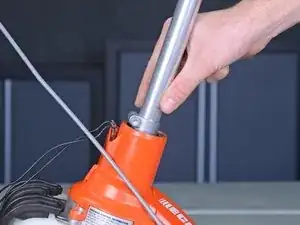
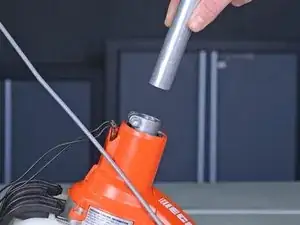
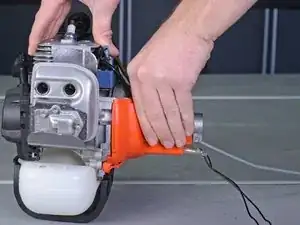
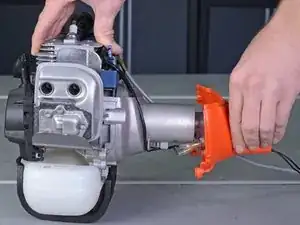
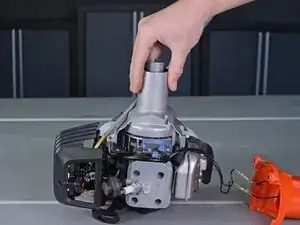
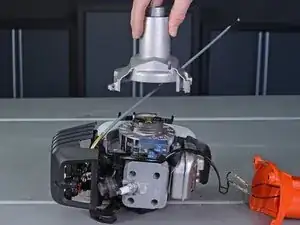
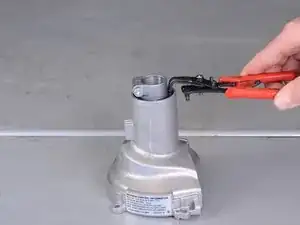
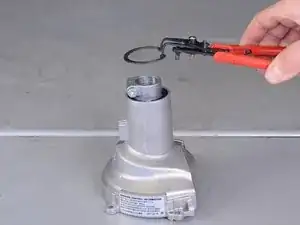
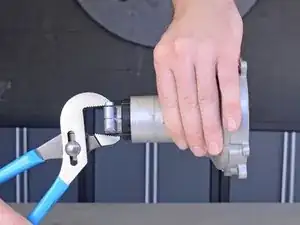
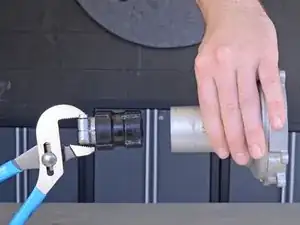
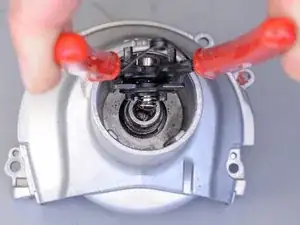
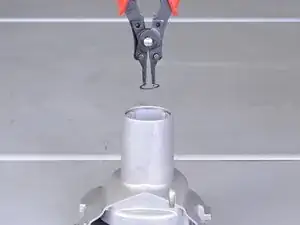
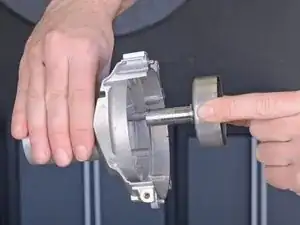
    • Grasp the main pipe holder with a pair of pliers and pull it straight out of the fan cover. This will take a lot of force.

    • Be careful not to mar or deform the pipe holder while you pull on it. Do not grab the inside of the holder with the pliers.

  27. KjEFaTUxhNDoVgTt
    KjEFaTUxhNDoVgTt
    HL3dXy26wex2IjmE
    pTdkYLfvomuZaDiY
    • Use a pair of snap ring pliers to remove the snap ring around the clutch drum.

  28. 1bKVeoCXD4mvoCGL
    1bKVeoCXD4mvoCGL
    YphYChnoIaoCPcv1
    JW5iRAsWtD2QodbZ
    • Use a punch or a bolt to gently tap out the fan clutch drum.

    • Remove the fan clutch drum.

Conclusion

To reassemble your device, follow these instructions in reverse order.

Adam O'Camb

Member since: 11/04/15

195421 Reputation

One comment

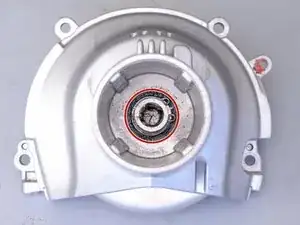
does the case come with the bearings in it already? if not how do you remove the bearings?

DAVID -