Introduction

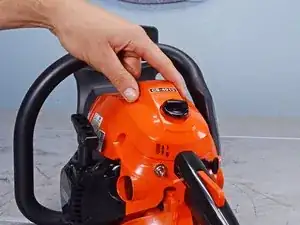
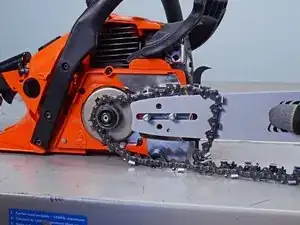
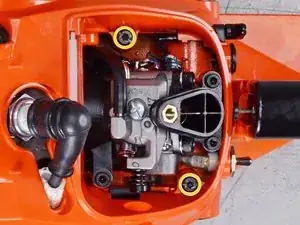
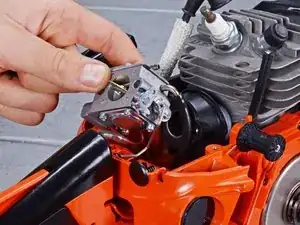
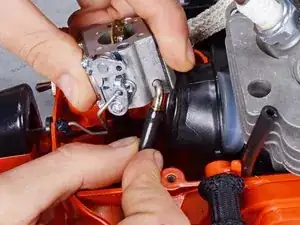
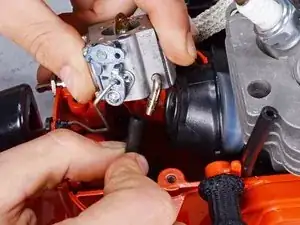
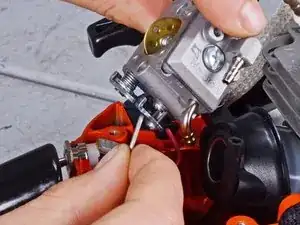
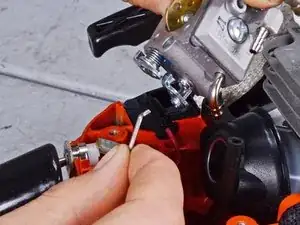
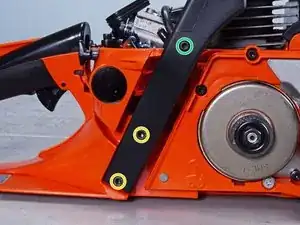
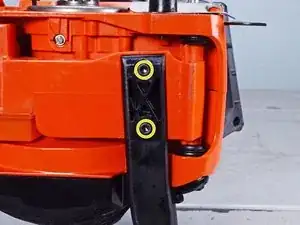
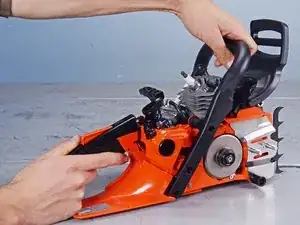
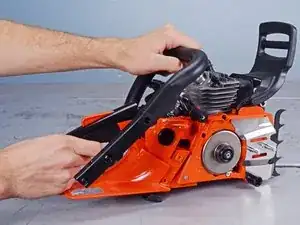
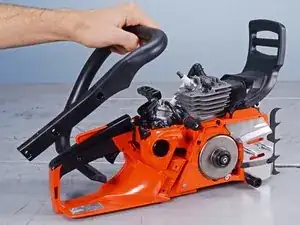
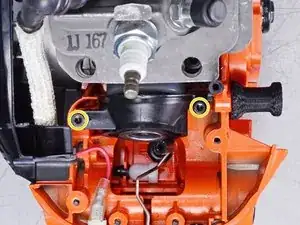
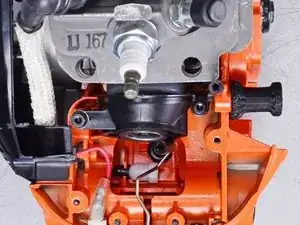
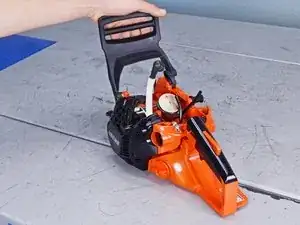
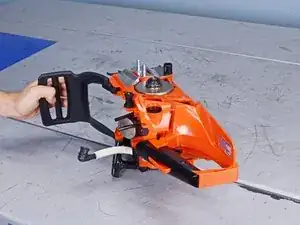
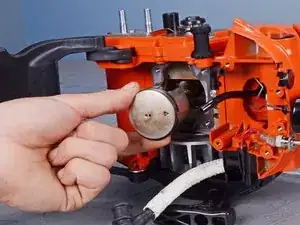
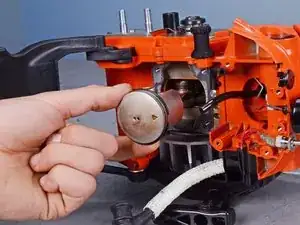
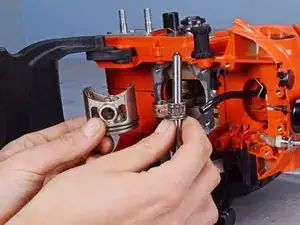
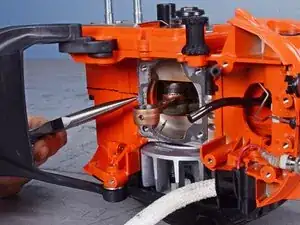
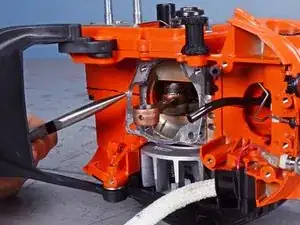
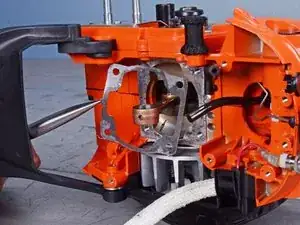
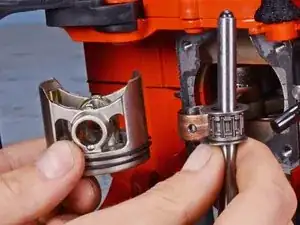
Use this guide to replace the piston assembly in your Echo Chain Saw CS-4910 (2020).

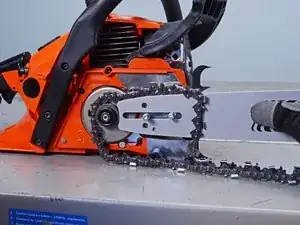
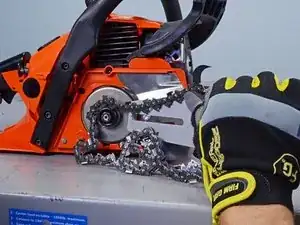
Although it's not necessary to remove the guide bar, it's highly recommended you do so to minimize any damage to the chain and to yourself.

  1. sHrTNbQcpSRFLfSY
    sHrTNbQcpSRFLfSY
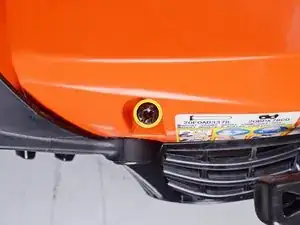
    uZjRu4Sj1yeY2rY1
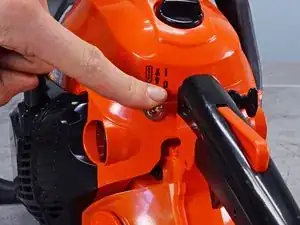
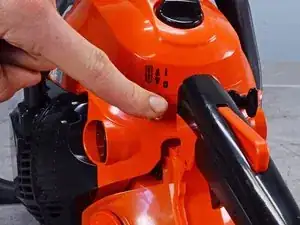
    • Make sure you have the ignition switch turned off before starting your repair.

    • The chainsaw should be cool to the touch before continuing.

  2. W5Wkp4wFAYC5cWNl
    W5Wkp4wFAYC5cWNl
    6VQqdDTDnGraLTUH
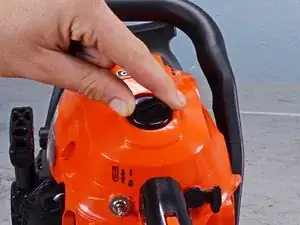
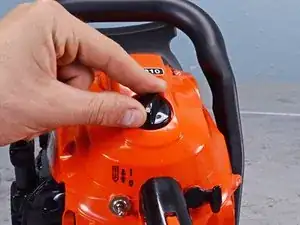
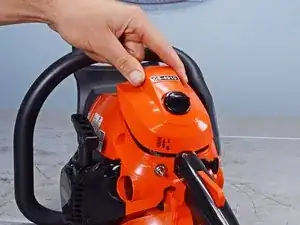
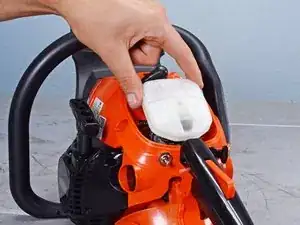
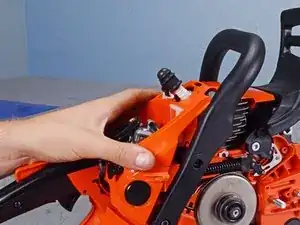
    • Use your fingers to loosen the air filter cover knob.

  3. 1QWdgTPYQf1Dqdto
    1QWdgTPYQf1Dqdto
    tvb5HNaby6XQSnAs
    aTnSOSqCAWlTisu5
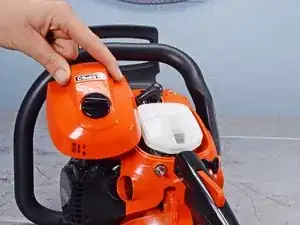
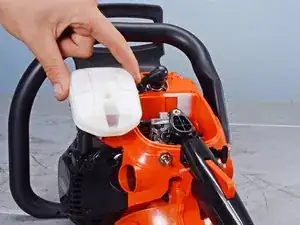
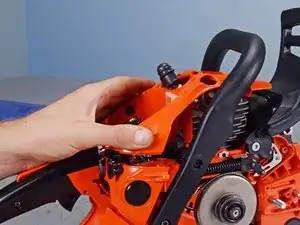
    • Remove the air filter cover.

  4. qiRsRmSGbLEkBBlt
    qiRsRmSGbLEkBBlt
    UrSIYg4em2EKpDbQ
    SDhPn23j1jB35Wha
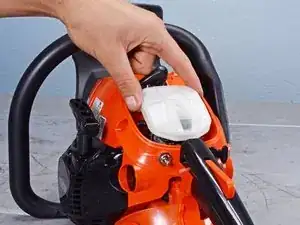
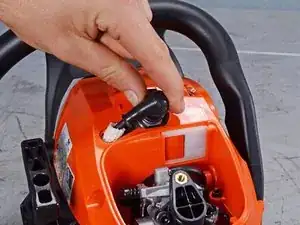
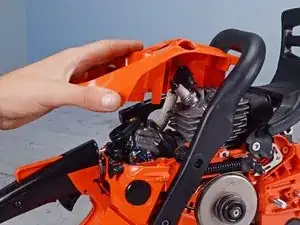
    • Remove the air filter

    • During reassembly, clean the air filter with compressed air or with light brushing before reinstalling it.

  5. wBPItTnqpEgEcL4X
    wBPItTnqpEgEcL4X
    Jn2ZWUZVtGApIKuu
    uL4rdnXXnhLUK2Vs
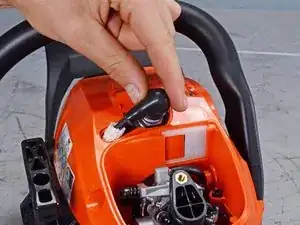
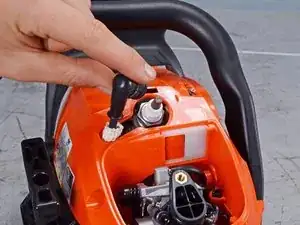
    • Use your fingers to pull up and disconnect the spark plug boot.

  6. QnuISmrubYR4m1mR
    QnuISmrubYR4m1mR
    lrHkCeqeqop5JGGO
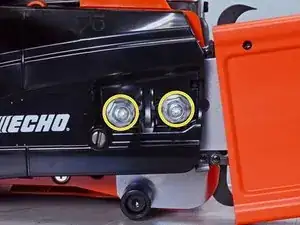
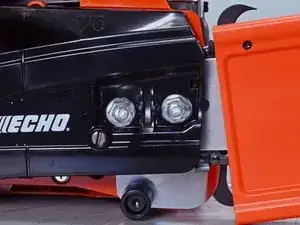
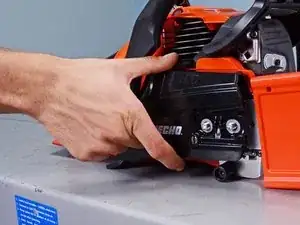
    • Use a 13 mm wrench to loosen and remove the two nuts securing the sprocket guard.

  7. ofKjjlWMZdfiaCUJ
    ofKjjlWMZdfiaCUJ
    hvfHGc5v5yHnG2uv
    HcPNMn25MH426fAY
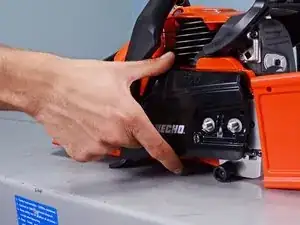
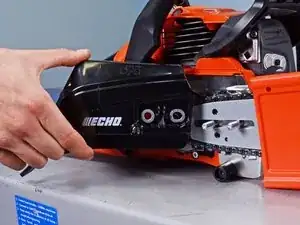
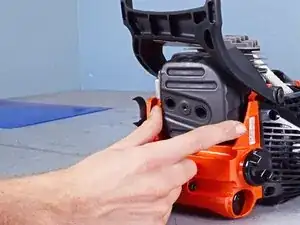
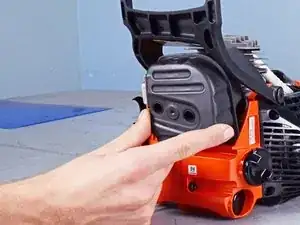
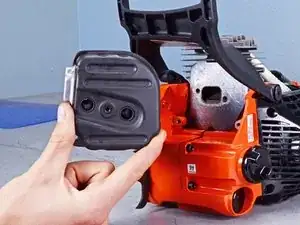
    • Pull the sprocket guard straight off its two pegs and remove it.

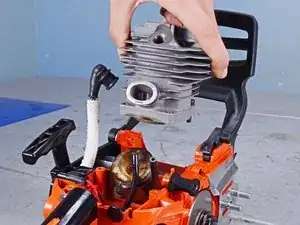
  8. GJ5qOcycbKc3SCDA
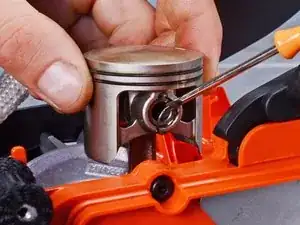
    GJ5qOcycbKc3SCDA
    e2SgdbKePMgUHilY
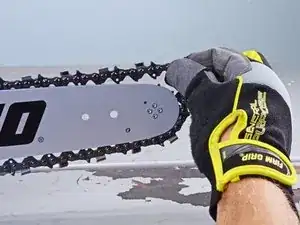
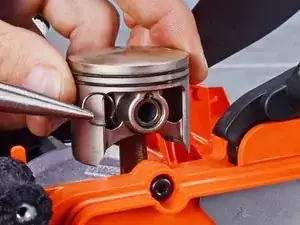
    • Put on gloves before performing the next two steps.

    • Pull the saw chain away from the tip of the guide bar to unclip it.

  9. CMWYZF2WPOAcwiSV
    CMWYZF2WPOAcwiSV
    daRjHFrah2ASak3Z
    r2MgHMXaK5uVMYho
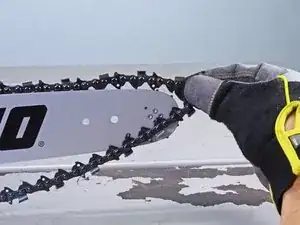
    • Push the guide bar towards the back of the device to unclip the rest of the saw chain.

    • Pull the guide bar away from the device to separate the saw chain from the clutch drum.

    • Remove the guide bar and the saw chain.

  10. LqSQkqYaTsMbObfp
    LqSQkqYaTsMbObfp
    jtbJkXRu5pcyrtDH
    • Use a flathead screwdriver, or a 3 mm hex key, to remove the three 18 mm screws securing the engine cover.

  11. flCROYFVKH2VGZSa
    flCROYFVKH2VGZSa
    2XL2Y3B4PaqWs4pw
    tQII2H2eON52W2E6
    • Pull the engine cover straight up off the engine.

    • Remove the engine cover.

  12. BXQrYiYHxcXqvaLP
    BXQrYiYHxcXqvaLP
    mlhPjNtiOCsMmWKw
    ehwnAolwFqY2Ook1
    • Before performing this step, put on safety glasses to avoid any fuel spraying in your eyes.

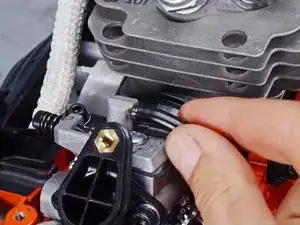
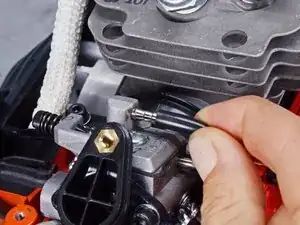
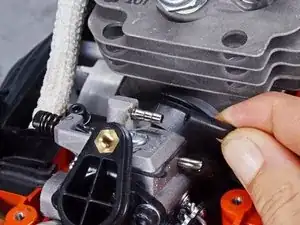
    • Use your fingers to pull the top-most fuel pipe out of the carburetor.

  13. 62dHMOAF5Qqplu3T
    62dHMOAF5Qqplu3T
    UaXJjOFcFsLuOm6G
    1xsMOj2klLgHIZFA
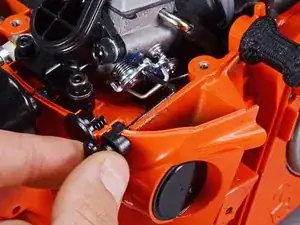
    • Lift the choke rod out of its recess in the chassis.

    • Twist the rod counter-clockwise to disconnect it from the carburetor.

    • Remove the choke rod.

  14. YNlEqYhjdEI5GOEy
    YNlEqYhjdEI5GOEy
    ITqSZnuJICEAjRwK
    • Remove the four screws securing the carburetor and the air filter adapter:

    • Use a 3 mm hex key to remove the two 20 mm-long screws.

    • Use a 4 mm hex key to remove the two 53 mm-long screws.

  15. y4mhmNXToeWEx56S
    y4mhmNXToeWEx56S
    WvmYJdbqeG4hLtAl
    e6yGYfOZxZeg5DKs
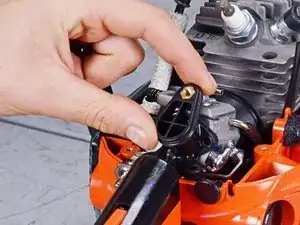
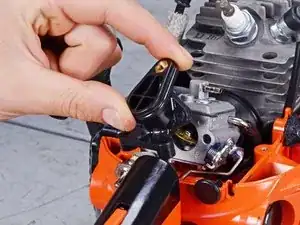
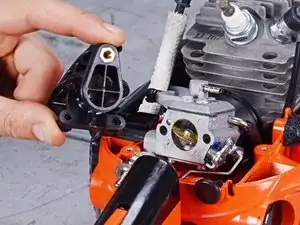
    • Pull the air filter adapter straight off the carburetor and remove it.

  16. ExXxgaW5uLDoUUKf
    ExXxgaW5uLDoUUKf
    12nahW1duDcALpGM
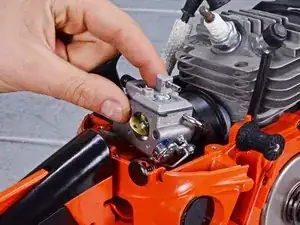
    • With the carburetor's choke valve facing you, tilt the carburetor up and to the left to expose the right-most fuel pipe.

  17. ImdaEbRIlx2xLLfX
    ImdaEbRIlx2xLLfX
    4FVR6xdIIlEuPQQP
    • Use your fingers to disconnect the right-most fuel pipe.

  18. OKQOqZNxVGDWMPXC
    OKQOqZNxVGDWMPXC
    LnMUgwklnJBNRpuD
    • Lift the carburetor straight off the throttle rod and remove it.

    • Realign throttle rod upon reassembly.

  19. QAGlRn3yRmZd3pbp
    QAGlRn3yRmZd3pbp
    QQgG5faUNgn6U41J
    • Remove the five screws securing the handle:

    • Use a 4 mm hex key to remove the four 24 mm-long screws (on the side and bottom).

    • Use a 3 mm hex key to remove the 18 mm-long screw.

  20. cVBDQ25lxtShFSCq
    cVBDQ25lxtShFSCq
    Z5jpcxFuAJPpgoDd
    ildYBZZsLVeyoF6B
    • Pull the handle towards the rear of the device to remove it.

  21. dEo5O4GA34xJdjJy
    dEo5O4GA34xJdjJy
    4ApyoRbsUvN1lbRP
    • Use a 3 mm hex key to remove the two 20 mm-long screws securing the intake insulator.

  22. C1Gtuv16ZVpRDoFQ
    C1Gtuv16ZVpRDoFQ
    DNf5xsOCfTSKVO5c
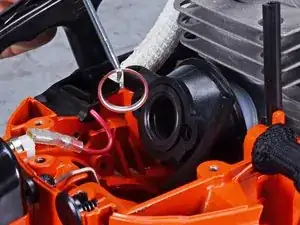
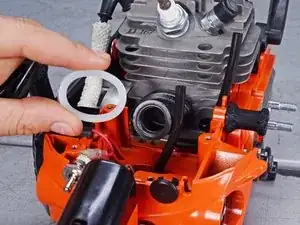
    • Use a pick tool to remove the insulator intake collar.

  23. 4QqH4rHDHBPopcdI
    4QqH4rHDHBPopcdI
    lFdBpmm1ePXbuSQa
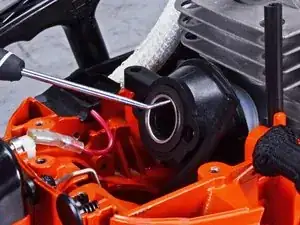
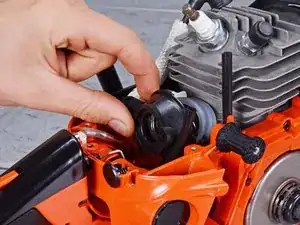
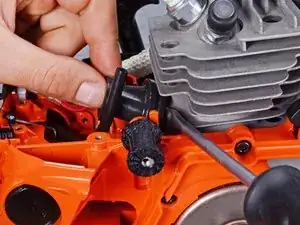
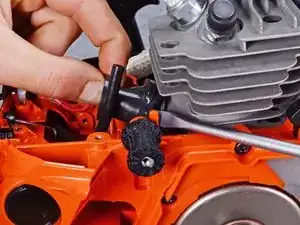
    • Use a flathead screwdriver to fold the lip of the intake bellows inside the intake insulator.

  24. bLOLWMuah3tJRnWU
    bLOLWMuah3tJRnWU
    VBK4GR3lMMuhS3BB
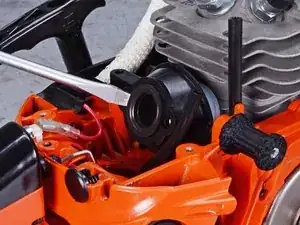
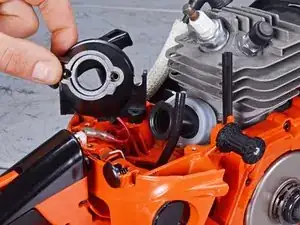
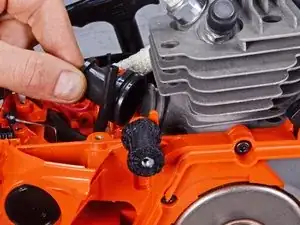
    • Lift the intake insulator out of its recess and remove it.

  25. CrHUEZIRwVdiYwNB
    CrHUEZIRwVdiYwNB
    lXTUU6obT5PCTEg2
    Ue5nQGtxC4L5SFiA
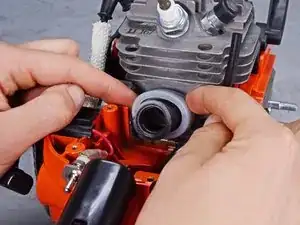
    • Slide the bellows holder off the intake bellows and remove it.

  26. bXZGbHFVsaNOPRRW
    bXZGbHFVsaNOPRRW
    WyjwyBYJ1RJvQhUV
    Ynm1GS15DVgtALaS
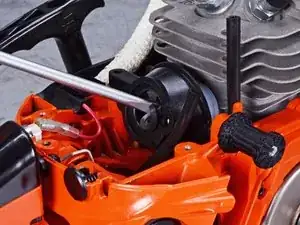
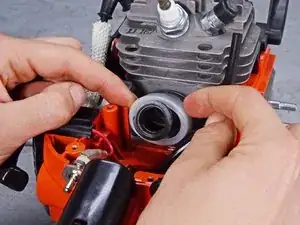
    • Insert a flathead screwdriver between the intake bellows and the cylinder head.

    • Pry with the screwdriver to separate the intake bellows from the cylinder head.

    • Remove the intake bellows.

  27. HXiydhajmBQwALZH
    HXiydhajmBQwALZH
    MPKcCqpYvmAm3GdM
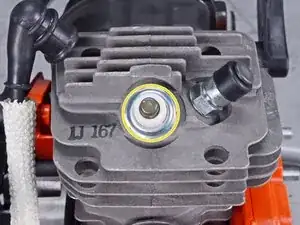
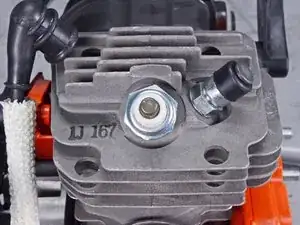
    • Use a spark plug socket wrench to loosen the spark plug.

  28. TssfcfYV5CgIhisQ
    TssfcfYV5CgIhisQ
    sVOvKAMaLgHAfUIW
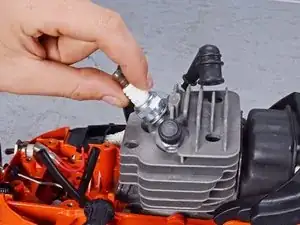
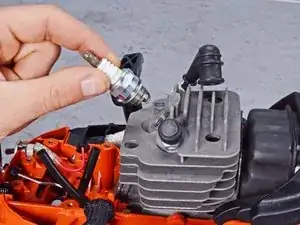
    • Pull the spark plug straight out of the cylinder head and remove it.

  29. UNRKrwpYDD2P32Zd
    UNRKrwpYDD2P32Zd
    iDyeSbHqkSbAosFn
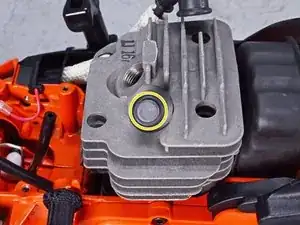
    • Use a 9/16 inch wrench to loosen the decompression valve assembly.

  30. q2HAoVCOkwdQxqyL
    q2HAoVCOkwdQxqyL
    ePbVXGoRxLJSrSM6
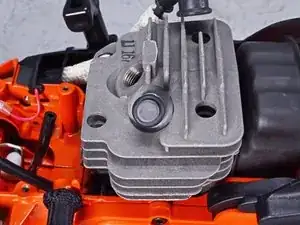
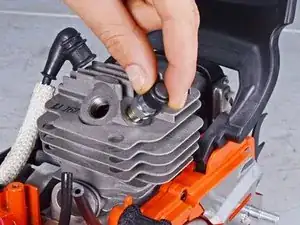
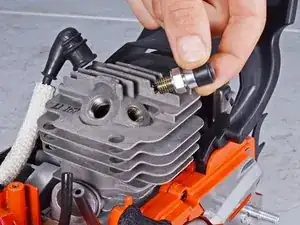
    • Pull the decompression valve assembly straight out of the cylinder head and remove it.

  31. roEqNCEsHwDStCe4
    • Use a 4 mm hex key to remove the two 23 mm-long screws securing the muffler.

    • Use a 3 mm hex key to remove the 10 mm-long screw securing the muffler plate.

  32. 6g5bGBOPtQZVHLtG
    • Remove the muffler plate.

  33. yPekkHKGECFaBYLx
    yPekkHKGECFaBYLx
    BXLlk3MprVhJGUmU
    • Use a 4 mm hex key to remove the two 23 mm-long screws securing the muffler.

  34. yTTsYIUFXsB3Cib5
    yTTsYIUFXsB3Cib5
    jlki6HUwAWJhET1p
    LoAZhO3gtVsPC4yT
    • Pull the muffler straight out of its recess and remove it.

  35. YUGEjhjTY5cMKPro
    • Remove the exhaust gasket.

  36. NLXAeG1XCkwXSxpe
    NLXAeG1XCkwXSxpe
    QEG43SNRXp3EAJxU
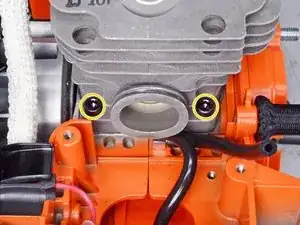
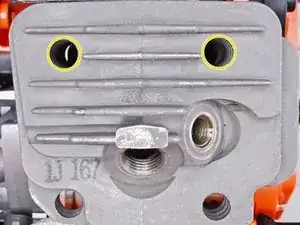
    • Use a 4 mm hex key to remove the four 25 mm-long screws securing the cylinder head.

  37. 2KpQIeFaQ6kwHBux
    2KpQIeFaQ6kwHBux
    NkURqOnND5DhOfLX
    WDrKg5Gu2CVUIv2Z
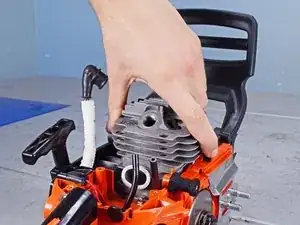
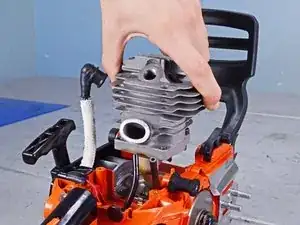
    • Lift the cylinder head away from the chassis to expose the piston.

    • Remove the cylinder head.

    • During reassembly, perform the following:

    • Make sure the two black piston rings are aligned in their grooves so the piston can compress properly in the cylinder head.

    • Apply two-stroke oil to the piston head and the cylinder walls before reinserting the piston.

  38. etbAdPTBuYoBd3dj
    etbAdPTBuYoBd3dj
    1YXlIuDgGJYtB1wE
    • Use snap ring pliers, or a flathead screwdriver, to remove one of the piston snap rings.

    • Repeat this procedure for the snap ring on the opposite side of the piston.

  39. 6upbYsXVJlX5IC6p
    6upbYsXVJlX5IC6p
    sdv4NslyyT1CcbVs
    • Flip the chain saw on its side so the clutch drum is facing upward.

  40. LCNNtsPPFDhW2T3J
    LCNNtsPPFDhW2T3J
    XVbOlKiRZmUaxCZR
    MenISHdCV2jCNyUd
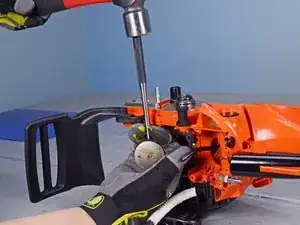
    • Put on gloves before performing the next two steps.

    • Grip the bottom of the piston.

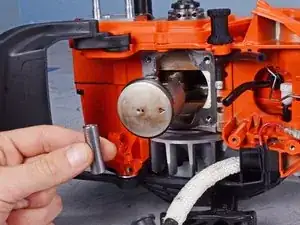
    • Use a hammer and a pin punch to tap the piston pin through its recess.

    • The piston swings freely on the crankshaft. Be sure to stabilize the piston with your hand as you tap on the pin punch.

    • Alternatively, you can use a piston support tool or a block of wood to keep the piston steady.

    • Remove the piston pin.

  41. N4FLmlb1ZiQDxvmZ
    N4FLmlb1ZiQDxvmZ
    sihQIbksiyawTQmQ
    aXlgXgUkeyFcKVfJ
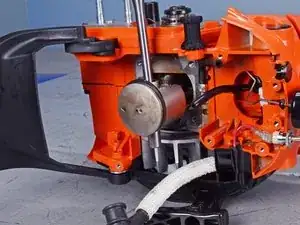
    • Pull the piston off of the piston rod to disconnect it from the crankshaft.

    • Remove the piston, its needle bearing, and the two washers.

  42. QWxvCJGjTsCFOqWF
    QWxvCJGjTsCFOqWF
    BuhZ56cjAoZ2YTsN
    12eVfK5uCmgADl5a
    • Use a pair of pliers to remove the cylinder head gasket from the crankcase.

    • During reassembly, make sure to replace the gasket with a new one.

Conclusion

To reassemble your device, follow these instructions in reverse order.
Alex Diaz-Kokaisl

Member since: 16/01/22

117875 Reputation

0 comments